

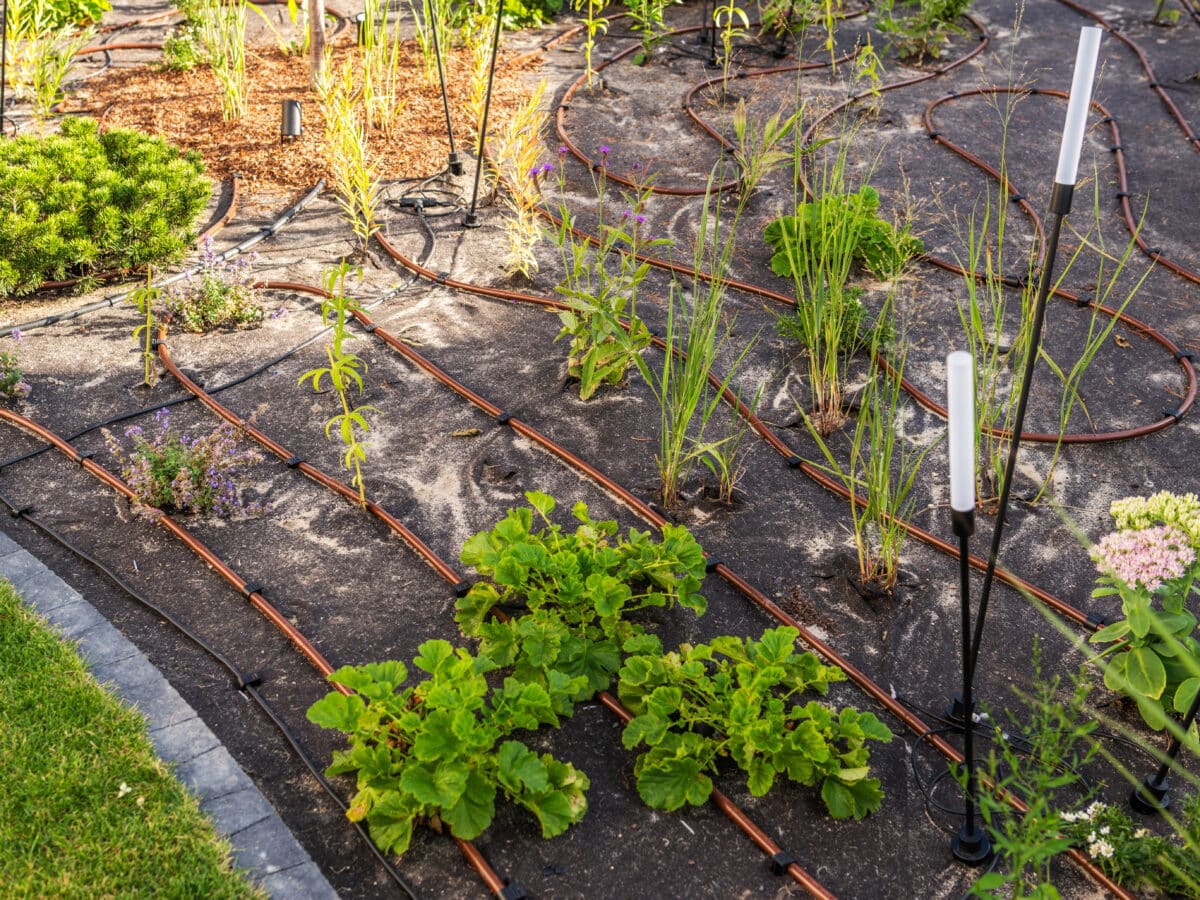
Buy the right length of soaker hose and still end up with a soggy corner and a dust-dry one three feet away, and the problem usually isn’t the hose. It’s the layout. A straight run that works beautifully down a vegetable row leaves both edges of a square bed thirsty, and a tight spiral that’s perfect for a single shrub turns into a tangled mess strung across twelve feet of border. Here are the three patterns that cover almost every yard situation, how to pick between them, and the spacing rules that make any of them actually work.
The three patterns, and what each one is for
Nearly every soaker hose layout I’ve ever laid down boils down to one of three shapes. Mixing them in the same yard is normal, and often the right call.
| Pattern | Best for | Main advantage | Main drawback |
|---|---|---|---|
| Straight run | Rows, hedges, fence lines | Simple, cheapest on hose length, easy to troubleshoot | Leaves wide beds dry at the edges |
| Loop / spiral | Single shrubs, trees, individual specimen plants | Concentrates water at the root zone | Doesn’t scale to more than one plant per loop |
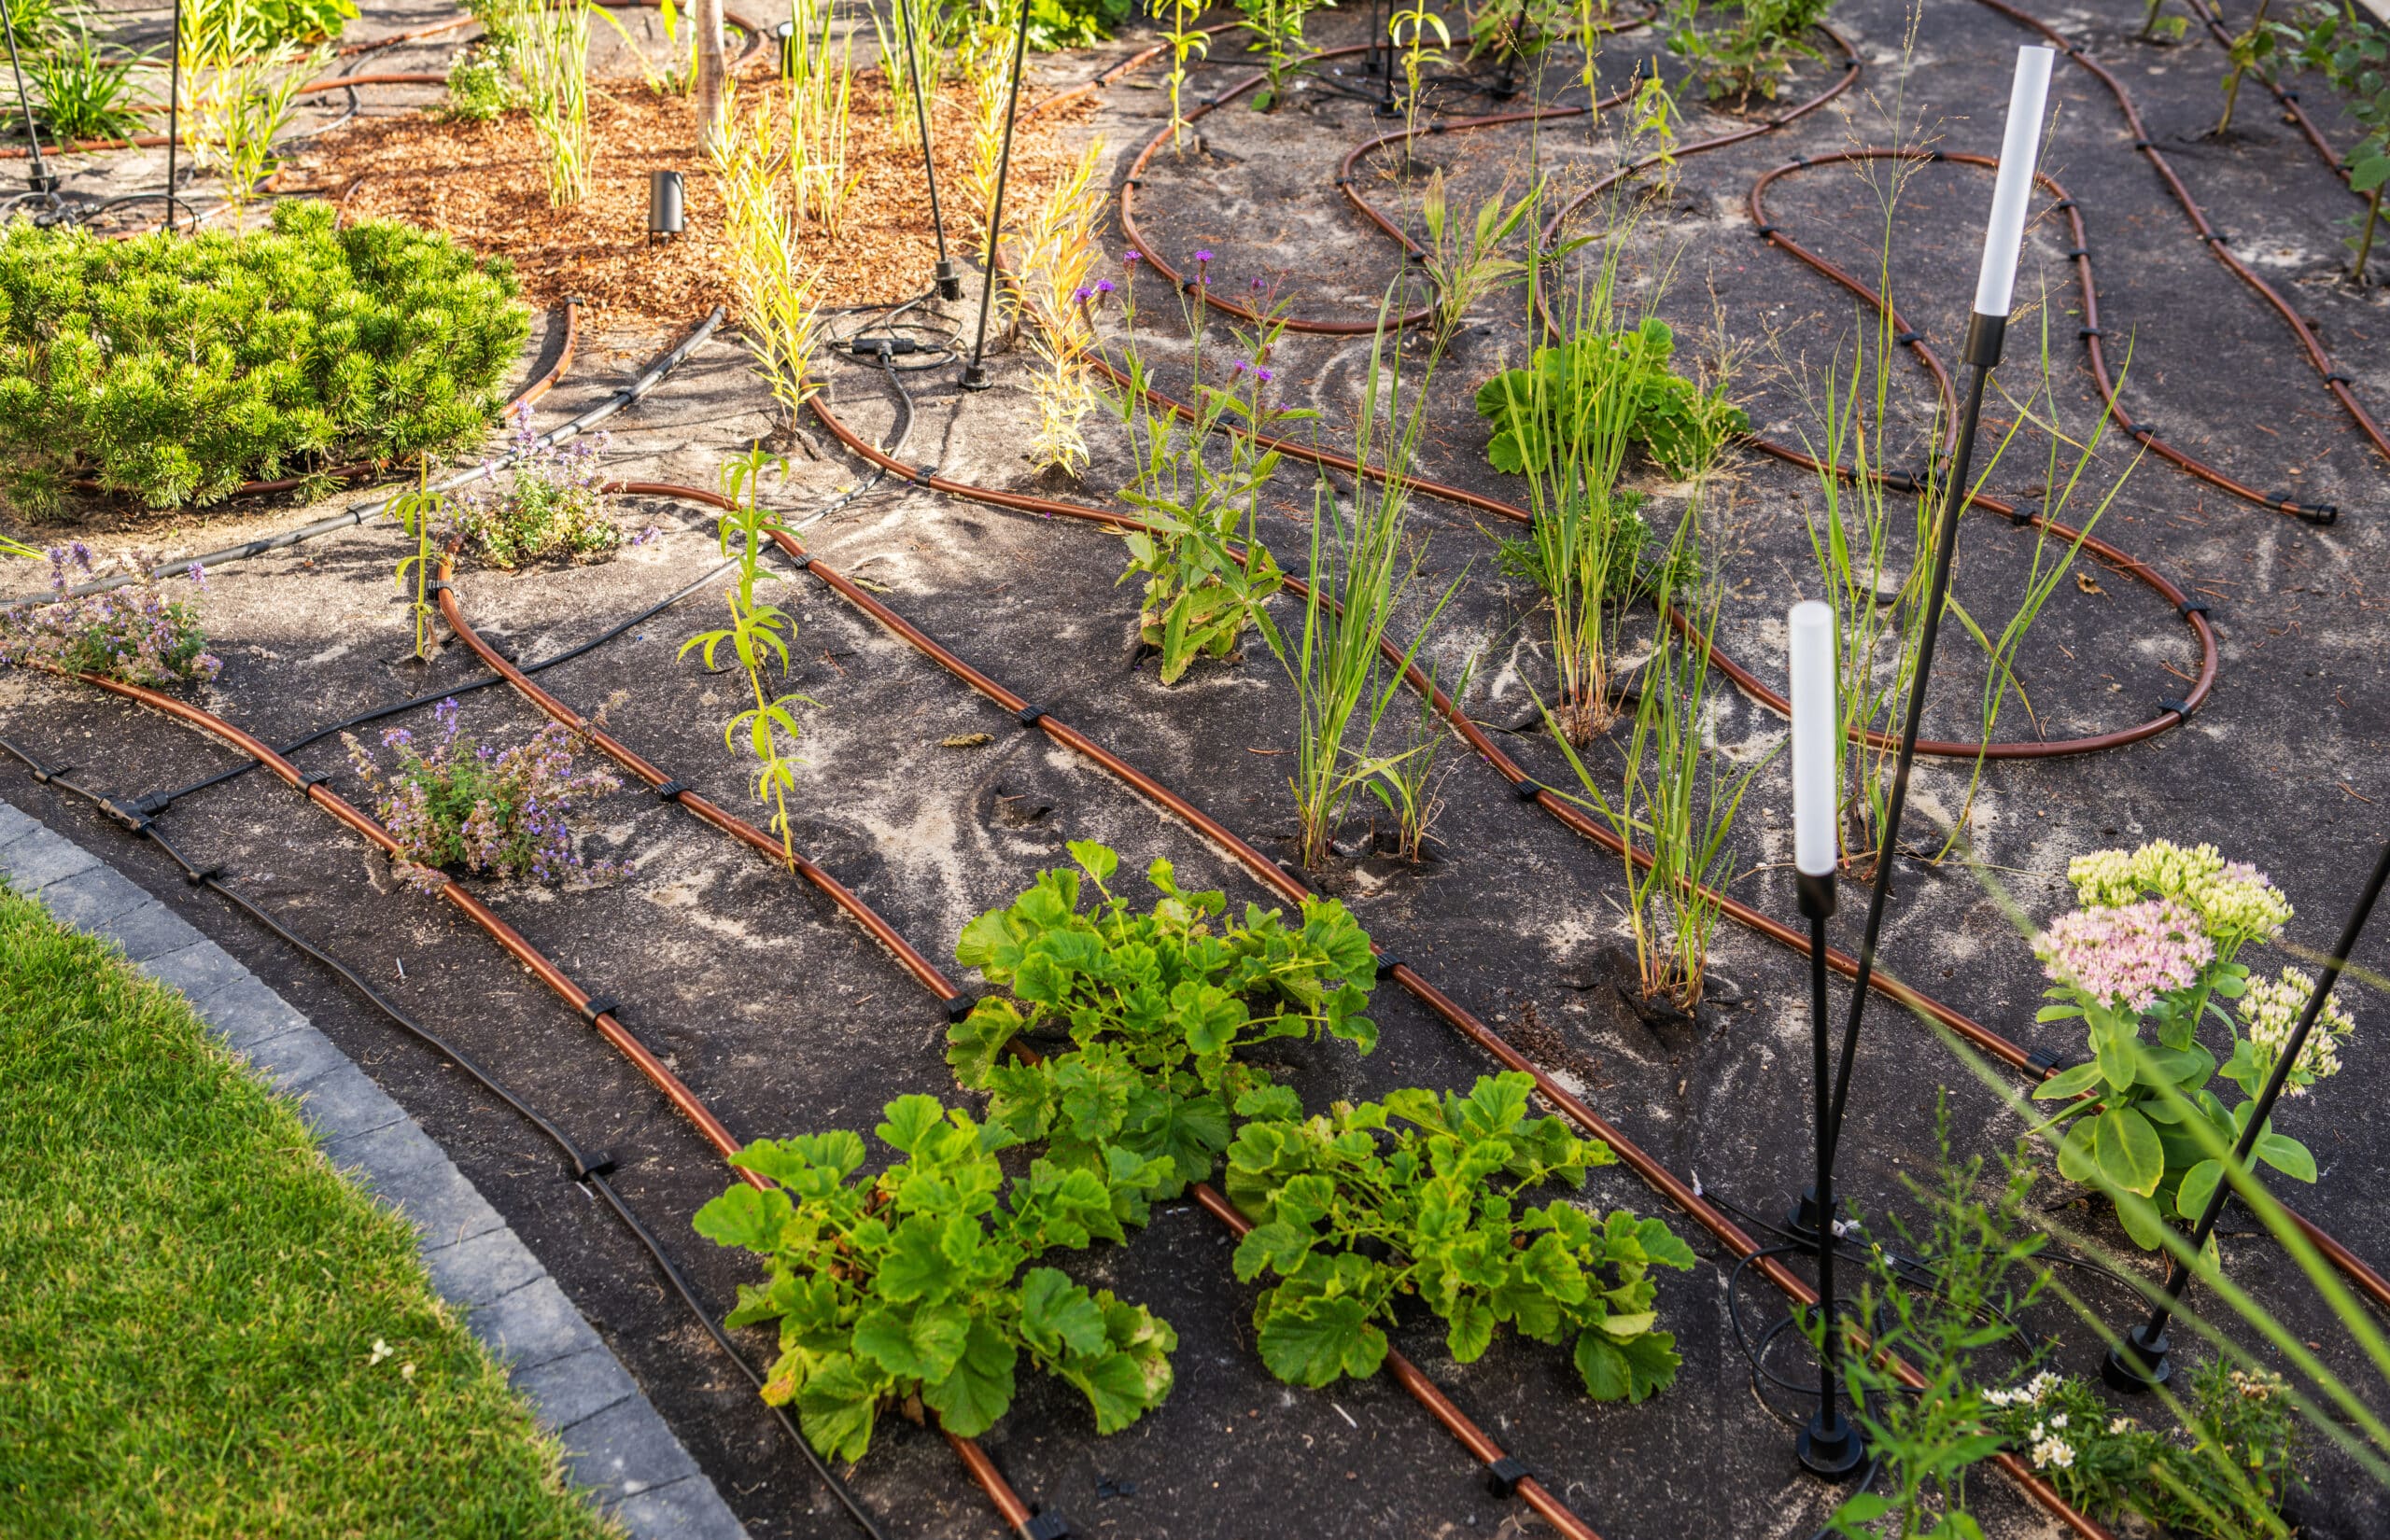
| Zigzag / serpentine | Square or rectangular beds, borders wider than about 3 feet | Even coverage across the whole footprint | Uses noticeably more hose per square foot, more turns to pin down |
Straight run
This is the default for anything long and narrow: a row of tomatoes, a hedge, a line of shrubs along a fence. One length of hose runs the full distance, with loops or extra coil only where an individual plant needs more water than its neighbors. It’s the pattern covered step by step in how to install a soaker hose, including why a single run should generally stay under about 100 feet before pressure starts dropping off at the far end.
Loop or spiral
For a single tree, a specimen shrub, or anything planted on its own rather than in a row, a loop concentrates the weeping where the roots actually are instead of spreading it thin along a straight path. The loop goes around the plant at roughly the edge of the canopy, not against the trunk, since that’s usually where the active feeder roots sit. This is the approach used for soaker hose for trees, where loop diameter matters more than hose length.
Zigzag or serpentine
Once a bed is wider than about 3 feet, a straight run down the middle just doesn’t reach the edges, and that’s where a zigzag earns its keep. The hose snakes back and forth in parallel rows, turning at each end, so the whole footprint gets covered instead of just a strip down the center. It takes more hose per square foot than a straight run covering the same length of ground, but it’s the only one of the three that waters a square or rectangular area evenly. A full breakdown of hose length by bed size, since a serpentine layout is the standard choice there, is in soaker hose for raised beds.
Matching the pattern to your bed shape
Start with the shape of the space, not the plant list. Shape decides the pattern more than anything else does, and it’s the thing people skip when they’re excited to just get planting.
- Long and narrow (under 3 feet wide): straight run. A row of beans, a line of hostas along a walkway, a single-file hedge.
- Square or wide rectangle: zigzag. A 4×4 or 4×8 raised bed, a square perennial border, a vegetable plot planted in blocks rather than rows.
- A single isolated plant: loop. One tree, one specimen shrub, a foundation planting that stands alone rather than part of a row.
- An irregular or curved bed: usually a loose zigzag that follows the bed’s outline rather than a rigid grid. Lay a standard garden hose along the planned route first as a dry run; it bends the same way the soaker hose will and costs you nothing to reposition.
Mixed plantings, a bed with one tree and a ring of shrubs around it, often need two patterns feeding off the same line: a loop for the tree, straight runs or a short zigzag for everything else nearby, tied together at a splitter or connector rather than forced into a single continuous hose.
Spacing rules that apply to any pattern
The pattern decides the shape of the layout; spacing decides whether it waters evenly or leaves stripes. These numbers are a starting point, not a rulebook, since soil texture shifts the real answer for your yard.
| Pattern | Spacing guideline | Notes |
|---|---|---|
| Straight run | 6-12 in. from plant base | Closer for shallow-rooted plants, wider for established shrubs |
| Zigzag rows | 8-15 in. between rows | 8-10 in. for lettuce, radishes and other shallow greens; 12-15 in. for deeper-rooted vegetables |
| Loop diameter | At the canopy edge, not the trunk | Widen the loop as a tree or shrub matures |
Sandy soil lets water spread down more than sideways, so loops and rows generally need to sit closer together than the table above to avoid dry gaps between them. Heavier, clay-leaning soil spreads water sideways more readily, which gives you a little more room to widen the spacing without leaving dry strips. The dig test settles any doubt either way: an hour after watering, dig down 3 to 4 inches between two loops or rows. Wrung-out-sponge damp means the spacing is right; bone dry means tighten it up next time.
Connecting multiple patterns without losing pressure
A yard with a straight run along a fence, a zigzag in a raised bed, and a loop around one tree doesn’t have to mean three separate spigot connections. Branch off a single feed line with a Y-connector or splitter, and treat each branch as its own run for length purposes. Keeping every individual branch under roughly 100 feet, and under about 25 feet for a tight raised bed where corners and kinks matter more than straight-line pressure loss, avoids the far-end starvation that shows up when one pattern is asked to feed too much ground. The fitting types that make multi-bed branching clean rather than a pile of adapters are covered in soaker hose fittings and connectors, and a pressure regulator at the main feed matters just as much here as it does on a single straight run.
Common layout mistakes
Using a straight run on a bed wider than 3 feet
This is the complaint I hear most: “the middle of my bed is fine but the edges are dry.” The fix usually isn’t more water. It’s switching that section to a zigzag.
Spacing loops too far apart on fast-draining soil
Sandy soil or raised-bed mix drains straight down more than it spreads sideways, so a spacing that works fine in heavier native soil can leave stripes of dry ground in a lighter mix.
Forcing one continuous hose through a complex layout
Trying to run a single length through a loop, then a straight section, then a zigzag usually ends in kinks and uneven weeping at every transition. Branching separate, shorter runs from a connector is more work to set up once and far less trouble afterward.
Not sketching it first
Two minutes with a regular garden hose laid loosely along the planned route, before cutting or burying anything, catches most layout mistakes while they still cost nothing to fix. Skip it and you find out the hard way, usually with dirt already packed over the hose.
FAQ
Can I switch layout patterns partway through one hose?
You can loop a section and run straight elsewhere on the same continuous hose, but it’s easier to troubleshoot and repair later if you keep each pattern on its own branch from a connector instead.
Which pattern uses the least hose?
A straight run, by a wide margin, since it covers ground in a single pass. A zigzag covering the same square footage typically needs noticeably more total length because of the back-and-forth turns.
Does a zigzag layout need a different run time than a straight run?
Not because of the pattern itself, mainly because of what the pattern is usually used on. Zigzags are common in raised beds with fast-draining mix, which often want shorter, more frequent watering; see how long to run a soaker hose for a starting schedule by planting type.
What pattern works best around an irregularly shaped border?
A loose zigzag that follows the bed’s outline rather than a strict grid. Lay a spare garden hose along the route first; if it bends comfortably without kinking, the soaker hose will follow the same path.
Once the pattern is picked, the rest is the same regardless of shape: check pressure, lay it out, pin it down, and cover it. The full spigot-to-soil process is in how to install a soaker hose, and if you’re still deciding whether a soaker hose is the right tool for a mixed bed at all, soaker hose vs drip irrigation covers where each one wins.