
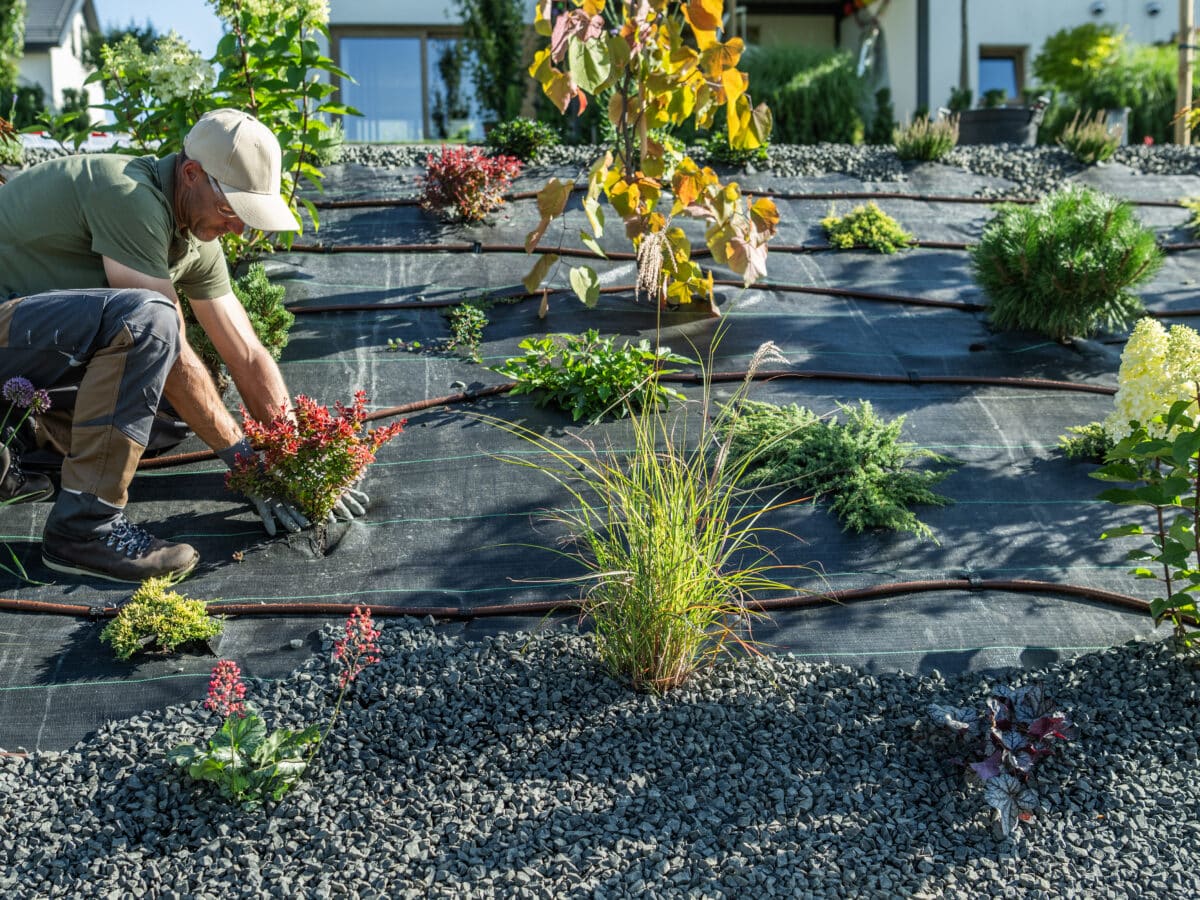
Every plant in your garden wants a different amount of water, and a single irrigation zone can’t tell a tomato from a rosebush. That mismatch is why one corner of the bed stays soggy while another crisps up by August. Drip irrigation fixes that, because every emitter is its own decision about how much water, how often, and exactly where it lands.
This guide covers vegetable beds, flower beds, shrubs, and mixed plantings, with flow rates and run times you can use as a starting point today, plus links to the deep-dive guide for each plant type.
One irrigation zone doesn’t fit a mixed garden
A sprinkler head or a single soaker hose loop delivers roughly the same amount of water to everything it touches. That’s fine if the bed is all one plant. Most gardens aren’t. A newly planted pepper wants daily sips while it establishes roots. The rosebush three feet away wants a deep soak twice a week and nothing in between. Put both on the same schedule and one of them loses, usually the shrub, since shallow frequent watering trains roots to stay near the surface, where they’re first to dry out and first to freeze.
Drip irrigation solves this by breaking the garden into zones smaller than the whole bed. Each emitter, or short run of emitters, gets its own flow rate and, if you’re running multiple valves, its own schedule. A raised bed of lettuce can run on a completely different schedule than the hydrangea six feet away, because they’re on separate lines.
Match the emitter to the plant
Flow rate and spacing are the two numbers that matter. Get them close and the plant looks after itself. Get them wrong and you’re either drowning roots or watering air. The table below is a starting point, not gospel, since local soil and climate shift these numbers by 20 to 30 percent in either direction. But it’ll get a new bed into the right range on day one.
| Plant type | Emitter flow rate | Spacing | Notes |
|---|---|---|---|
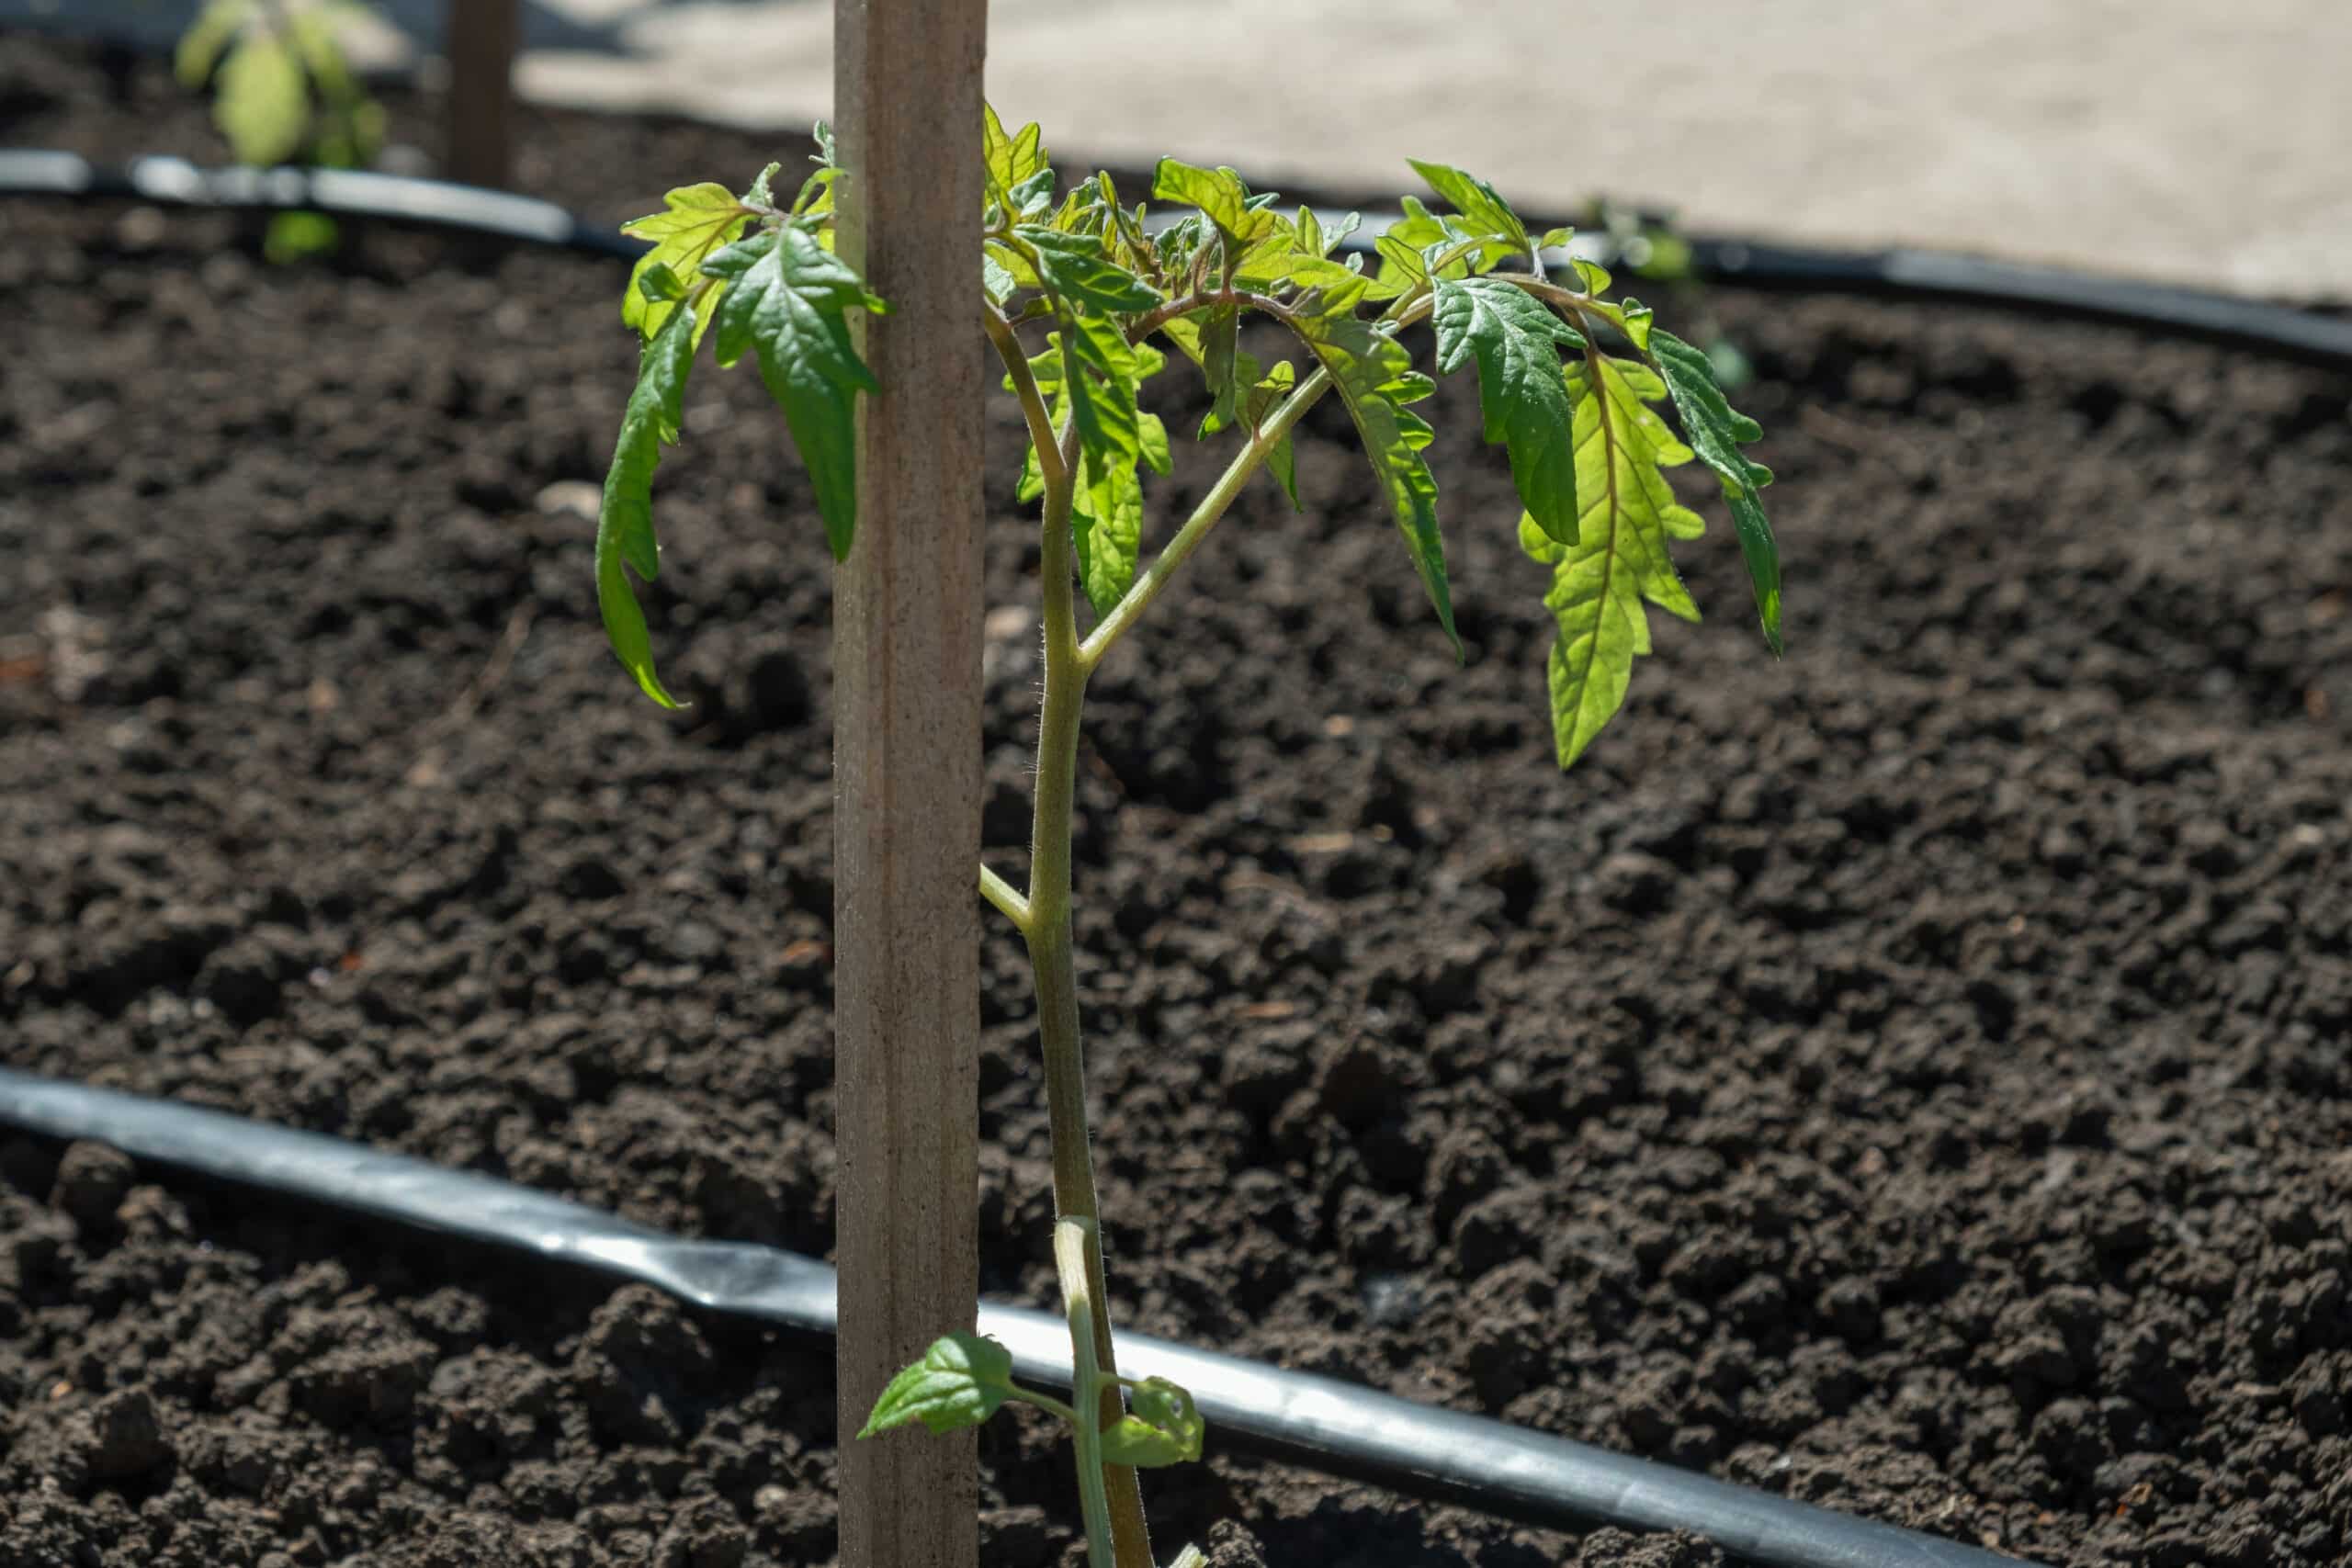
| Vegetable transplants (tomatoes, peppers, squash) | 1 GPH per plant (2 GPH for large tomatoes) | At the base of each plant | Move the emitter 4 to 6 inches out as the root ball spreads |
| Row crops and greens (beans, lettuce, carrots) | 0.4 to 0.6 GPH per emitter | Every 8 to 12 inches along the row | Drip tape is usually cheaper than individual emitters here |
| Flower beds and mixed perennials | 1 to 2 GPH per plant | 1 emitter per small plant, 2 to 4 for larger clumps | Add a second emitter once a clump is wider than about 2 feet |
| Shrubs, first year | 2 GPH x 2 emitters | Opposite sides of the root ball | Frequency matters more than volume while roots are establishing |
| Established shrubs and hedges | 2 to 4 GPH x 2 to 4 emitters | Ringed around the drip line | See the arborvitae watering guide for hedge spacing |
| Trees | Multiple 1 to 2 GPH emitters, or a soaker loop | At the drip line, never at the trunk | Full guide: soaker hose for trees |
If you’re not sure what GPH means or which tubing size to buy, the emitters guide and tubing sizes guide cover the hardware in more depth.
Vegetable and flower beds: the setup that works
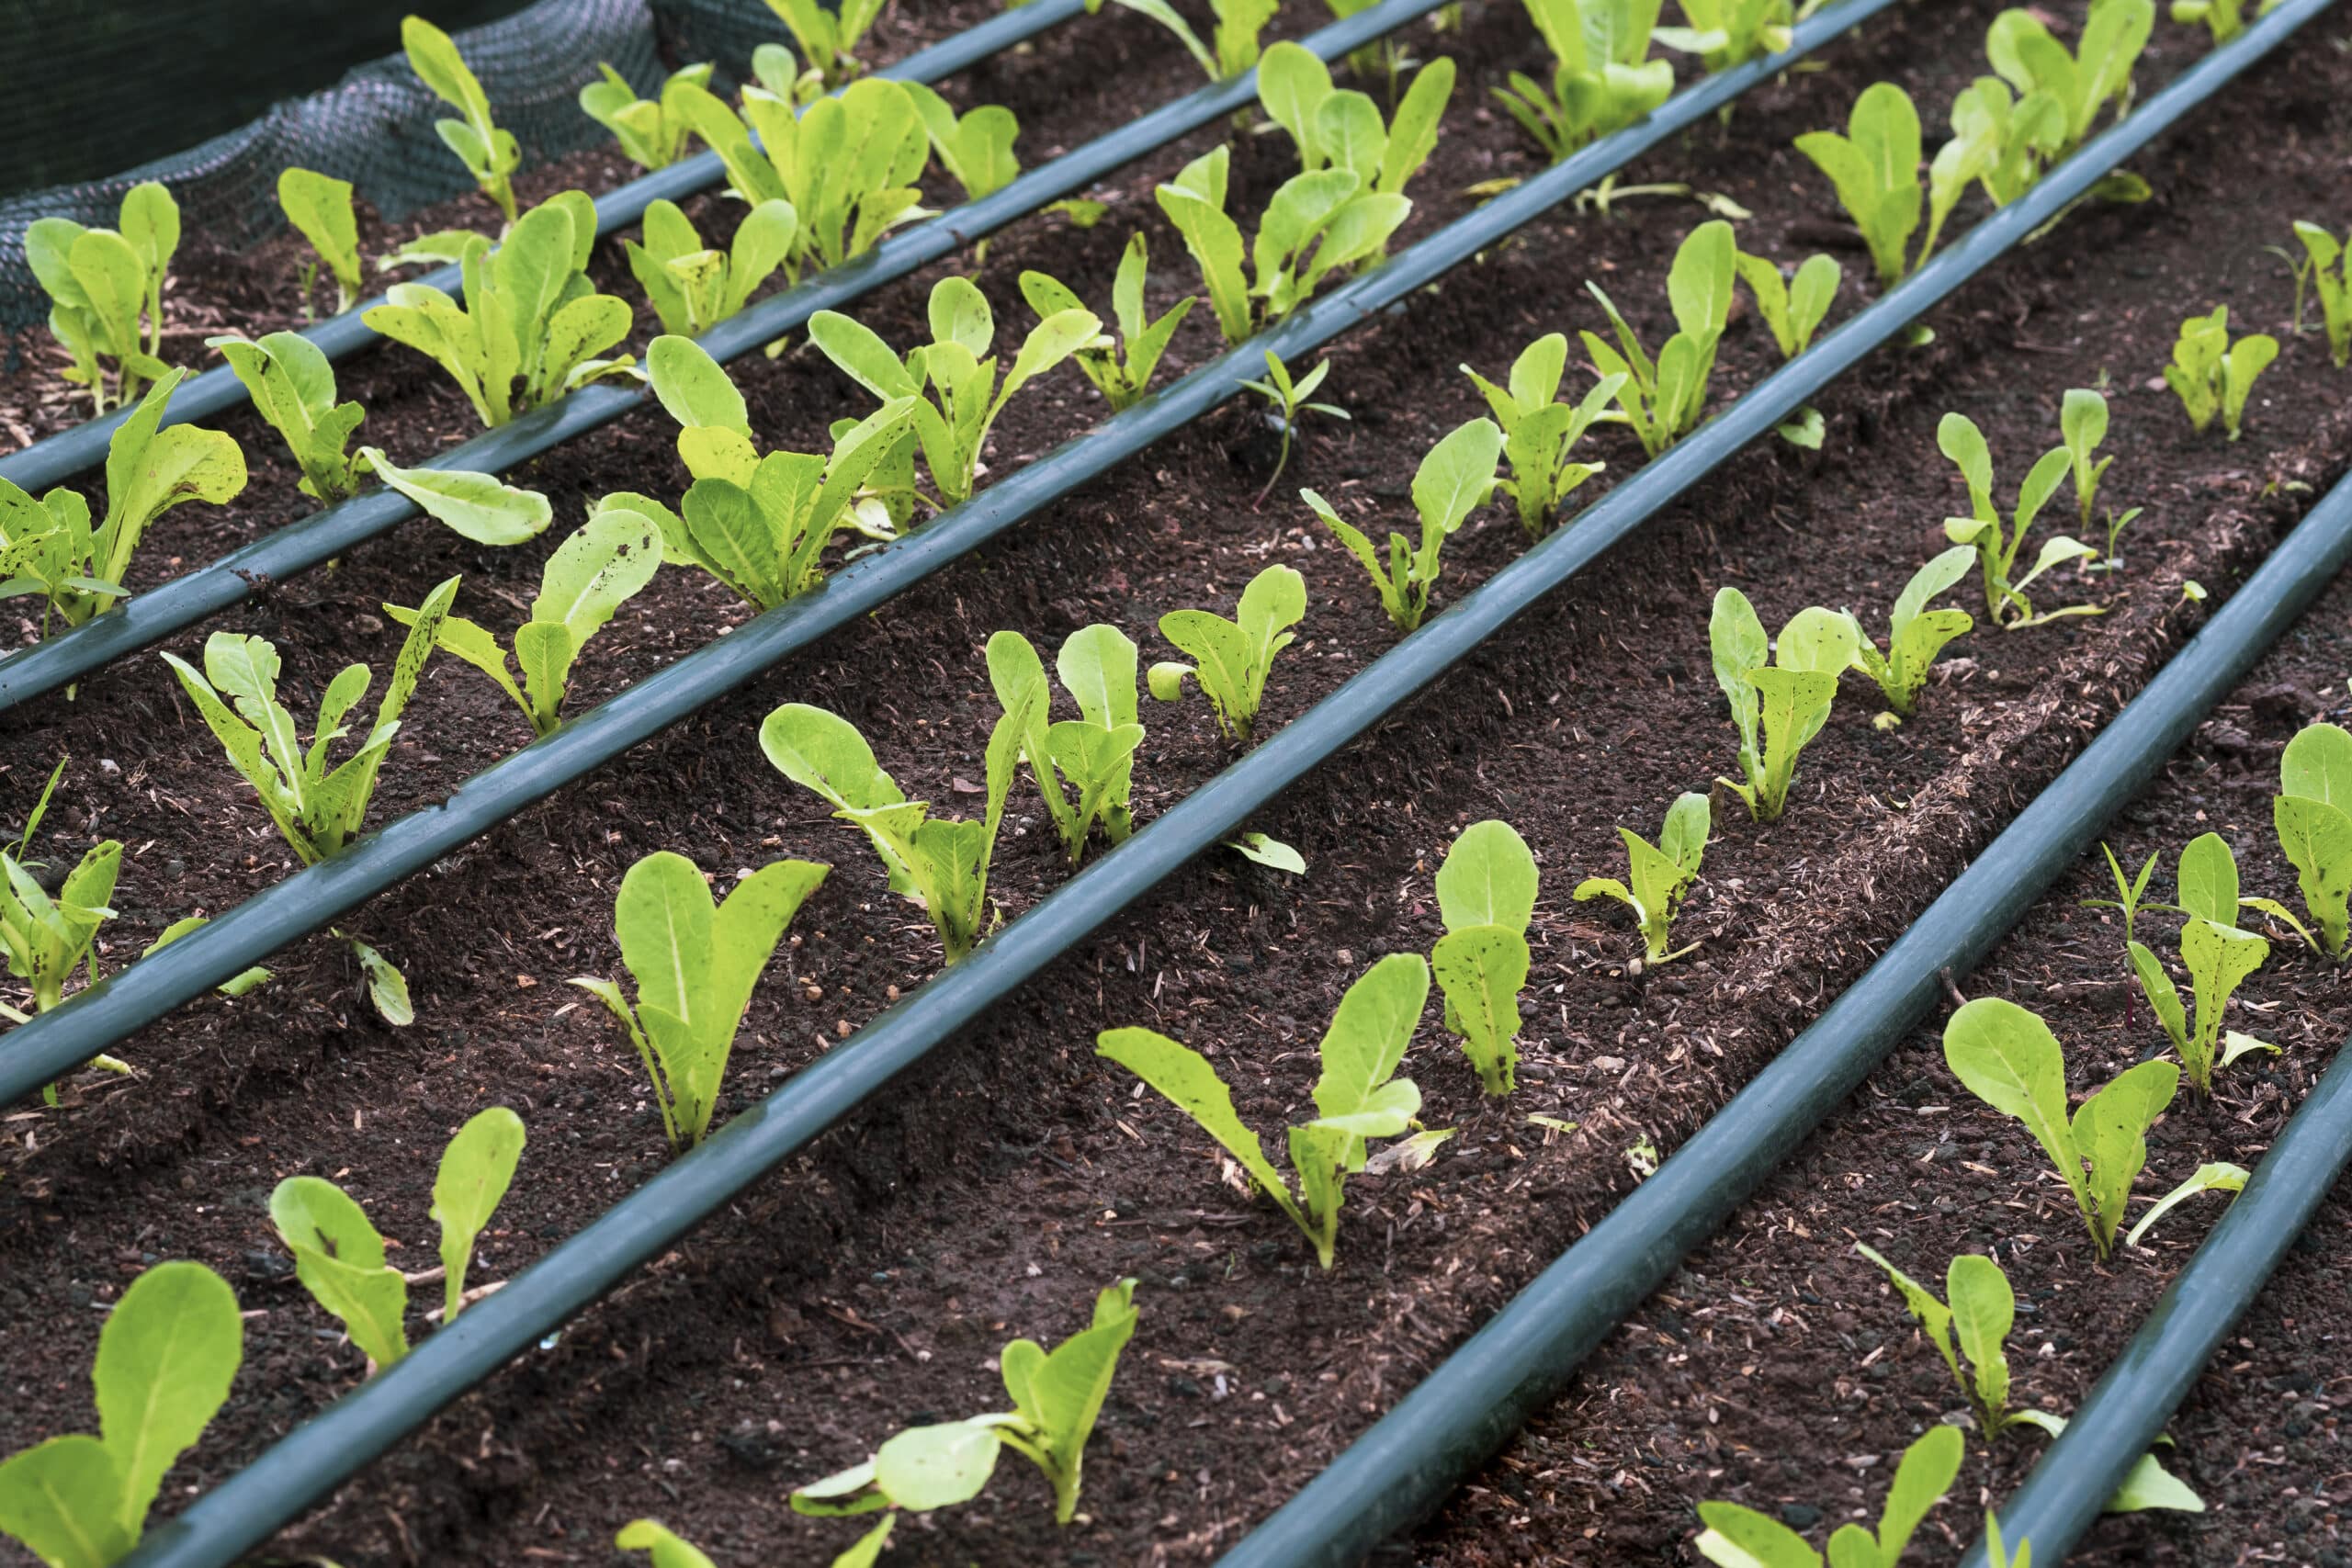
Most vegetable and flower beds run on the same basic layout: a half-inch poly mainline from the spigot, feeding quarter-inch distribution tubing or drip tape into each row or cluster. Add a pressure regulator and a basic filter at the spigot before anything else. Drip components clog and split under full hose pressure. The pressure regulator guide covers the two-minute check for whether you need one. You almost always do.
For a straight vegetable row, drip tape is usually the fastest setup: unroll it down the row, punch it into the mainline, done. For mixed flower beds where plants are different sizes and irregularly spaced, quarter-inch tubing with individual push-in emitters gives more control, since you’re placing water exactly where each plant needs it rather than along a uniform line.
Raised beds get their own considerations, mainly because they drain faster and dry out sooner than in-ground soil. The raised bed setup guide walks through spacing and run times specific to that faster-draining soil.
Shrubs, hedges, and foundation plantings
Woody plants play by different rules than vegetables and annuals. A shrub’s roots eventually spread well beyond the trunk, so watering right at the base only serves the plant while it’s young. Established shrubs, hedges, and trees want water at the drip line, the ring of soil under the outer edge of the canopy, delivered deeply and infrequently rather than in daily sips.
That’s the opposite of what a vegetable bed wants, which is exactly why these plantings need their own irrigation zone rather than sharing a line with the garden. Three guides on this site cover specific cases in detail: watering arborvitae hedges, deep watering for trees, and foundation watering on expansive clay soil, which is really a special case of the same deep-and-steady principle.
How long and how often to run it
Run time depends on emitter flow rate, soil type, and how established the plant is, so there’s no single number that’s right for every garden. The table below gives reasonable starting ranges by plant stage and season.
| Plant stage | Spring and fall | Summer peak |
|---|---|---|
| New transplants (first 2 weeks) | Daily, 10 to 15 minutes | Daily, 15 to 20 minutes |
| Established vegetables | Every 2 to 3 days, 30 to 45 minutes | Every 1 to 2 days, 45 to 60 minutes |
| Perennial and flower beds | 1 to 2 times a week, 30 minutes | 2 to 3 times a week, 30 to 45 minutes |
| Established shrubs and hedges | Every 1 to 2 weeks, deep soak | Weekly, 60+ minutes |
These are starting points, not a schedule to set once and forget. Soil type changes the math more than anything else: sandy soil drains fast and needs shorter, more frequent runs, while clay holds water and needs longer, less frequent ones. The full run-time guide breaks it down by soil type and includes a ten-minute dig test that tells you exactly where your garden falls.
Setting it up in an existing bed
- Sketch the bed and group plants by water need: vegetables and annuals in one zone, shrubs and perennials in another, if the layout allows it.
- Run half-inch poly mainline from a filtered, pressure-regulated spigot connection to the bed.
- Branch quarter-inch tubing or drip tape off the mainline to each group of plants.
- Install emitters using the flow rates and spacing in the table above.
- Add a timer and run a full test cycle before you walk away. Check that every emitter is actually dripping, not just the first few.
- Check pressure at the far end of the line. If flow drops off noticeably, there are likely too many emitters on one run, or it needs a second zone.
That’s the short version. The full installation walkthrough covers the whole process in more detail, including how to punch tubing without splitting it, and building a system from scratch covers it if you’re starting from zero rather than retrofitting an existing bed.
Common mistakes that stunt garden plants
- Emitters placed against the stem or crown. Water pooling against a stem invites rot, especially on tomatoes and squash. Keep emitters an inch or two off the stem.
- One flow rate for the whole garden. A 2 GPH emitter that’s perfect for a tomato will drown a lettuce seedling next to it.
- Not widening emitter placement as plants grow. A shrub’s root ball outgrows its original emitter position within a season or two.
- Skipping the filter and pressure regulator. Most emitter clogs and split lines trace back to one of these being missing. The repair guide covers how to diagnose and fix both.
- Watering shallow and daily instead of deep and less often. It trains roots to stay near the surface, which makes plants less drought-tolerant, not more.
Frequently asked questions
Can I mix drip irrigation and soaker hoses in the same garden?
Yes, and a lot of gardens end up running both: drip for vegetable rows and containers, soaker hose loops for hedges and foundation beds where a long, simple loop is easier to lay than individual emitters. The soaker hose vs. drip irrigation comparison covers where each one wins.
Do drip lines work in raised beds and containers?
Raised beds, yes, and they’re arguably the easiest place to start since the area is small and the layout is simple. The raised bed guide covers spacing for that faster-draining soil. Containers work too, usually with one or two emitters per pot on their own low-flow line.
What does a garden drip system cost?
A basic kit for a single raised bed runs $30 to $60. A full garden with multiple zones, a timer, and a pressure regulator typically lands between $100 and $250 depending on size. The pricing breakdown covers cost per bed and per zone, and the kit comparison is a good next stop if you’d rather buy a kit than build from parts.
How do I tell if I’m overwatering or underwatering?
Wilting during the hottest part of the afternoon that recovers by evening is normal heat stress, not underwatering. Wilting that doesn’t recover overnight, or yellowing lower leaves on a plant that’s getting regular water, usually points to overwatering and poor drainage rather than too little. The ten-minute dig test in the run-time guide settles it for your specific soil.
Start with the flow rates above, run it for a week, and adjust based on what the soil actually looks like a few inches down, not on a fixed schedule. For the parts and system-wide setup, the drip irrigation systems guide is the hub for everything else on this site.