

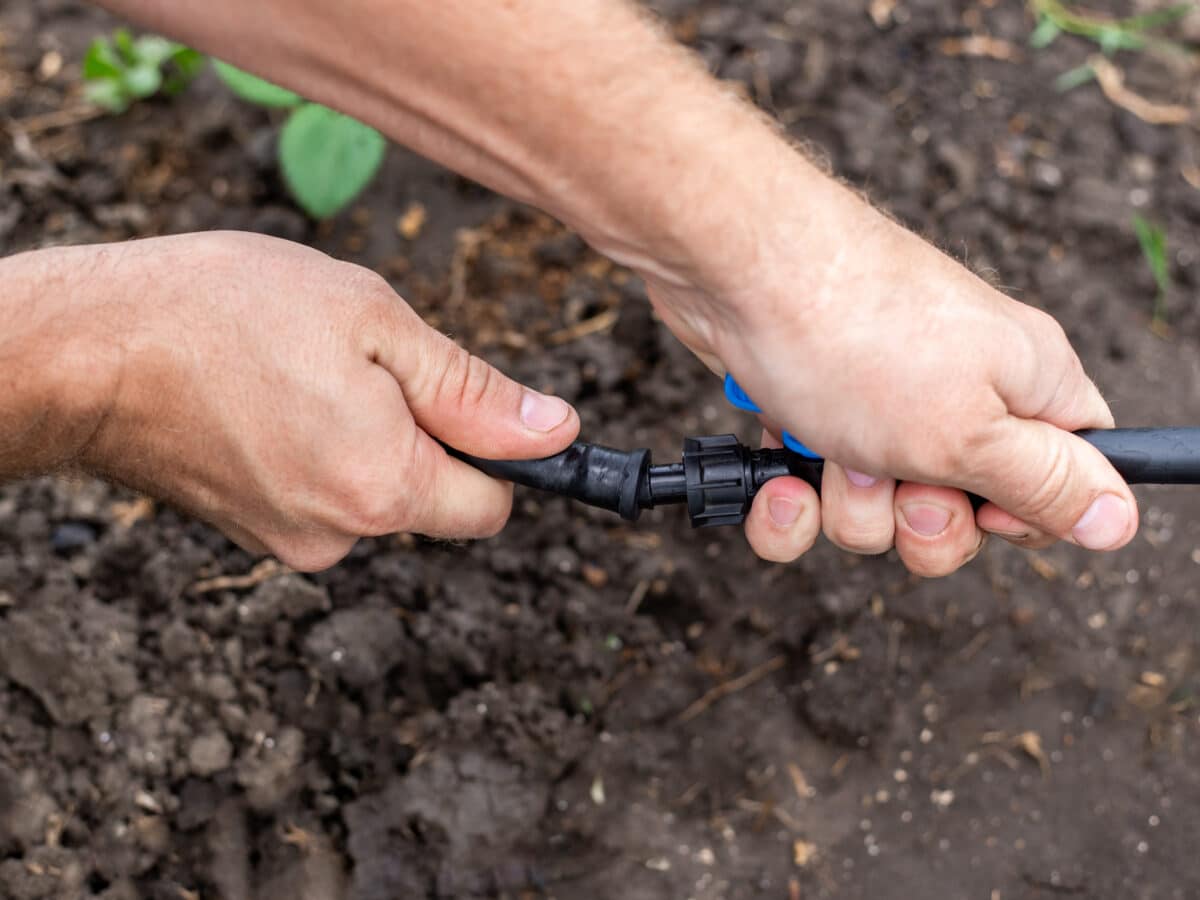
A DIY drip irrigation system sounds like a plumbing project. It isn’t. If you can connect a garden hose and poke a hole with a punch tool, you can build one, and the whole job for a typical garden takes a single afternoon.
Here’s the process I follow, from spigot to last emitter.
What a drip system actually is
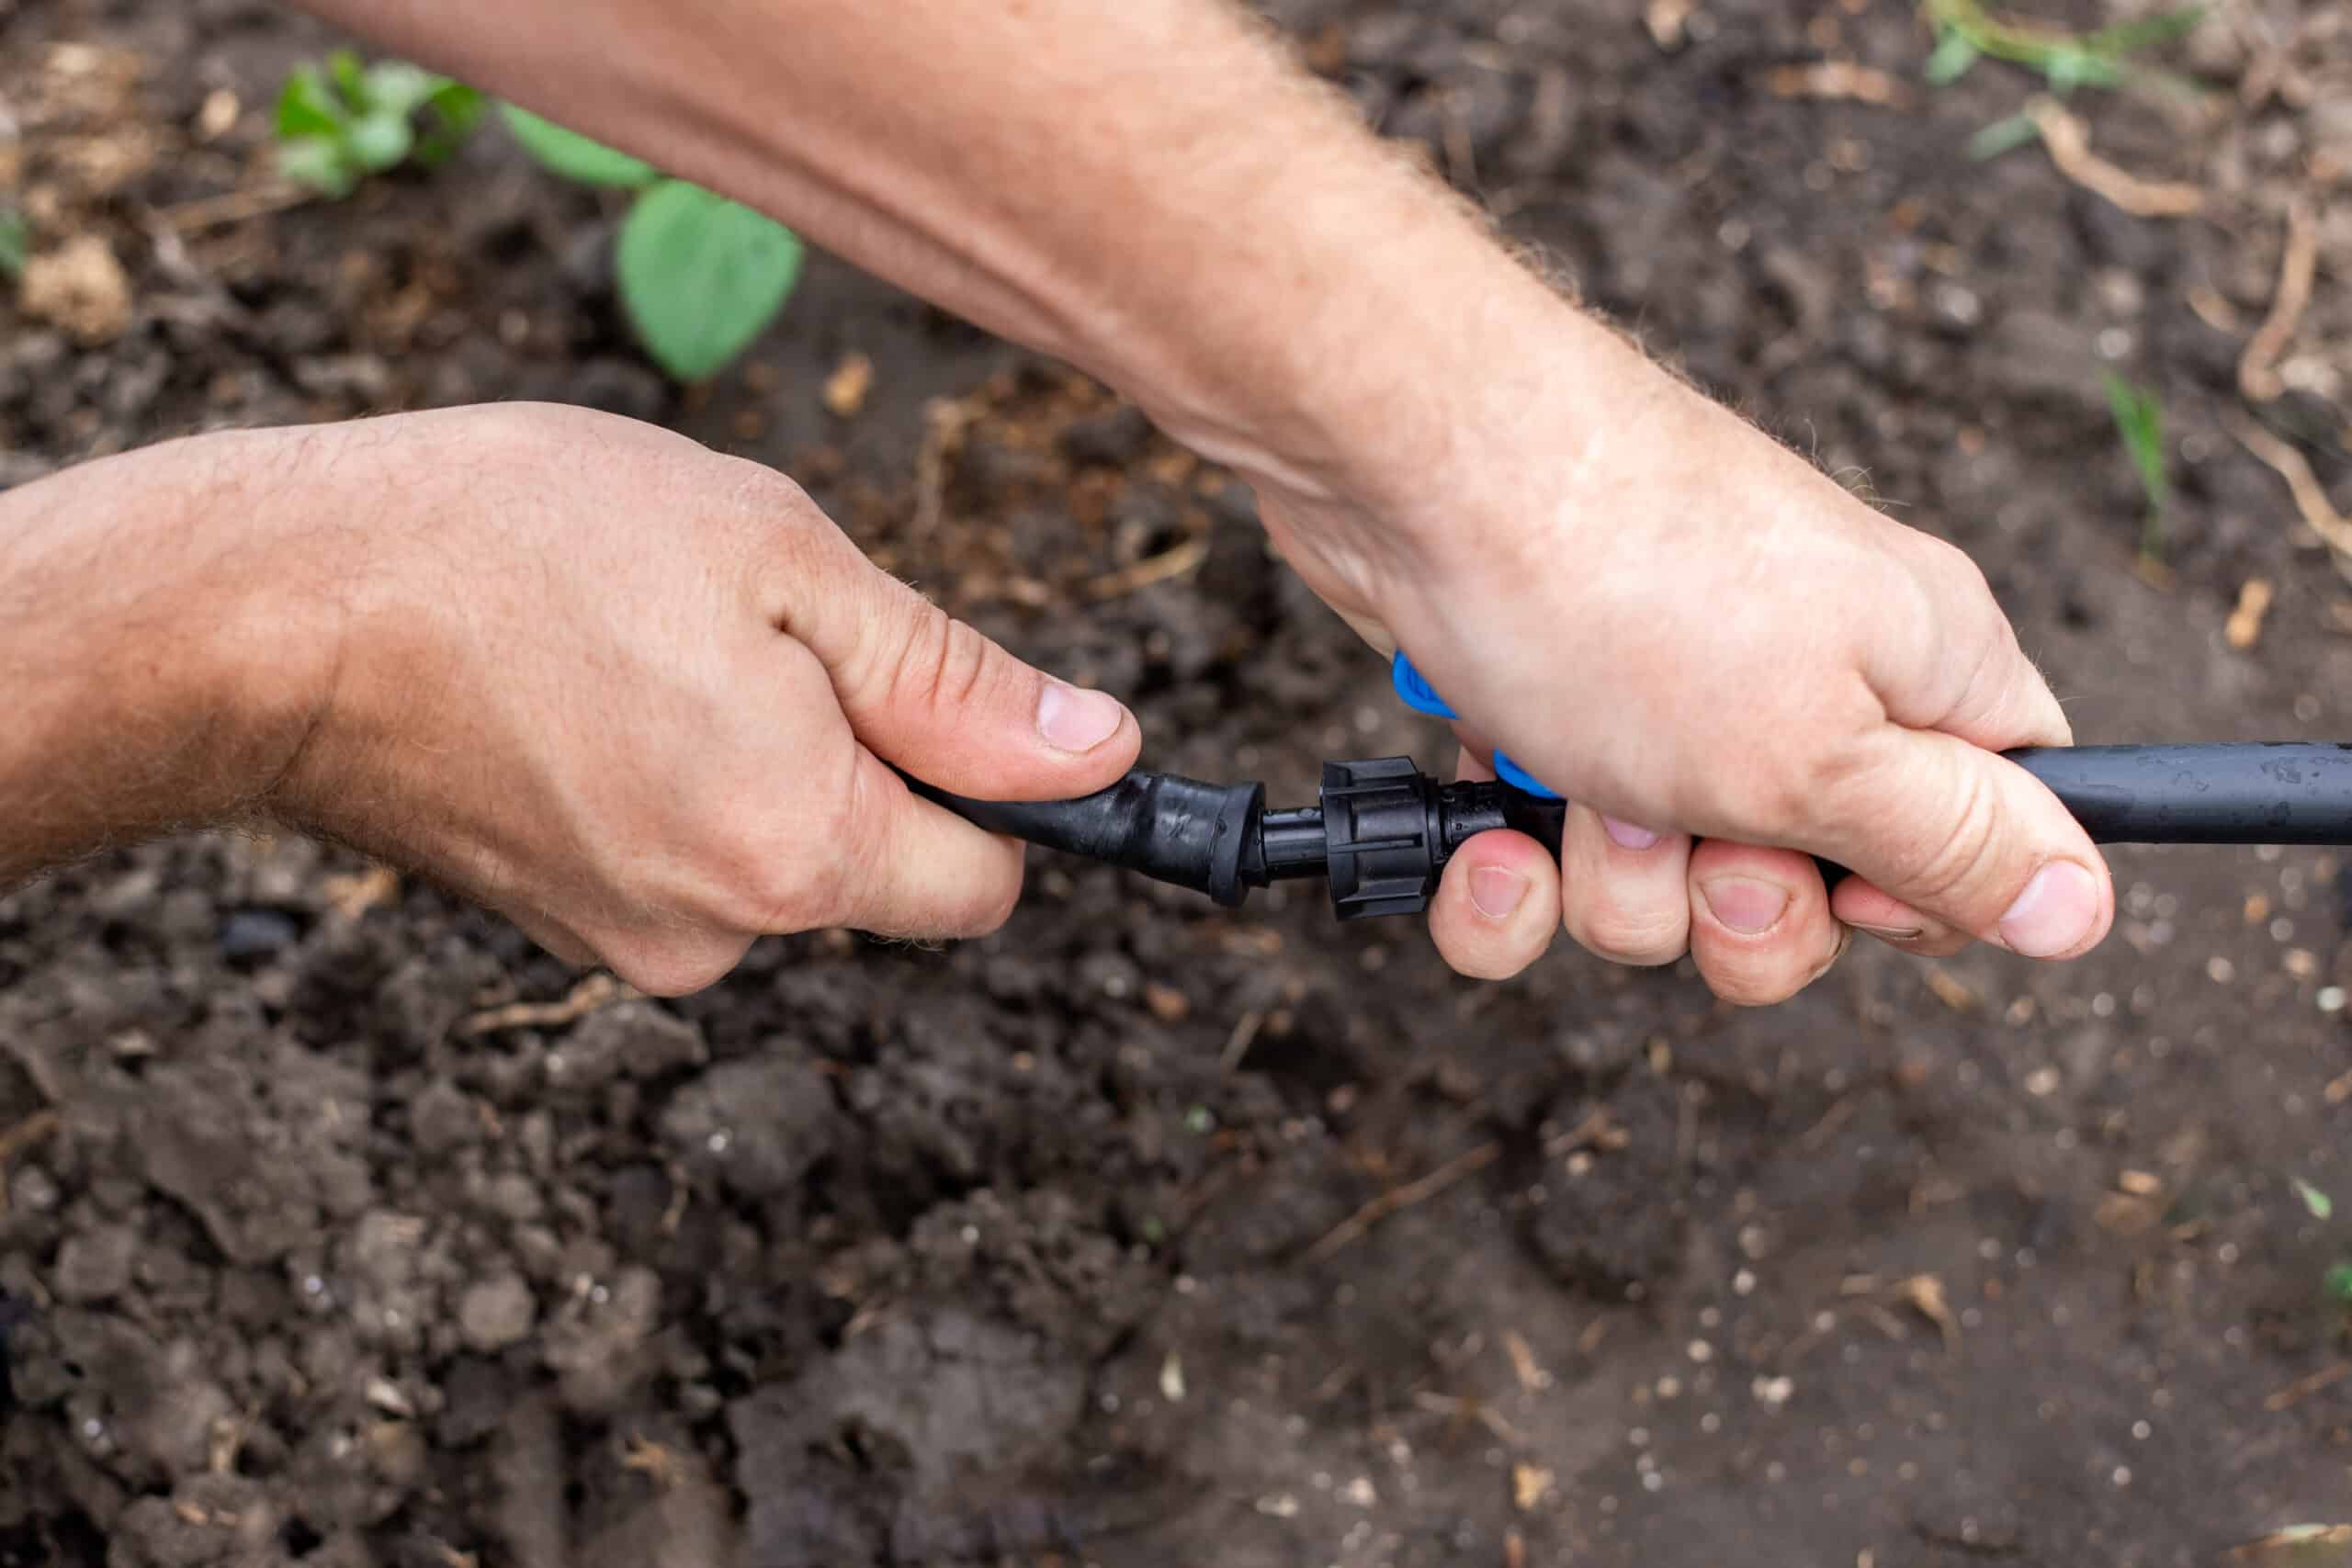
Strip away the jargon and every drip system is four parts in a row: a water source, a control assembly at the spigot, tubing that carries the water, and emitters that release it drop by drop at each plant. That’s it. Everything else is fittings.
Step 1: Sketch the layout on paper
Five minutes with a pencil saves an hour of re-laying tubing. Draw your garden roughly to scale and mark:
- The spigot location
- Every plant or row you want to water
- The path the mainline tubing will take to reach them
Group plants by thirst. Tomatoes and hydrangeas shouldn’t share a zone with drought-tolerant lavender, because a zone runs on one schedule. Most home gardens end up with one or two zones.
Step 2: Buy the parts
For one zone covering up to about 20 plants or a few raised beds:
- Backflow preventer
- 150-mesh filter
- 25 PSI pressure regulator
- Timer (optional, strongly recommended)
- 100 feet of 1/2-inch mainline tubing
- 50 feet of 1/4-inch micro tubing or dripline
- A bag of 1 GPH button emitters, plus a few 2 GPH for thirsty plants
- Barbed tees, couplings, goof plugs, end caps, stakes
- A punch tool (a dollar or two, don’t skip it)
Kits bundle most of this for $50 to $90, and they’re a fine way to start. If you want to compare, see best drip irrigation system.
Step 3: Build the spigot assembly
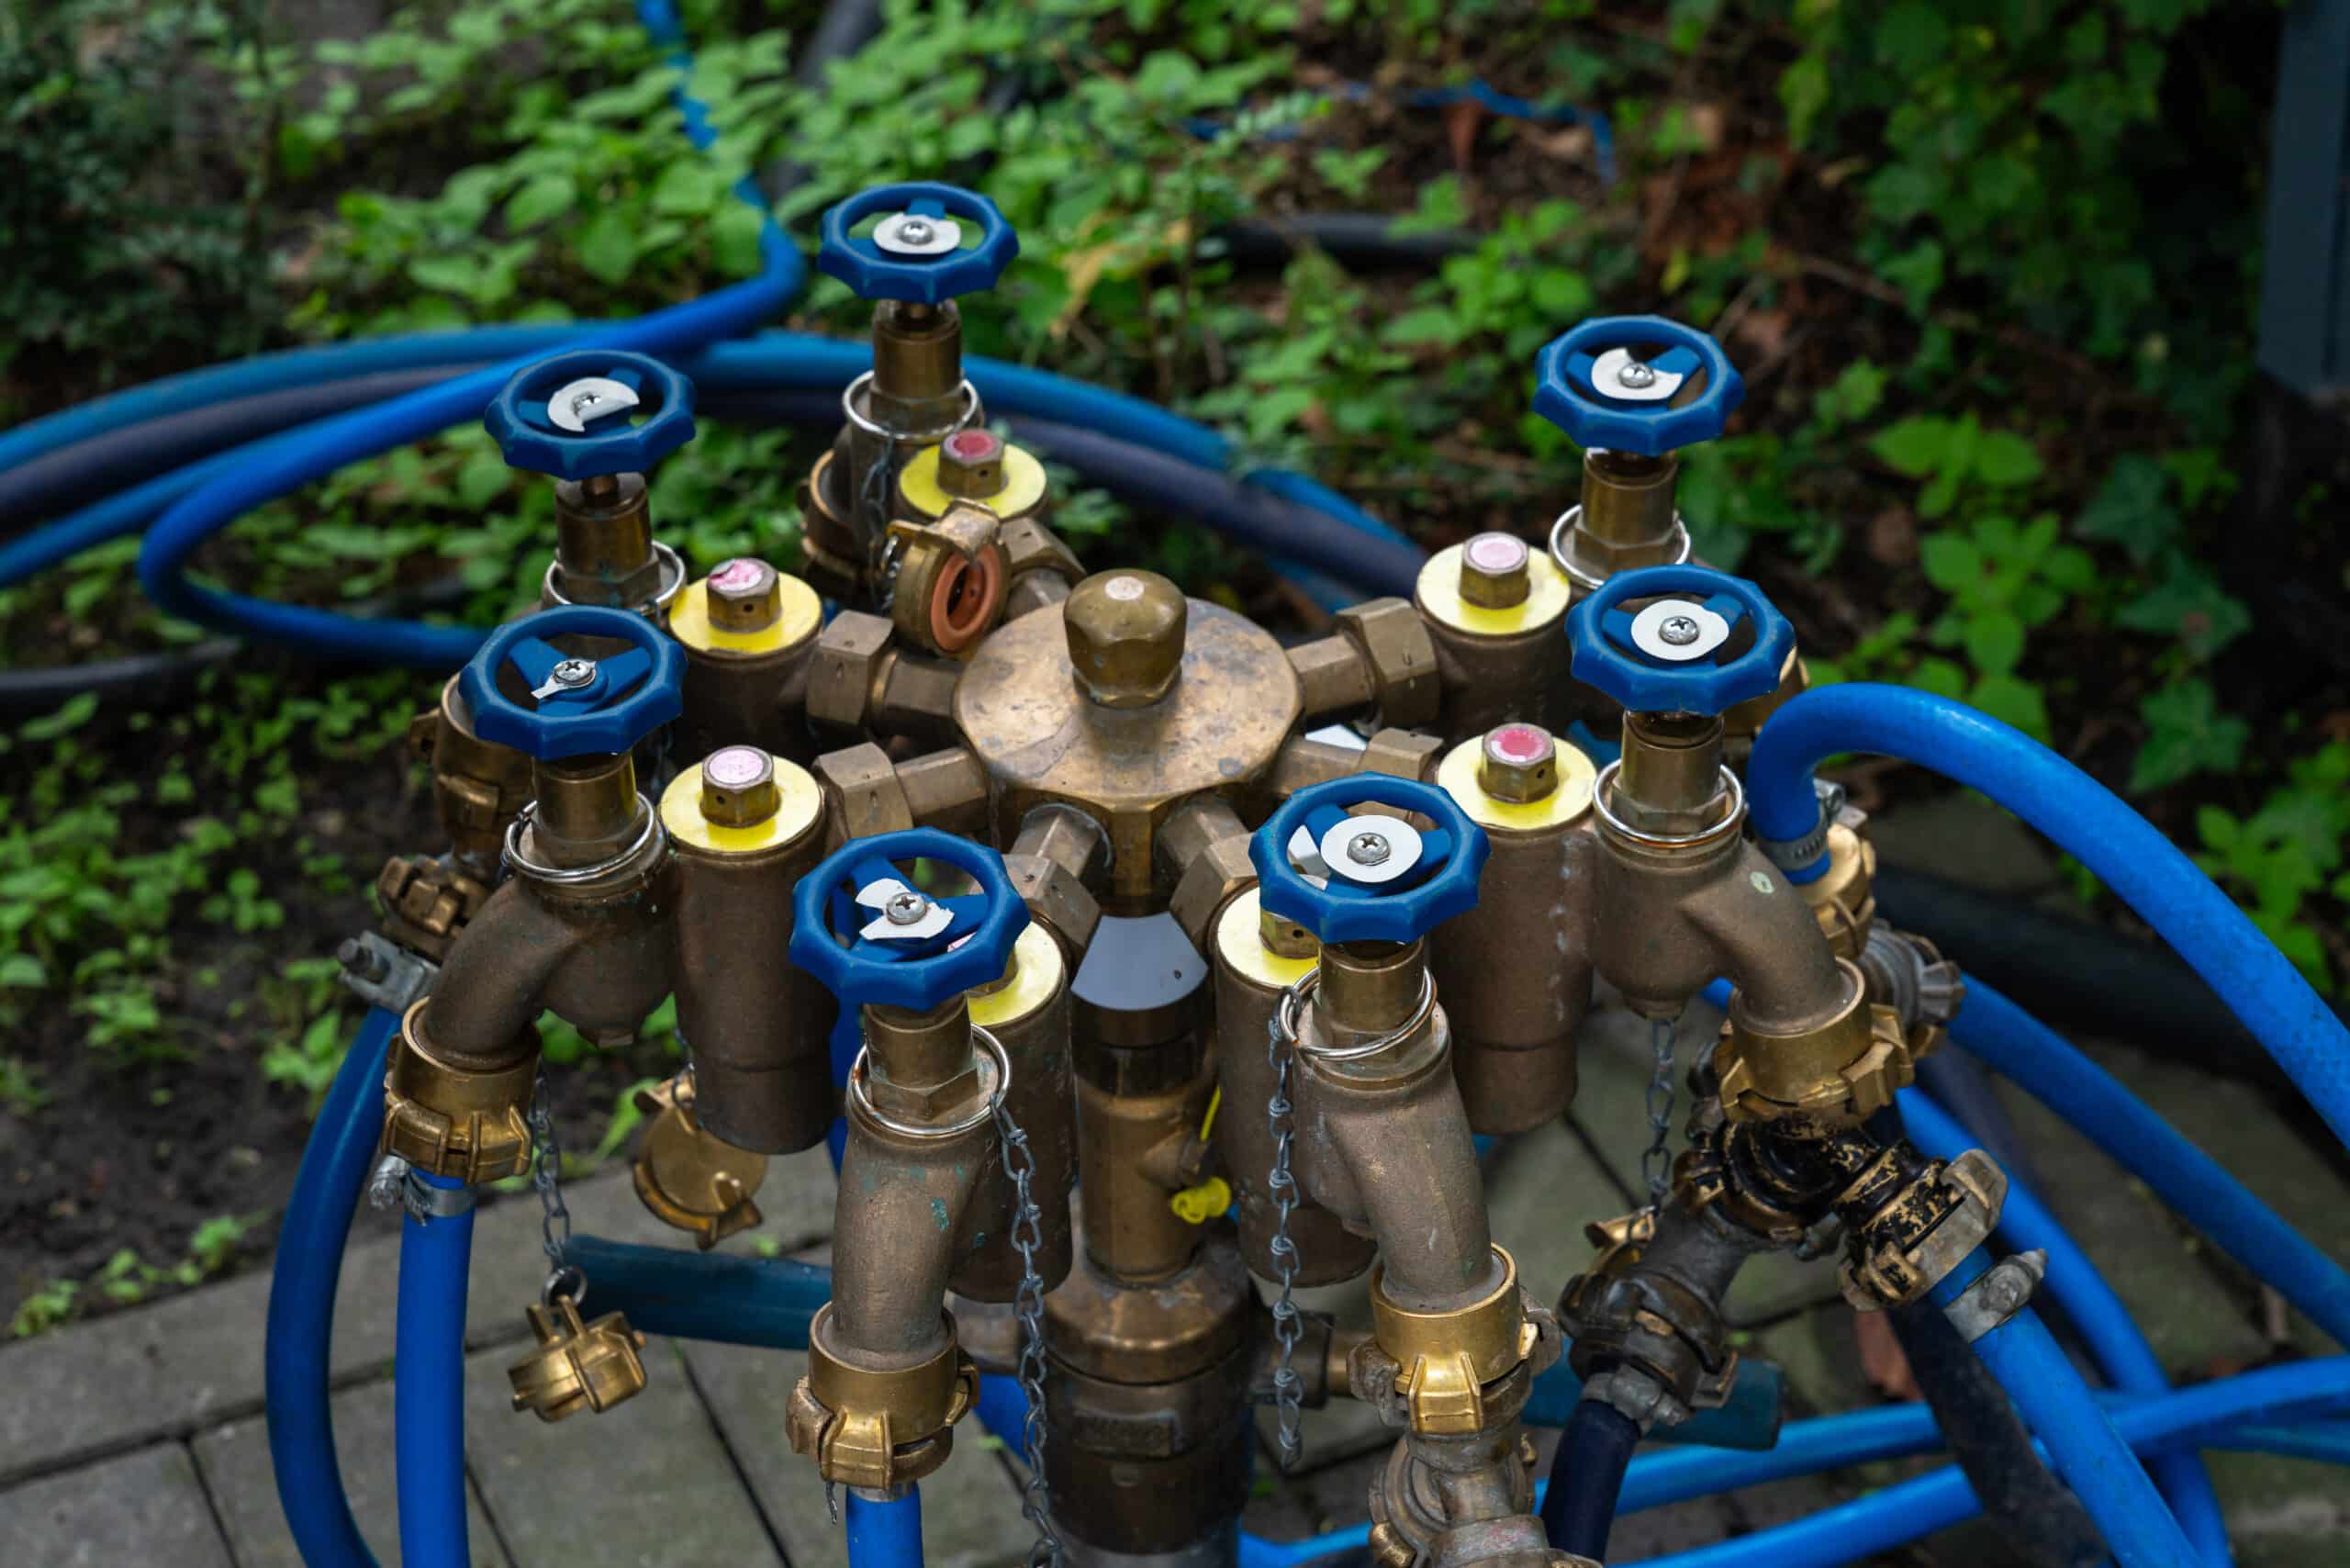
The order matters, and it’s always the same:
- Timer (if using one)
- Backflow preventer
- Filter
- Pressure regulator
- Tubing adapter to connect the mainline
Hand-tighten everything. These are plastic threads; a wrench just cracks them. The whole assembly screws together in about two minutes.
Step 4: Run the mainline
Lay the 1/2-inch tubing along the path from your sketch, following bed edges and borders where it can hide under mulch later. Leave the roll in the sun for 20 minutes first if it’s stiff; warm tubing uncoils instead of fighting you.
Cut it where it needs to turn, and use elbows and tees rather than kinking it around corners. A kink chokes the flow to everything downstream. Pin it down with a stake every few feet.
One limit to know: keep total 1/2-inch mainline runs under about 200 feet per zone. Past that, pressure loss makes the last emitters dribble. The size math is in drip irrigation tubing sizes.
Step 5: Add the emitters
Two approaches:
Individual emitters. Punch a hole in the mainline at each plant, push in a barbed connector, run a short length of 1/4-inch micro tubing to the plant, and cap it with a button emitter staked next to the root zone. One 1 GPH emitter for small plants, two or a 2 GPH for shrubs and tomatoes.
Dripline. For rows and beds, branch off the mainline with 1/4-inch dripline that has emitters built in every 12 inches. Faster to install, harder to get wrong. My raised bed guide uses this method: drip irrigation for raised beds.
Place emitters at the drip line of the plant (the edge of the foliage), not against the stem. Roots grow toward moisture, and watering at the crown invites rot.
Step 6: Flush, cap, test
Before capping the ends, run the system for two minutes with the ends open. Dirt and plastic shavings from cutting flush out instead of clogging your new emitters. Then cap the ends, run it again, and walk the line.
Check each emitter. Ones that dribble nothing usually have a kinked feeder tube or a half-seated barb. Ones that spray are missing their emitter or have a punctured line, which is what goof plugs are for. Five minutes of tinkering here is normal on a first build.
Step 7: Set a schedule
Start with 45 minutes every other day for vegetables and annuals, or two deep sessions a week for shrubs, then adjust by feel. Dig into the soil a few inches an hour after a run: moist like a wrung sponge is the target. The full method is in how long to run drip irrigation.
What it costs and what it saves
Ballpark for the system above: $60 to $110 with a timer. What you get back is real: drip uses 30 to 50 percent less water than sprinklers for the same result, because nothing evaporates mid-air or lands on paths. University extension trials have repeated that finding for decades. And you get your evenings back.
FAQ
Can I connect drip to a regular outdoor spigot?
Yes, that’s exactly what this guide does. You don’t need to tap into irrigation lines or call a plumber.
How long does installation take?
A simple one-zone setup for a bed or border: 2 to 4 hours including the trip to the store. A multi-zone yard system: a weekend.
Do I have to bury the tubing?
No. Cover it with 2 to 3 inches of mulch instead. It looks tidy, protects the plastic from UV, and you can still pull it up to make changes.
What if I have low water pressure?
Drip is the friendliest system for low pressure. It runs at 15 to 30 PSI, where sprinklers need 30 to 50 to throw water properly.
That’s the whole build. If a fitting pops or an emitter clogs mid-season, the fixes are in drip irrigation repair. And if you’d rather start with the shopping list, Installation Guides has the rest of the series.