

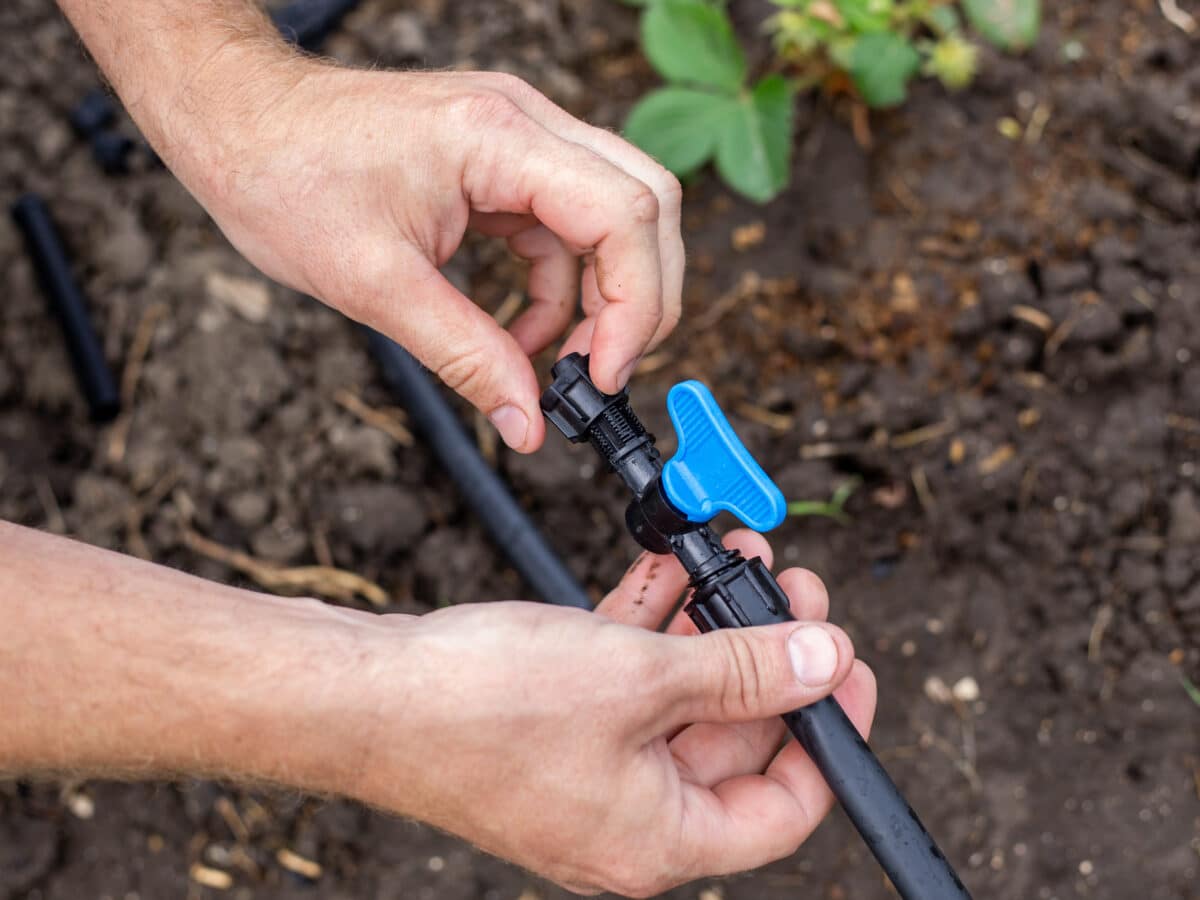
A pop-up sprinkler zone throws water at everything: the bed, the sidewalk, the side of the shed, and about a third of what it actually needs to soak into your plants’ roots. Converting that zone to drip irrigation keeps the existing valve, pipe, and controller, and just changes what’s downstream of the last riser. No trenching, no new wiring, and for most zones it’s a weekend job, not a plumbing overhaul.
Here’s how the conversion actually works, what parts you need that a fresh drip install doesn’t, and the one step almost everyone forgets: reprogramming the controller for drip run times instead of sprinkler run times.
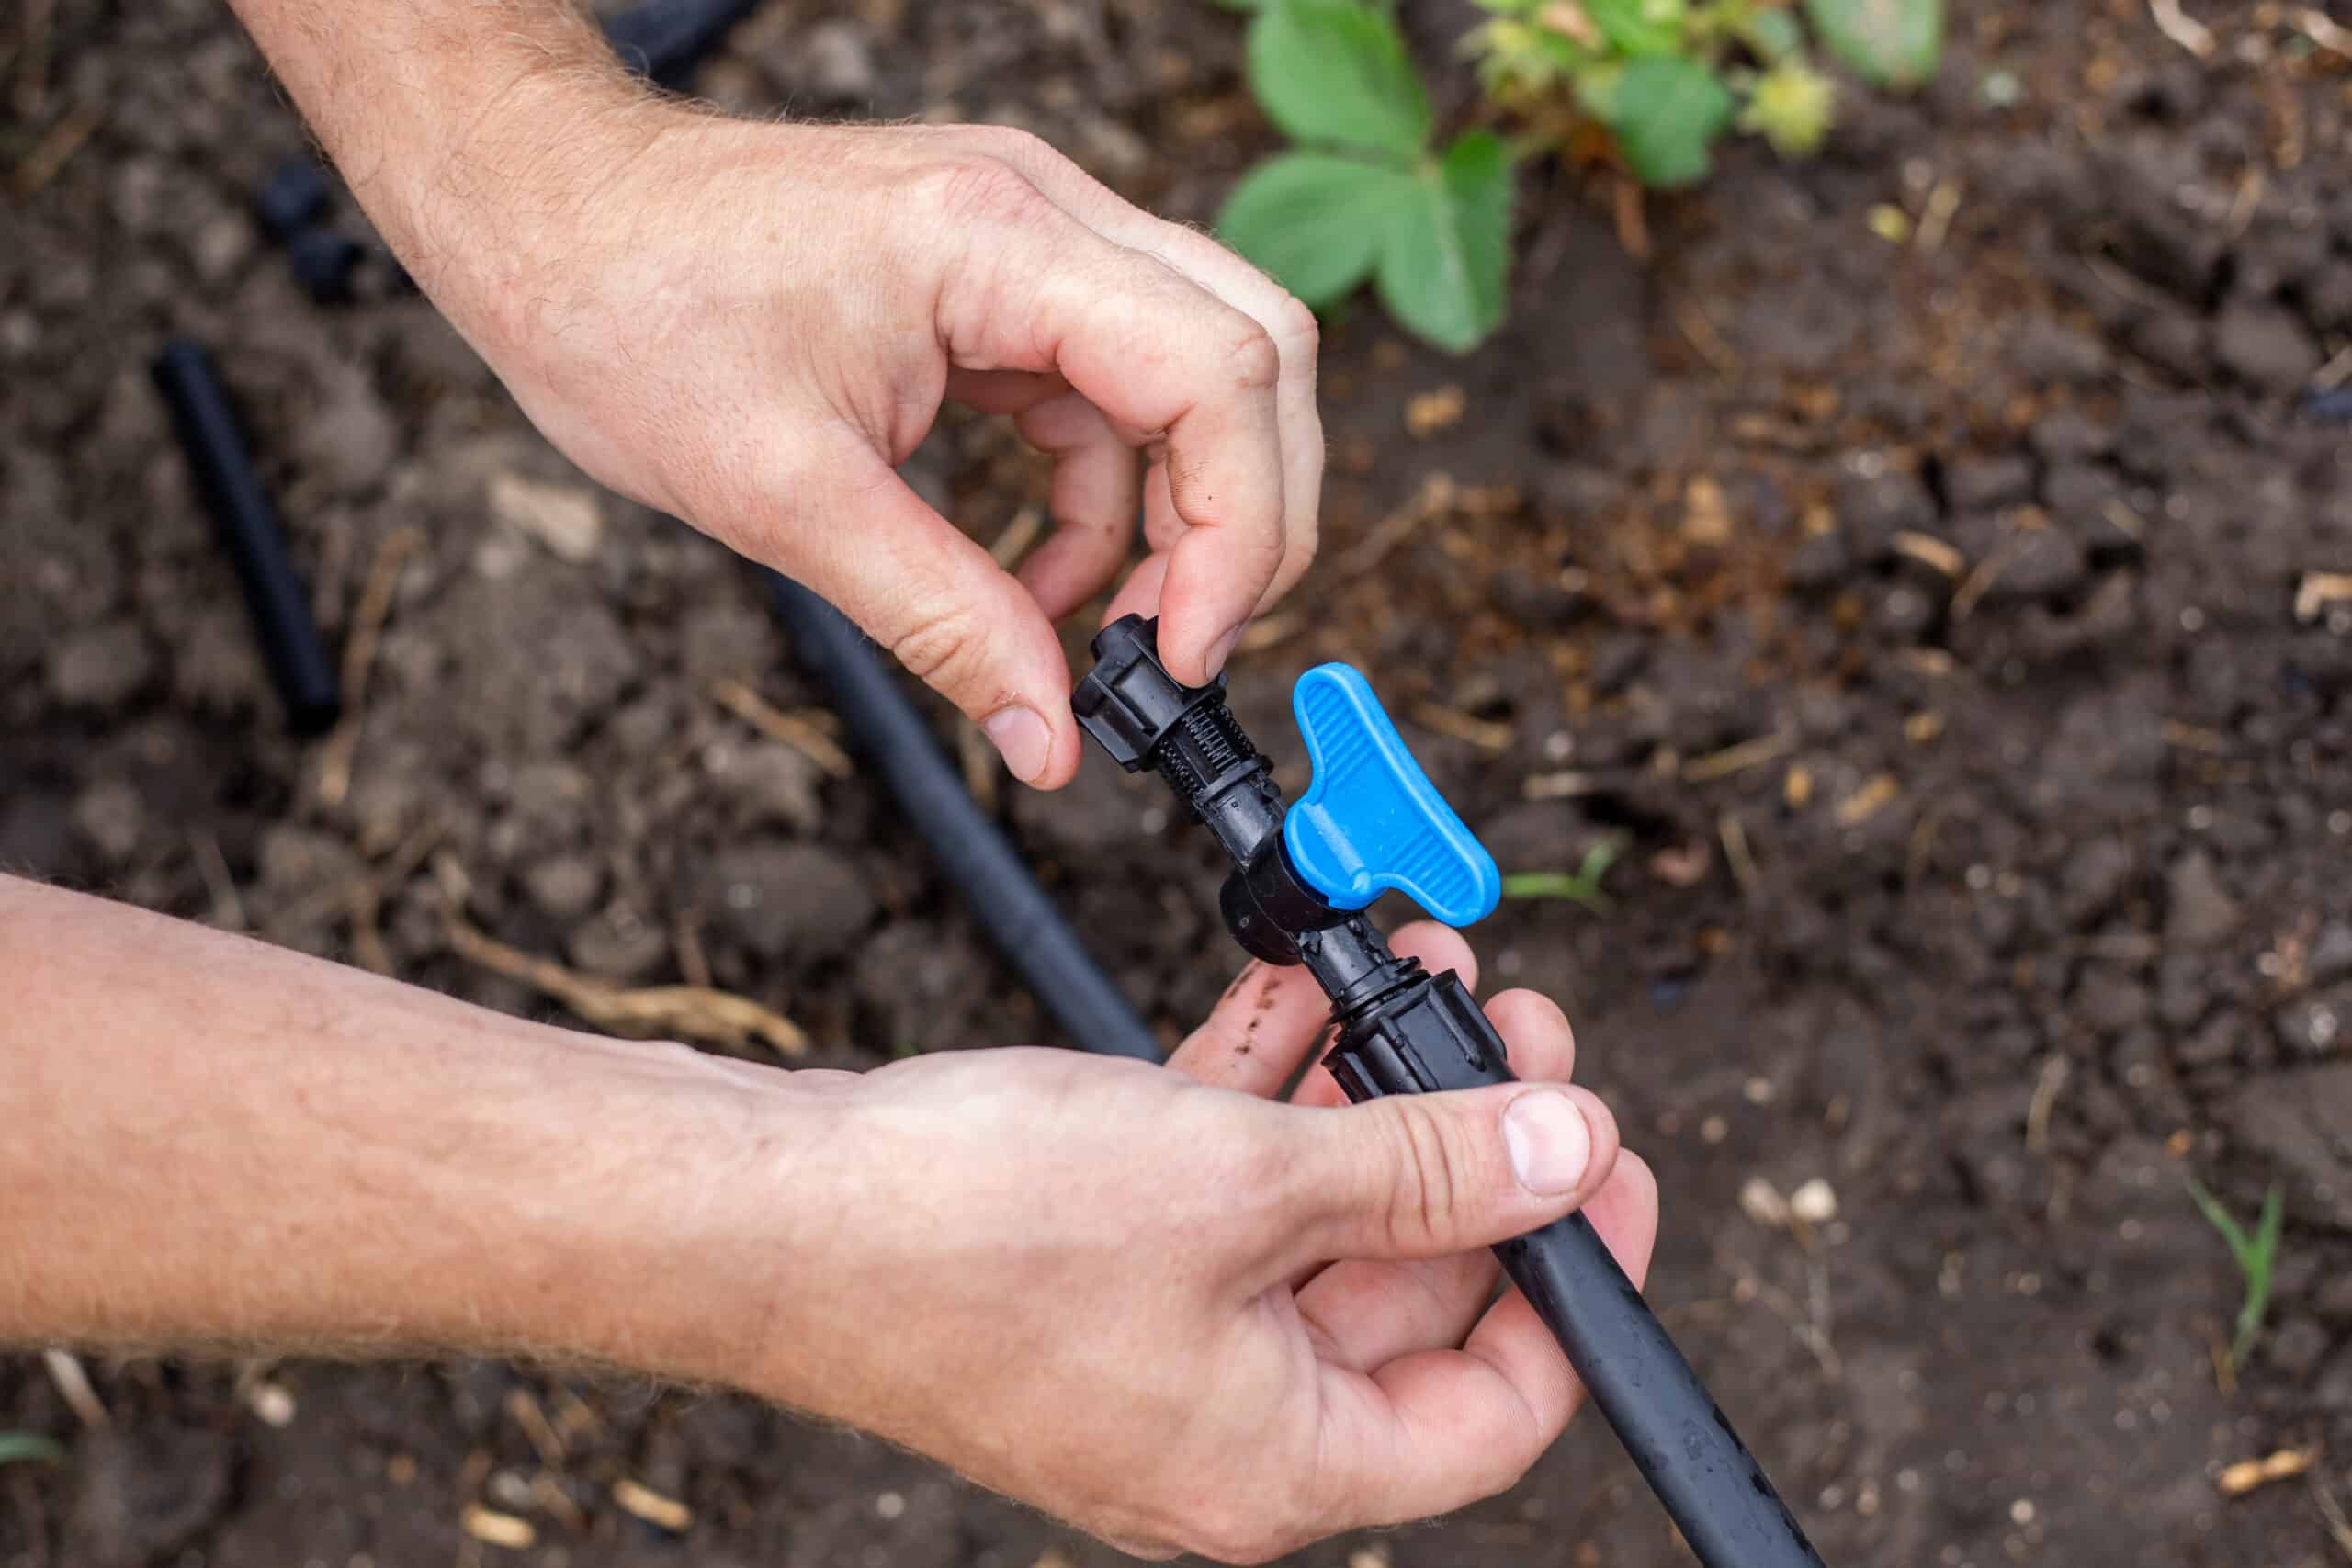
Why convert instead of ripping it all out
The valve, the buried pipe, and the timer are the expensive parts of a sprinkler system, and none of them need to change. Converting swaps only what sits above ground: heads come off, and drip tubing with emitters or dripline takes their place, fed from the same riser. You keep the automation and cut water use on that zone by something like 30 to 50 percent, since drip puts water at the root instead of into the air and onto the driveway.
It’s also a good middle step if you’re not ready to build a whole new drip system from scratch. Convert one bed or border zone first, see how it performs over a season, then decide whether to do the rest. Building a zone with no existing sprinkler infrastructure at all is a different process, covered in how to install drip irrigation; this guide is specifically about retrofitting a zone that already has sprinkler heads and a working valve.
Check your valve type before you buy anything
Almost any in-ground sprinkler valve, standard automatic zone valves included, works fine feeding a drip zone once the pressure is brought down. Worth confirming first: whether the valve already has anti-siphon or backflow protection built in, common on hose-bib-style anti-siphon valves. If it does, you don’t need a separate backflow preventer in the drip assembly. Buried inline valves with no visible anti-siphon body may need backflow protection added at the converted zone; check your local code.
What you need for the conversion
This is a shorter list than a from-scratch build, because the valve, buried pipe, and controller already exist. What’s new is everything from the riser outward:
- Drip conversion adapter or riser adapter that threads onto the existing riser or valve outlet in place of the sprinkler head
- 150-mesh filter, even if your water looks clean; sprinkler systems don’t filter, and drip emitters clog on grit sprinkler heads never noticed
- Pressure regulator, 25 PSI for standard emitters and dripline; sprinkler zones commonly run 30 to 60 PSI at the riser, well above what drip parts are built for
- 1/2-inch mainline tubing, elbows, tees, stakes, and end caps to route from the riser through the bed
- 1/4-inch dripline or individual emitters, matched to how the plants in that zone are arranged
- Punch tool and goof plugs for adding or capping tap points
The regulator is the part people most often skip on a conversion, on the logic that “the sprinklers ran fine at this pressure.” Sprinkler heads are built for 30 to 60 PSI; drip emitters and dripline are built for 15 to 30. Skip the regulator here and fittings blow off or emitters spray instead of drip, the same failure mode covered in more depth in pressure regulator for drip irrigation.
Step by step: converting a sprinkler zone to drip
Step 1: Pick one zone and turn it off at the valve or controller
Convert zone by zone, not the whole yard in one afternoon. Pick the zone wasting the most water right now, usually a bed or border rather than open lawn, since drip doesn’t cover turf well (lawn conversion is a separate, more involved project). Shut the zone off at the controller before touching any heads.
Step 2: Remove the sprinkler heads and cap or adapt the risers
Unscrew each pop-up head from its riser. Two options: cap risers you no longer need and run one drip adapter from a single riser near the front of the zone, or convert each riser individually, useful if plants are spread out and you want multiple feed points. Most beds do better fed from one or two points rather than every old riser location.
Step 3: Build the head assembly at the feed point
Same order as any drip head assembly, just starting from the riser adapter instead of a spigot: adapter, filter, pressure regulator, then the tubing adapter to 1/2-inch mainline. Hand-tight only; plastic threads crack under a wrench, same rule as any other drip fitting.
Step 4: Run the mainline and place emitters
Route 1/2-inch tubing along the bed from your feed point, following the same layout logic as any drip zone: keep a single mainline run under roughly 200 feet, and use dripline for rows or dense planting, individual button emitters for scattered shrubs and containers. The full logic on zone shape and emitter spacing is in drip irrigation system layout if the bed you’re converting is oddly shaped or mixes plant types.
Step 5: Flush, test, and mulch
Leave the mainline ends open and run the zone for a minute or two to flush out any grit or plastic shavings from cutting, then cap the ends. Turn the zone on at the controller and walk the whole run checking for weeping fittings, sprays, or a weak far end, exactly like testing a new-build system. Cover the tubing with 2 to 3 inches of mulch once everything checks out.
Step 6: Reprogram that zone’s run time
This is the step that trips people up most, and I get why: it’s easy to finish the physical install and just leave the controller alone. A sprinkler zone might have run 10 minutes, three times a week. Drip delivers far less water per minute than a spray head, so the same zone on drip typically needs 30 to 60 minutes to put down a comparable amount of water, and the frequency usually drops since drip encourages deeper, less frequent watering. Leaving the old sprinkler run time in place after a conversion is the single most common reason people think “drip doesn’t work as well,” when really the zone is just badly underwatered on the old schedule.
Sprinkler run time vs. drip run time, as a starting point
These are rough conversions to reprogram from, not a guarantee for your exact setup, since actual flow depends on your emitter GPH, dripline spacing, and how many are on the zone. Confirm with the dig test below before locking in a schedule.
| Old sprinkler schedule | Starting drip schedule | Notes |
|---|---|---|
| 10 min, 3x/week | 30-40 min, 2x/week | Typical shrub or mixed bed zone |
| 15 min, 3x/week | 45-60 min, 2x/week | Vegetable or annual bed, higher water demand |
| 8 min daily | 30-45 min, every other day | Container or raised bed zone |
| 20 min, 2x/week | 60-90 min, 1-2x/week | Trees or established hedges on the converted zone |
Dig down about 4 inches with a trowel an hour after a run. Soil that feels like a wrung-out sponge means the new run time is close; bone dry means add time, soggy means back it off. The same dig-test logic, with more detail by plant type, is in how long to run drip irrigation.
Mistakes worth avoiding
Skipping the pressure regulator
Sprinkler-zone pressure is too high for drip components, full stop. Fastest way to a blown fitting in week one.
Leaving the old run time programmed
The most common complaint after a conversion, and it’s almost never the drip system’s fault. Reprogram that zone specifically.
Converting the whole yard on the first weekend
One zone at a time lets you catch layout mistakes and dial in the schedule before committing every zone to an untested system.
Trying to convert lawn zones
Drip works well for beds, borders, and rows. Turf needs different products; see lawn drip irrigation before assuming a straight conversion works on grass.
FAQ
Can I convert just one zone and leave the rest as sprinklers?
Yes, and it’s the recommended approach. Each valve controls its own zone independently, so converting one bed to drip has no effect on the sprinkler zones that stay as they are.
Do I need a new controller or smart timer?
No. Your existing controller just needs that zone’s run time and frequency adjusted for drip. Nothing about the wiring or the valve itself changes.
Will my existing valve handle the lower flow of a drip zone?
Almost always. Standard irrigation valves are rated for a flow range wide enough to cover both sprinkler heads and a drip zone’s lower demand. The exception is a valve sized only for a large sprinkler load with a very low minimum flow rating, uncommon in residential systems.
How much does converting one zone typically cost?
Parts for a single bed-sized zone, adapter, filter, regulator, tubing, and emitters, generally run $30 to $70, cheaper than a from-scratch drip build since the valve and buried pipe already exist. A broader cost breakdown is in drip irrigation system price.
Converting a sprinkler zone to drip is mostly a swap at the riser and a rewrite of one line in the controller schedule. Get the pressure regulated, the run time reset, and the rest behaves exactly like any other drip zone. For the parts catalog and what each piece actually does, see drip irrigation components and parts explained, and the rest of the setup guides live in Installation Guides.