

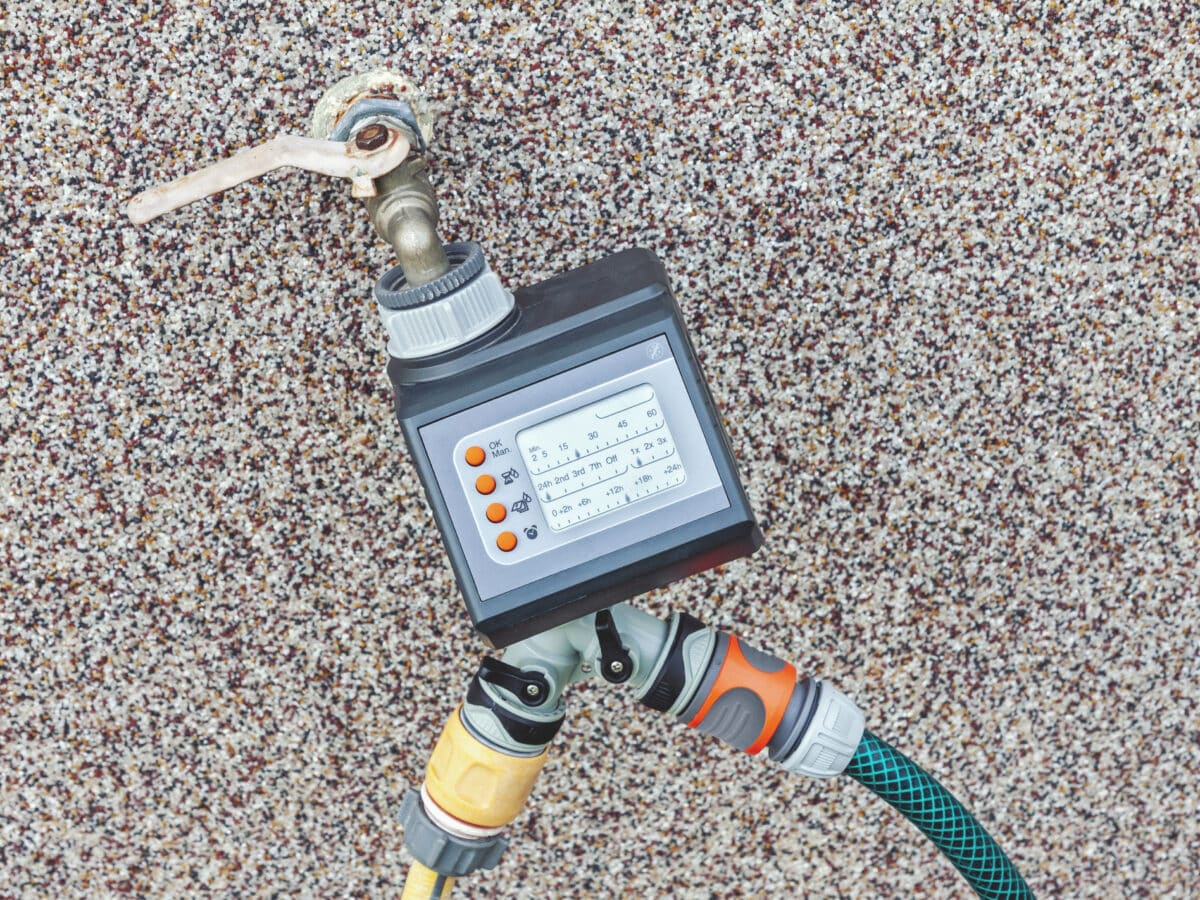
Every drip irrigation system starts at the same place: a standard garden hose spigot. The tubing, the emitters, the timer, none of it matters if the connection at the faucet is wrong. Get four parts screwed on in the right order and the rest of the install is easy. Here’s exactly how to do it.
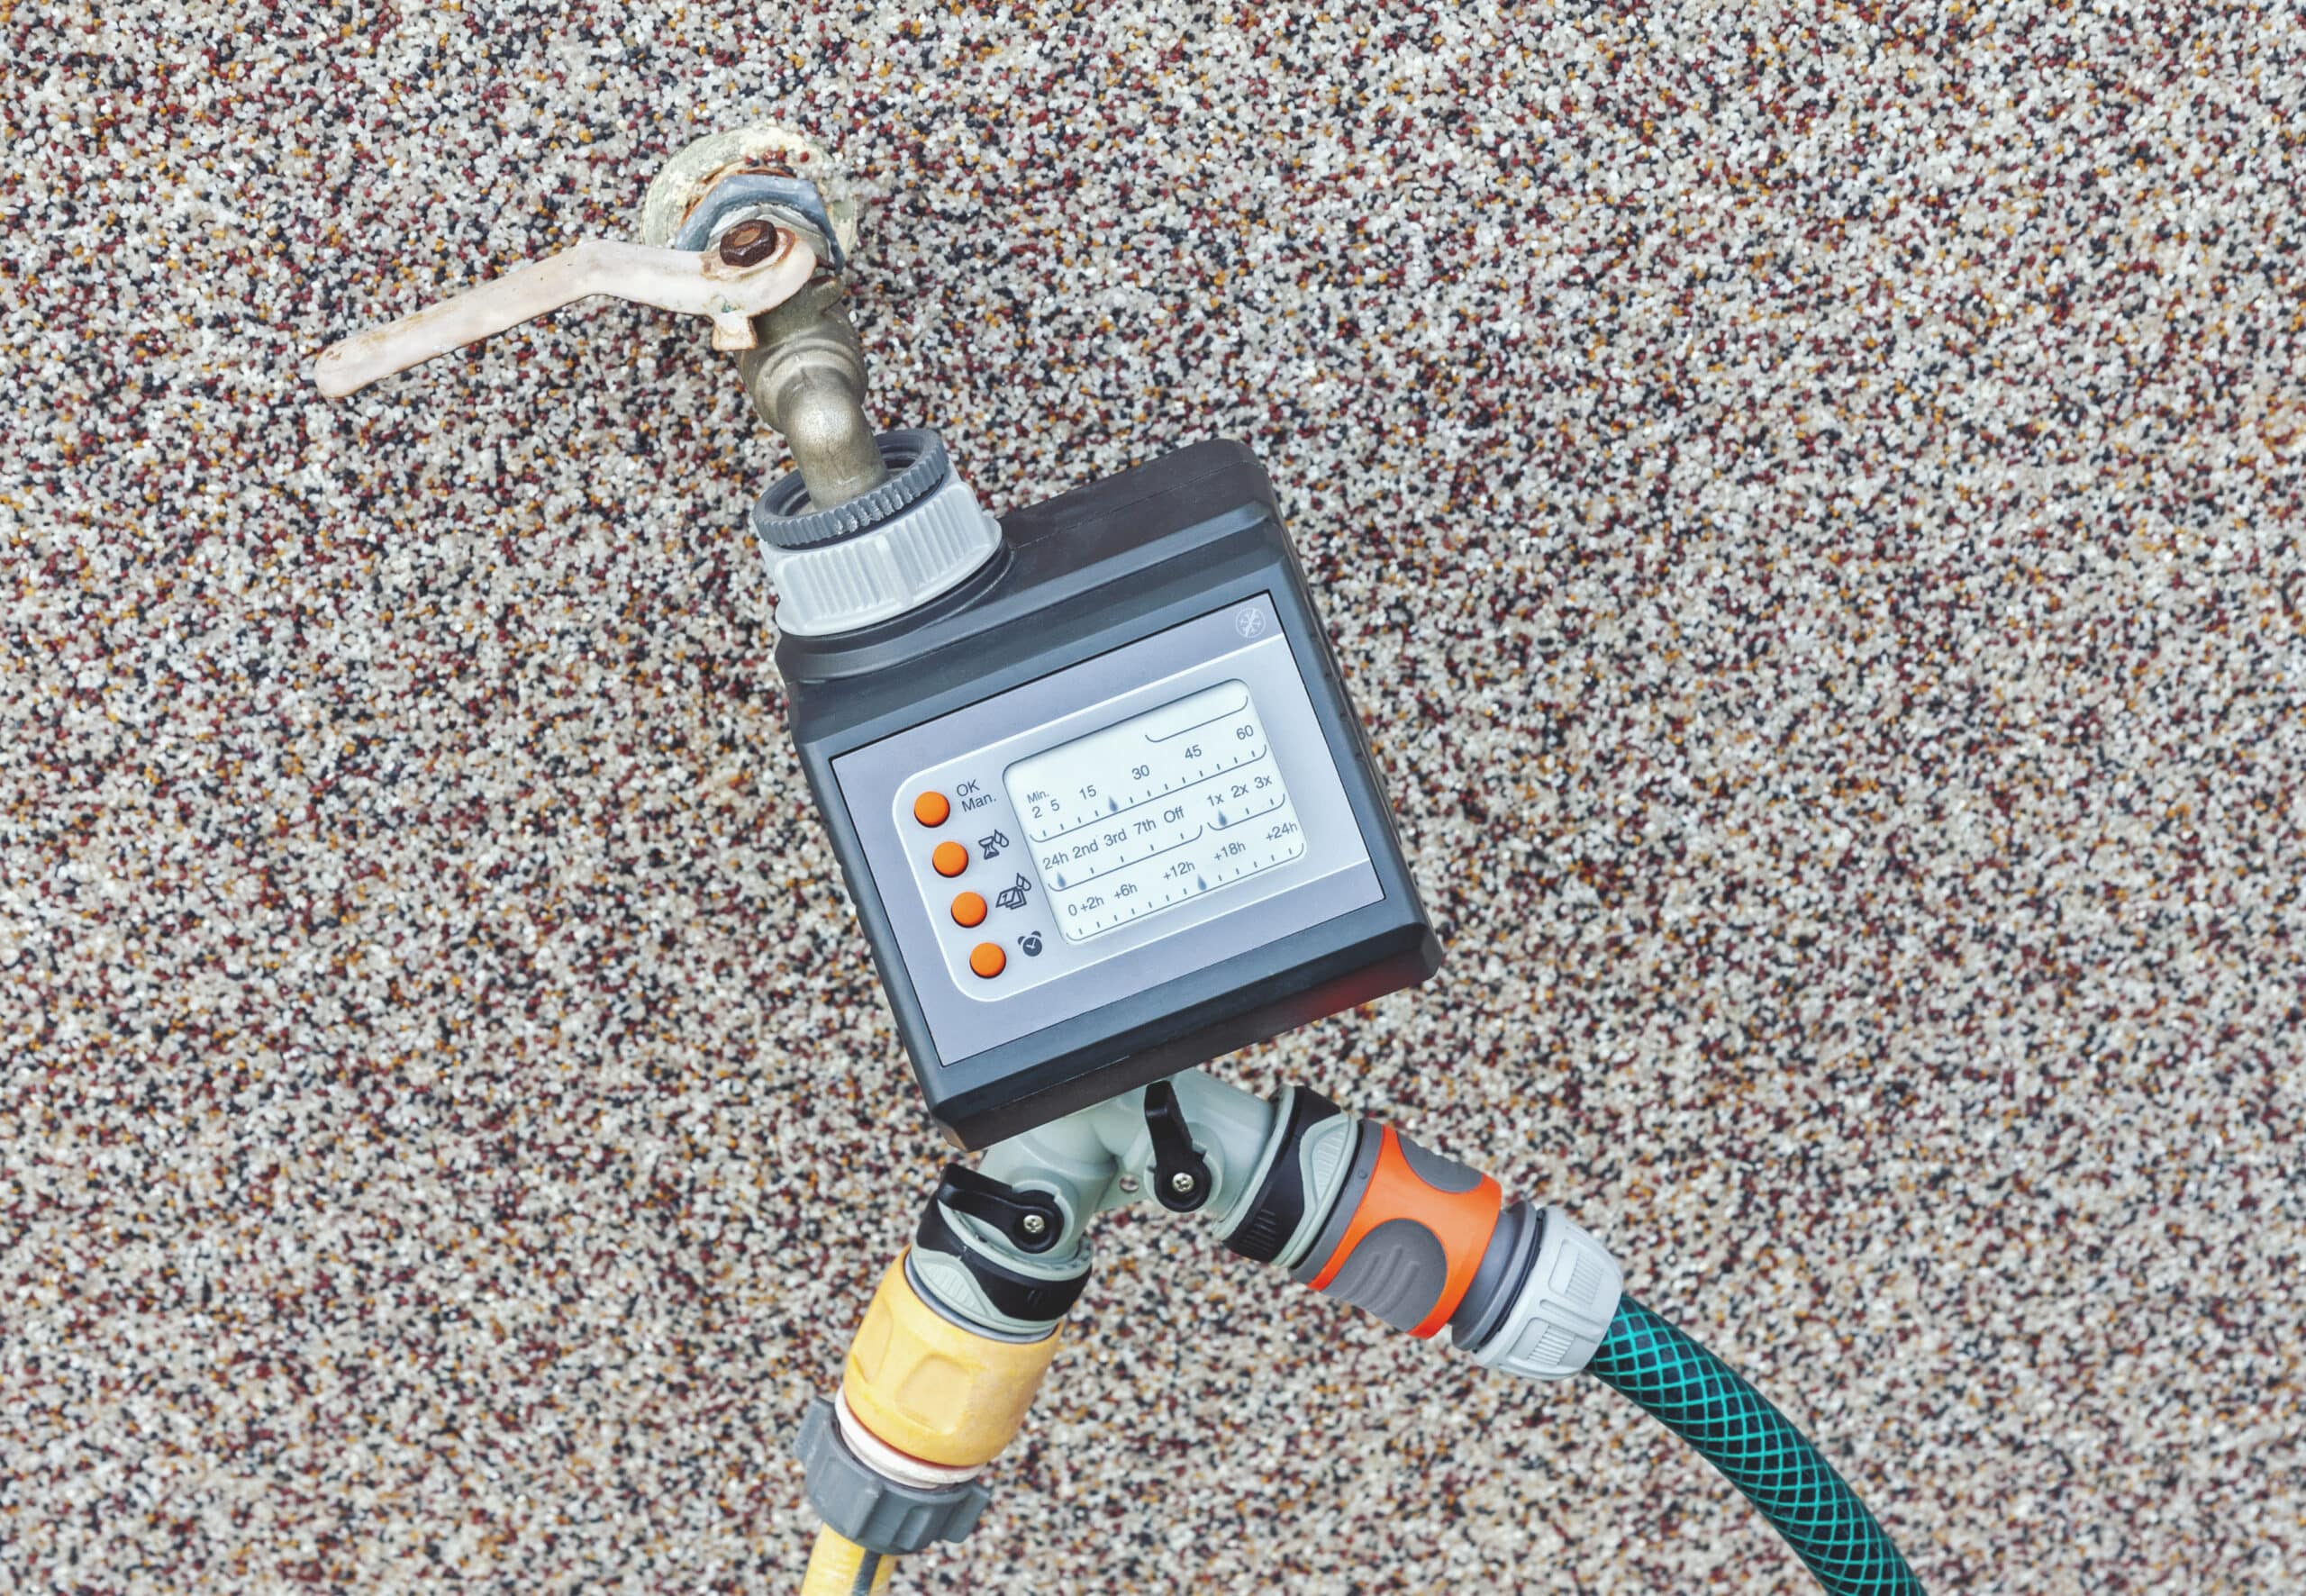
What you’re actually connecting
Drip irrigation tubing doesn’t screw onto a spigot by itself. Almost every outdoor faucet in the US uses standard garden hose thread (GHT), a 3/4-inch coarse thread, the same one your hose already screws into. Drip components use a different, finer thread built for low-pressure micro-irrigation parts. The connection between the two happens through a short stack of adapters, and getting that stack right is the whole job.
The four parts, and why each one exists
Buy these four pieces before you start. Individually they’re cheap, usually a few dollars each, and most drip irrigation kits bundle all four together.
- Hose-thread adapter. Screws onto the spigot’s 3/4-inch GHT threads and steps down to the smaller thread that drip fittings use.
- Backflow preventer. Also called a vacuum breaker or check valve. It stops water, and anything sitting in your tubing or a fertilizer injector, from siphoning back into the house’s drinking water. Some municipal codes require one; it’s worth installing even where they don’t.
- Filter. A mesh screen, usually 150-mesh for a typical home system, that catches sediment before it reaches the emitters. Emitter openings are small enough that even fine grit clogs them. The filter guide goes deeper on mesh sizes if your water is sandy or comes from a well.
- Pressure regulator. Steps household pressure (40 to 80 PSI) down to the 15 to 30 PSI drip parts are built for. Skip this one and something eventually pops. The full explanation of why is in the pressure regulator guide.
Beyond these four, you’ll also need a length of 1/2-inch mainline tubing (or drip tubing/soaker hose, depending on what you’re running) and a tubing adapter to transition from the last threaded fitting to the actual hose.
The order matters
These parts don’t thread on randomly. Screwed together in the wrong sequence, the system still looks assembled, but it won’t work right, or it’ll fail faster than it should. Assemble them in this order, spigot to garden:
- Hose-thread adapter onto the spigot first. This is what lets everything downstream use finer drip-compatible threads instead of full-size garden hose thread.
- Backflow preventer next. It needs to sit as close to the water source as possible so nothing downstream can ever siphon back into the supply.
- Filter after the backflow preventer. Filtering happens before the water reaches anything with small openings, which at this point is everything downstream of here.
- Pressure regulator last in the threaded stack. Filters have larger internal parts that tolerate full household pressure fine; drip fittings don’t. Putting the regulator after the filter means the filter housing sees full pressure (which it’s built for) and everything past the regulator sees the gentle, regulated pressure it needs.
- Tubing adapter, then your mainline or soaker hose, connects to the downstream end of the regulator.
How to connect it, step by step
- Turn off the water and check the thread type. Look at your spigot’s threads. Standard US hose bibs use 3/4-inch GHT, which is what the hose-thread adapter is built for. If you’re on an unusual fitting (some older homes, some countries use metric or BSP threads), check before buying parts, not after.
- Wrap the spigot threads with 2-3 turns of plumber’s tape. This isn’t strictly required on every fitting, most drip parts use a rubber washer instead of relying on the threads to seal, but it doesn’t hurt and it’s cheap insurance against a weeping connection.
- Screw on the hose-thread adapter. Hand-tight is enough. Plastic threads on drip fittings crack under a wrench, and you don’t need one, these parts are designed for hand tightening.
- Thread on the backflow preventer. Check the arrow molded into the body; it shows flow direction. Installed backwards, it either blocks water entirely or does nothing.
- Thread on the filter. Same rule: check for a direction arrow if the model has one.
- Thread on the pressure regulator. Also directional. This is the part beginners skip to save $10, and it’s the one that causes the most repairs later.
- Attach the tubing adapter, then your mainline, drip tubing, or soaker hose. Push it on firmly until it seats against the barb or threaded collar.
- Turn the water on slowly and check every joint. A dry connection should stay dry. Any weeping means a fitting isn’t seated, hand-tighten it a quarter turn further before reaching for tools.
For laying out the tubing itself, placing emitters, and everything downstream of this connection, the full installation walkthrough picks up from here.
Common mistakes
Buying the wrong thread size
Drip components are sold with drip-specific threads already built in, and the confusion usually happens at the very first connection: assuming any hose-end fitting will screw onto any spigot. Confirm the adapter you buy is labeled for standard 3/4-inch garden hose thread unless you’ve already confirmed your spigot uses something else.
Skipping the pressure regulator
It’s the part most beginners leave out, usually to save a few dollars, and it’s also the part responsible for most early system failures. Overpressured fittings work loose, emitters mist instead of drip, and tubing fatigues faster under constant strain. There’s close to no situation on city or well water where skipping it is a good trade.
No filter, or the wrong mesh size
Even visually clear tap water carries sediment fine enough to clog a drip emitter’s tiny opening. Skip the filter and emitters fail one at a time over months, quietly, until half the bed is under-watered and the cause isn’t obvious.
Assembling the stack out of order
Putting the regulator before the filter, for instance, means the filter housing takes pressure spikes it wasn’t built for, and it also means nothing is protecting the regulator from grit. Stick to the spigot-to-garden order above.
Overtightening plastic threads
Hand-tight is the spec for a reason. A wrench gets these plastic fittings snug fast and cracked even faster, usually not until the first hot day stresses the plastic further.
FAQ
Do I need a pressure regulator if I’m connecting to a hose?
Yes, in almost every case. Household spigot pressure typically runs 40 to 80 PSI, well above what drip tubing, emitters, and barbed fittings are rated for (usually 15 to 30 PSI). The only real exception is a gravity-fed source, like a rain barrel at 5 to 10 PSI, where a regulator has nothing meaningful to reduce.
Can I connect drip tubing directly to a garden hose without adapters?
Not directly. Drip tubing and drip fittings use a different thread and barb system than garden hose thread. You need at minimum a hose-thread adapter to step down from the spigot’s 3/4-inch thread to something drip components can attach to, plus (ideally) the backflow preventer, filter, and regulator described above.
Can I connect drip irrigation to an existing hose instead of directly to the spigot?
Yes. Assemble the same stack of adapters at the end of the hose instead of at the spigot itself; the order doesn’t change. This is common when the spigot is awkward to reach or when a system needs to move seasonally. Just know that a long hose ahead of the regulator means some pressure loss before the water even reaches your drip zone, so extremely long hose runs may need a stronger PSI regulator to compensate.
Once the connection at the spigot is solid, the rest of a drip system is mostly tubing layout and emitter placement, covered start to finish in the complete drip irrigation guide.