
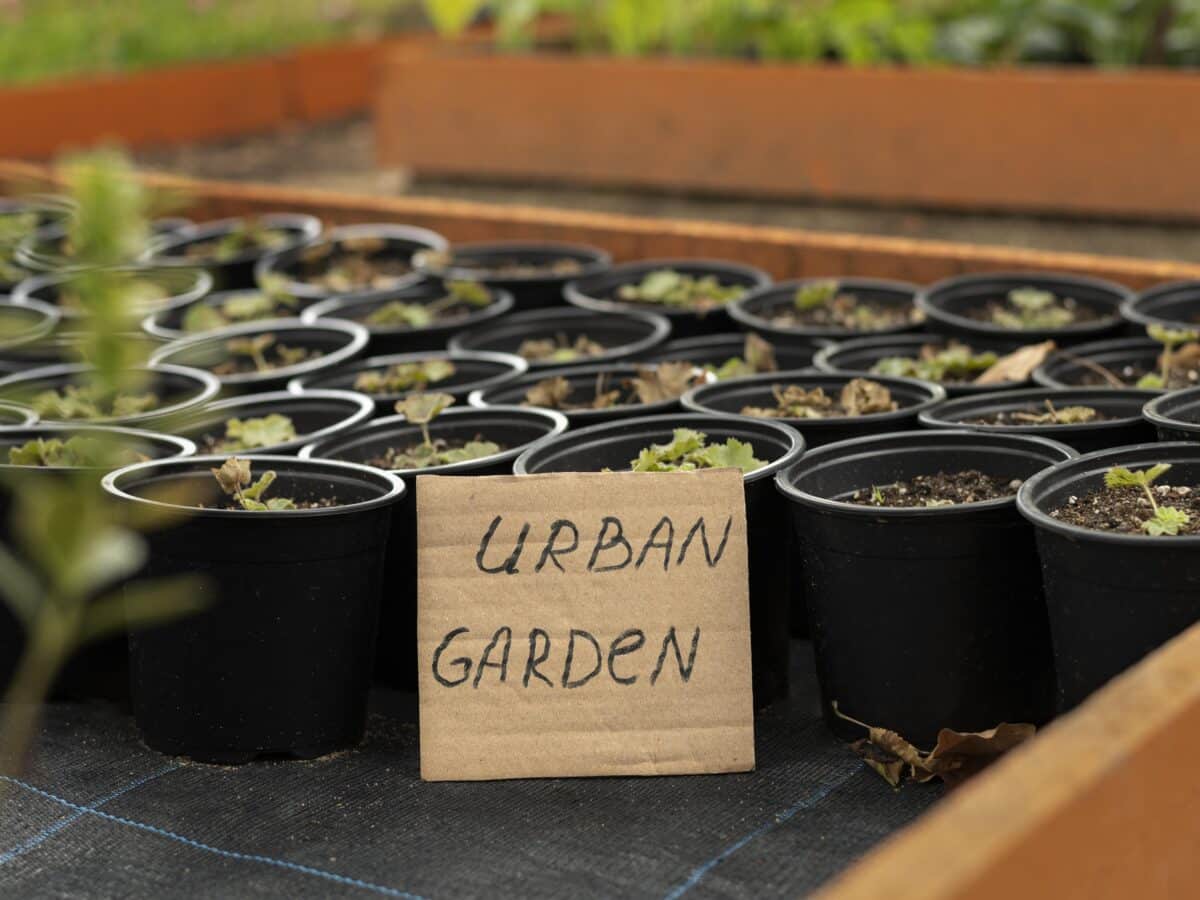
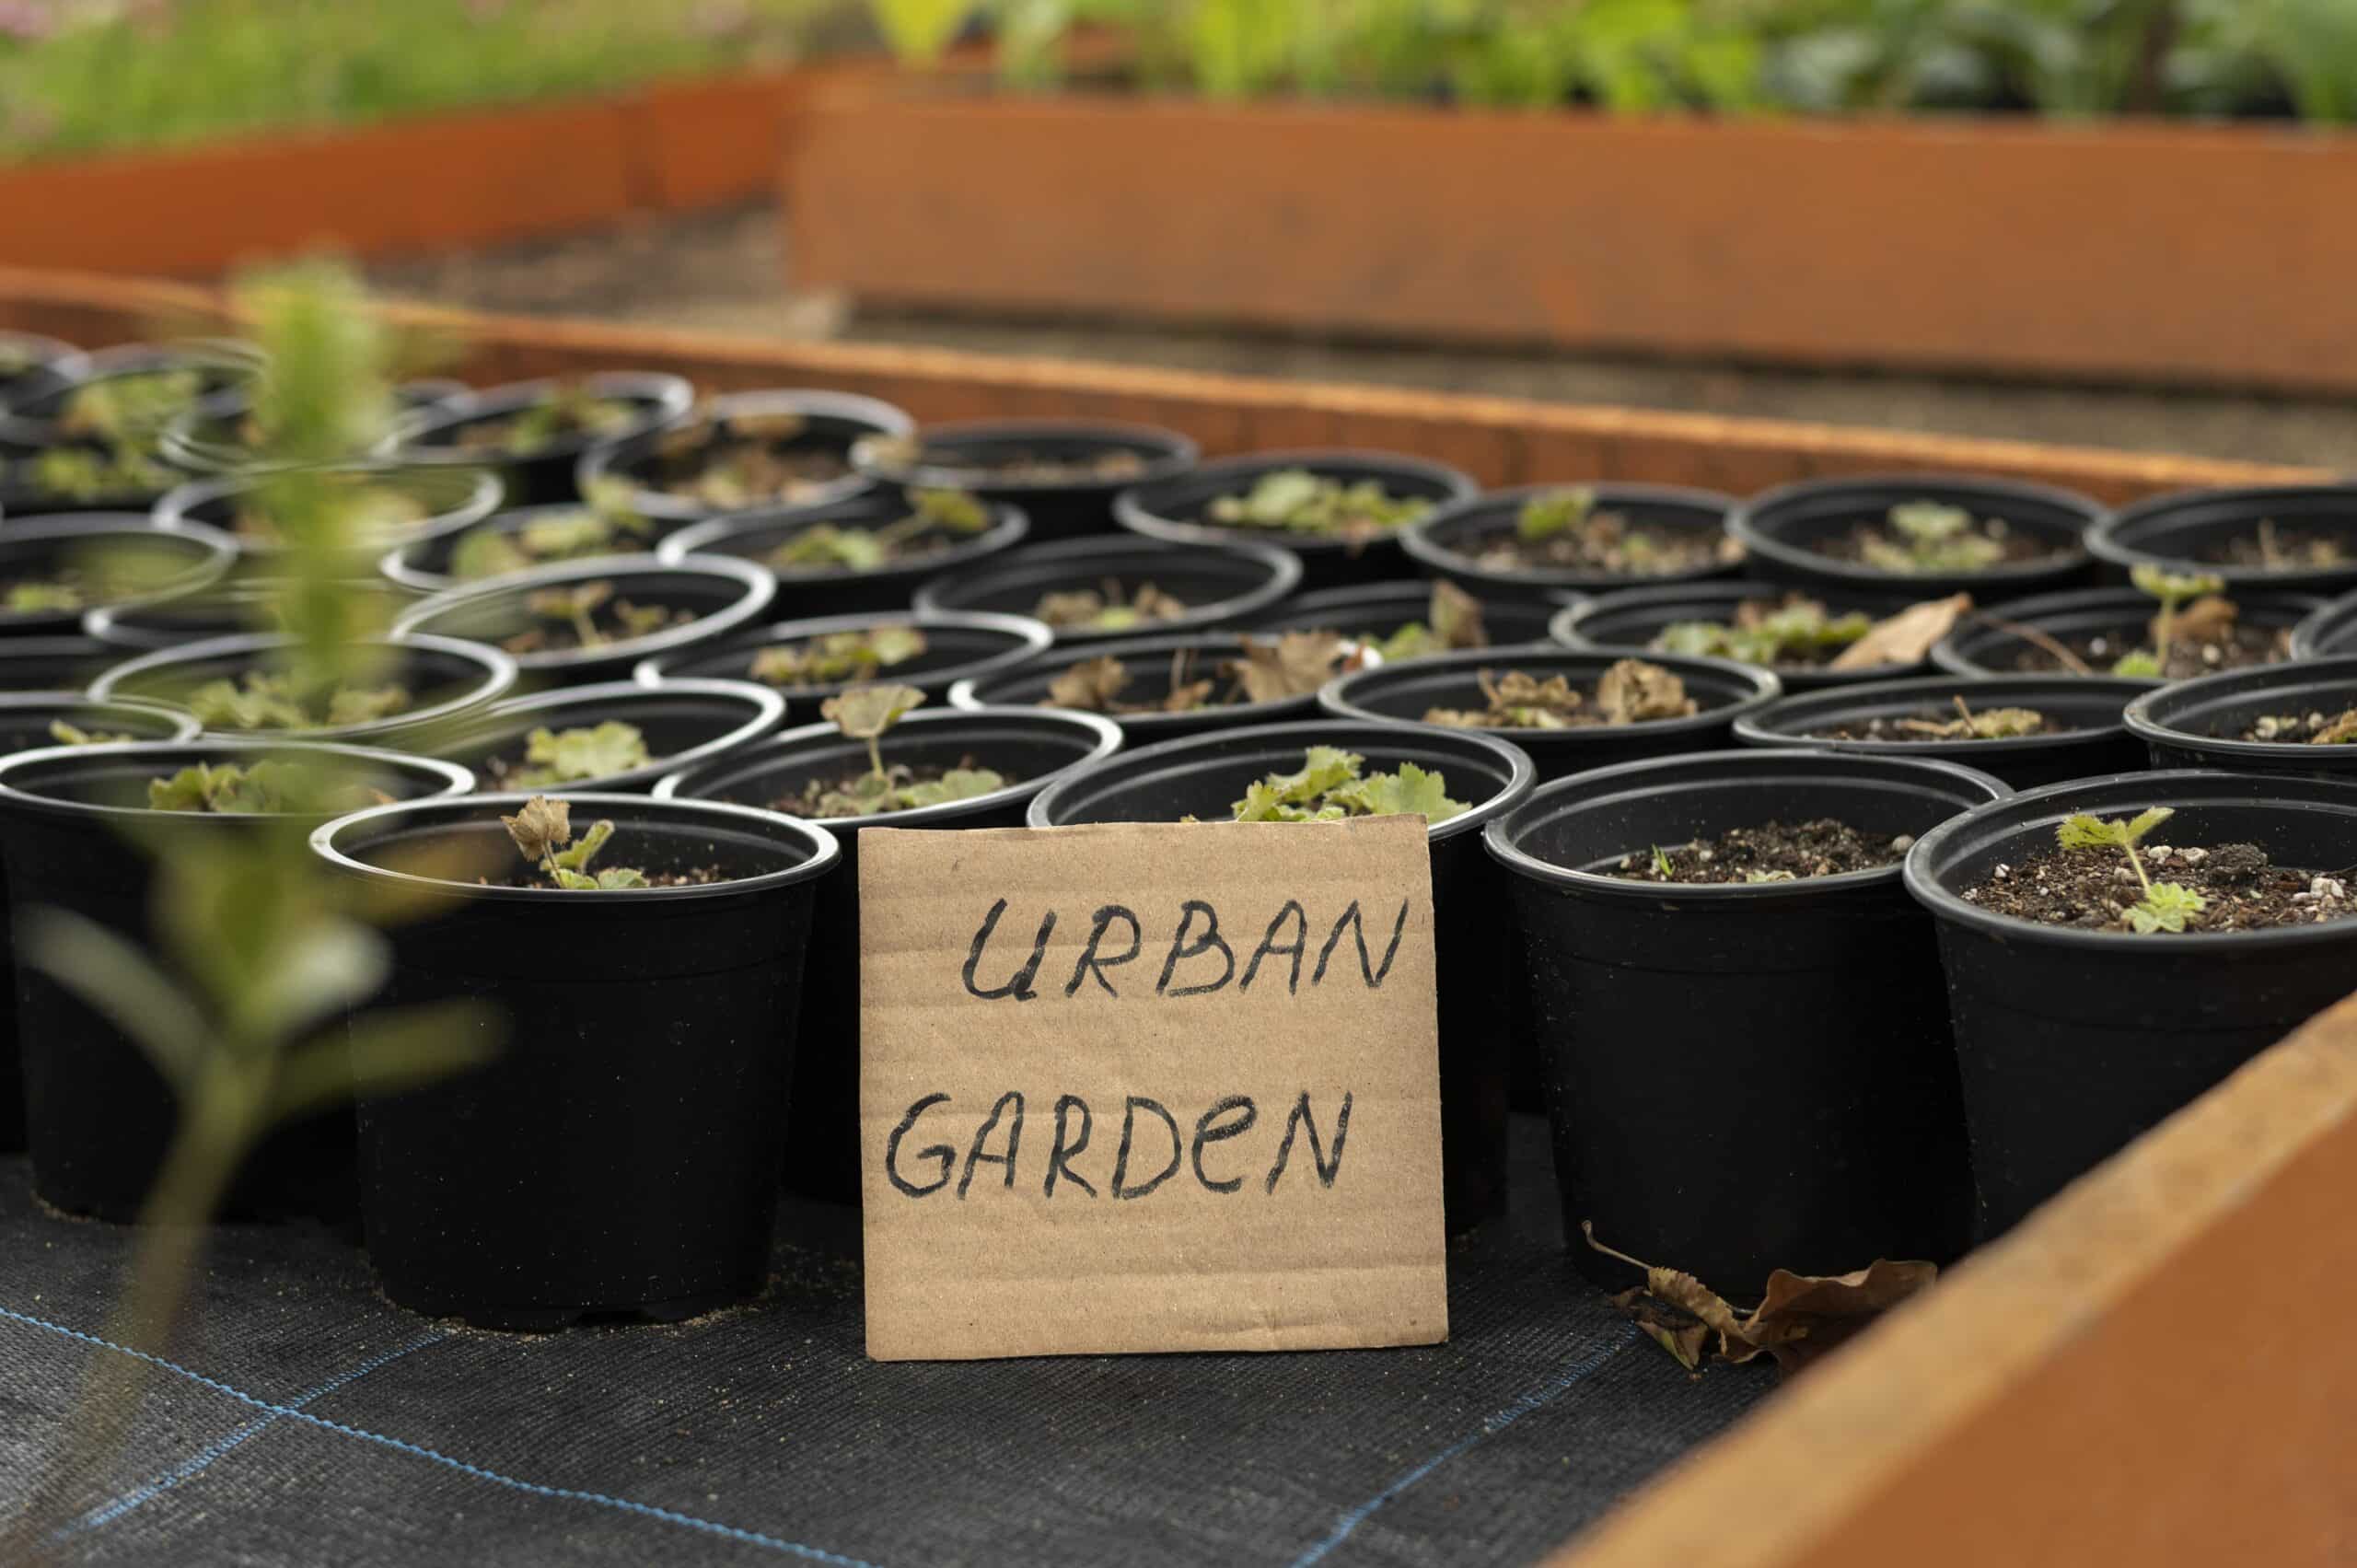
A container dries out faster than almost anything else in the yard. Limited soil volume, exposed sides that heat up in the sun, and drainage holes that let water run straight through mean a pot that’s fine at 8 AM can be wilting by 3 PM in July. Containers are honestly where I recommend drip irrigation first, before beds or rows, because a pot is basically just roots packed into a small space, and that’s exactly the kind of tight, controlled watering drip does best.
Here’s how I size emitters, lay out the tubing, and set run times so pots stop being the thing you have to remember to water twice a day.
Why containers behave differently than beds or rows
A few things make container watering its own category, separate from raised beds or in-ground rows.
- Small soil volume. A 14-inch pot might hold a gallon or two of usable water-holding soil. That buffer disappears fast on a hot, windy day.
- Faster drying from all sides. Unlike ground soil, a container loses moisture through its walls and bottom, not just the surface.
- Drainage holes mean overwatering is hard to do, but underwatering is easy. Excess water just runs out, so there’s less room for error on the low end.
- Every pot is its own zone. A 6-inch herb pot and a 20-inch tomato container next to each other need completely different amounts of water, even on the same line.
What you need
For a patio or deck with a handful of containers, the parts list is short:
- Pressure regulator, 25 PSI — drip emitters are rated for low pressure, and a hose bib without one will blow fittings apart. Here’s what it does and why it matters.
- 1/4-inch distribution tubing — thin, flexible tubing that branches off a 1/2-inch mainline or runs directly from a hose-thread adapter for a small setup.
- Button or drip-ring emitters — button emitters for small pots, a small drip ring (a loop of 1/4-inch tubing with several emitter points) for anything wider than about 14 inches.
- Stakes — hold the tubing and emitter in place so it doesn’t wash to the pot’s edge the first time it rains.
- A battery timer — closer to required than optional for containers. They’re the fastest thing in the yard to go from fine to crispy if a watering day gets missed. See timer for drip irrigation for setup.
A basic kit for 8 to 10 pots runs somewhere in the neighborhood of $30 to $50, less if you’re tapping into an existing drip system that already has a regulator and mainline in place.
Emitter sizing by container size
One emitter works fine for a small pot. Anything past about 14 inches across needs two or more spread around the root ball, or the water pools under a single point and the outer soil stays bone dry while the middle stays soggy. Treat the numbers below as a starting point, then adjust after a week or two of watching how fast each pot actually dries out.
| Container diameter | Emitters needed | Flow rate |
|---|---|---|
| Under 10 in (hanging baskets, small herb pots) | 1 emitter | 0.5 GPH |
| 10-14 in | 1 emitter, or 2 for thirsty plants | 1 GPH |
| 14-20 in (tomatoes, dwarf shrubs) | 2-3 emitters, ringed around the plant | 1-2 GPH each |
| 20 in and larger, half-barrels | 3-4 emitters or a full drip ring | 1-2 GPH each |
For a specific plant like a potted tomato, the drip irrigation for tomatoes guide has a container-specific line in its spacing table worth checking too.
Laying it out
- Run the mainline along the back of the container row — behind pots against a wall or fence, or down the middle of a cluster grouped on a patio.
- Drop a 1/4-inch feeder line to each pot, punched into the mainline with a barbed connector.
- Stake the emitter near the plant’s base, not against the pot wall, so water lands in the root zone instead of trickling down the inside edge and out the drainage holes.
- For pots over 14 inches, loop the feeder into a small ring with two or three emitter points instead of relying on one.
- Cap the mainline end once every pot is connected.
If you rearrange pots through the season, leave a little slack in each feeder line instead of pulling it drum-tight. I move mine around to chase the sun a couple of times a summer, and slack in the line means that’s a five-second job instead of re-running the whole setup.
How long and how often to run it
Containers need shorter, more frequent watering than beds or rows planted in the ground, since there’s simply less soil to hold a reserve. These are starting points, not fixed rules; verify with a soil check before locking in a schedule.
| Season | Run time | Frequency |
|---|---|---|
| Spring | 10-15 min | Every other day |
| Summer | 15-25 min | Daily, small pots may need twice a day in heat waves |
| Fall | 10 min | Every 2-3 days |
The general math behind these numbers, and how to fine-tune them with a simple soil check, is covered in more depth in how long to run drip irrigation. For containers specifically, push a finger 1 to 2 inches into the soil an hour after a cycle finishes. It should feel like a wrung-out sponge. Bone dry means the run time needs to go up before the frequency does.
Common mistakes with container drip setups
Skipping the pressure regulator. A hose bib at 50 to 60 PSI will pop a 1/4-inch fitting off a small container line almost immediately, usually within the first week. It’s the number one reason a new container setup fails, and it’s a $10 fix.
One emitter on a large pot. Past 14 inches or so, a single emitter wets a cone of soil in the middle and leaves the outer ring dry, which shows up as roots that never spread past the pot’s center.
Not accounting for wind. Elevated containers on a deck or balcony dry out noticeably faster than the same pot at ground level, thanks to airflow underneath and around the sides. Bump the run time up for anything above ground level.
Forgetting the emitter needs to move as the plant grows. A young transplant’s roots are near the stem; by midsummer they’ve spread toward the pot walls. Shift the emitter outward partway through the season for anything long-lived, like a potted shrub or perennial.
Mixing pot sizes on one zone with no adjustment. A 6-inch herb pot and a 24-inch tomato container on the same timer setting means one is drowning or the other is parched. Give distinctly different container sizes their own emitter count rather than treating the whole patio as one uniform zone.
Grouping multiple containers on one system
For more than a handful of pots, tap into an existing drip system’s mainline instead of running a separate hose-end setup just for the patio. A quarter-inch feeder line branching off the main run to each pot keeps everything on one timer and one pressure regulator, the same basic branching principle used in a full garden drip irrigation layout. One catch: containers as a group usually need a shorter, more frequent schedule than the beds sharing the same zone. A separate valve, or a container-only zone on a multi-zone timer, keeps the two from fighting over one setting.
FAQ
Can I use a soaker hose for containers instead of drip emitters?
Not really. Soaker hoses are built for runs of several feet along the ground and don’t coil well inside a single pot. Individual drip emitters give far more control over exactly how much water each container gets.
Do self-watering containers still need drip irrigation?
Usually not, since the reservoir already handles the day-to-day watering. Drip irrigation is for standard containers without a built-in water reservoir.
Will drip irrigation work for hanging baskets?
Yes, with a single 0.5 to 1 GPH emitter and a stake to keep the tubing from swinging loose. Hanging baskets dry out fastest of any container type, since they’re fully exposed to air on all sides, so expect to run them daily in hot weather.
How do I keep the tubing from being an eyesore on a patio?
Run the mainline behind the row of pots where it’s least visible, and use short feeder lines so only a few inches of tubing show at each container. Mulch or decorative gravel on top of the soil hides the emitter itself.
Once it’s dialed in, container drip irrigation is close to maintenance-free. Check emitters for clogs now and then, nudge the run time up during a heat wave, and the patio stops needing a daily trip with the watering can. If the containers are just one piece of a bigger yard-wide setup, the drip irrigation for garden plants hub guide covers how to size and schedule the rest of it, bed by bed.