
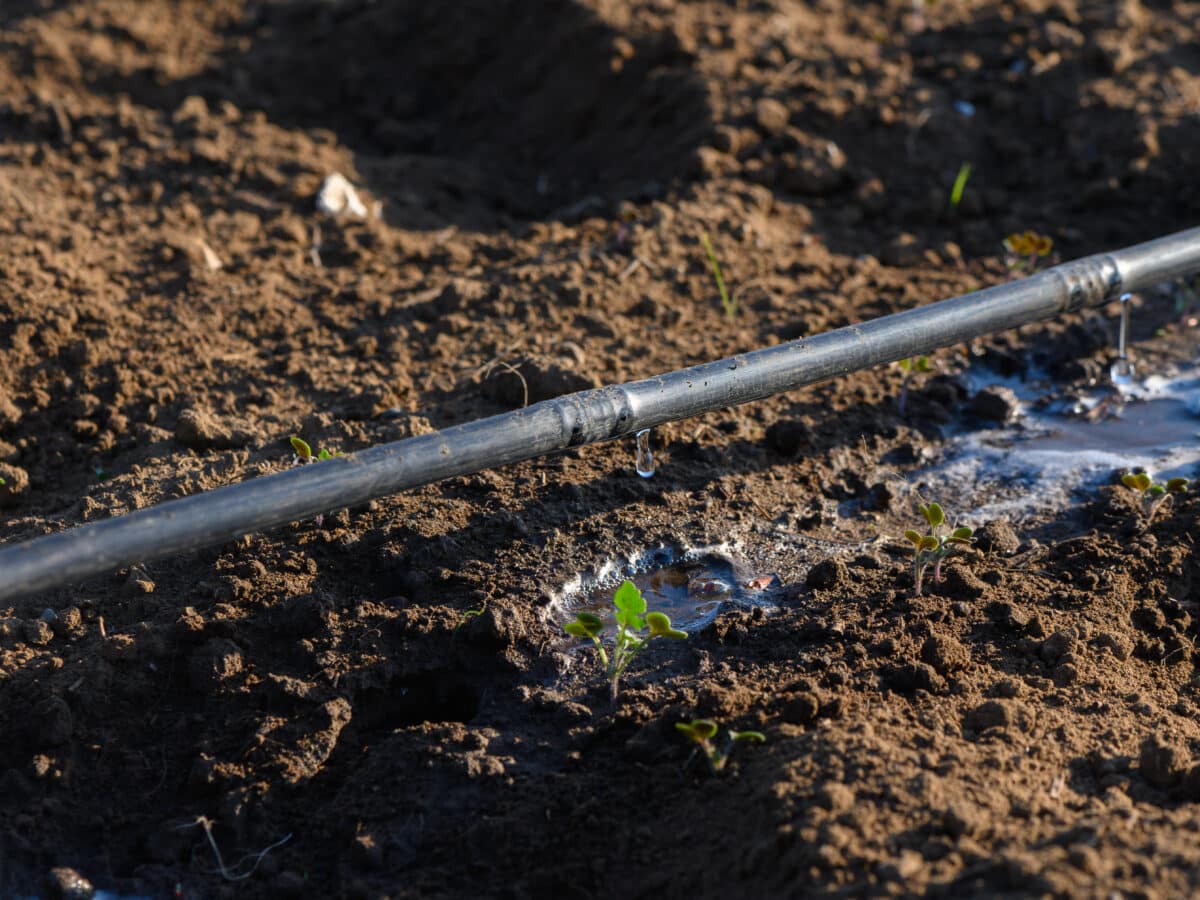
A drip irrigation system is a network of tubing and small emitters that delivers water directly to the base of each plant, drop by drop, instead of spraying it across the whole yard. It runs on the same principle as a soaker hose, but built for control: separate zones, exact flow rates per plant, and a timer that runs the whole thing while you’re at work.
If you’ve read the soaker hose guides on this site, you already know the simple version of this idea. A drip system is the flexible, scalable version. This guide covers what it actually is, how the parts fit together, which type to buy, and where to go for the details on each piece.
How a drip system actually works
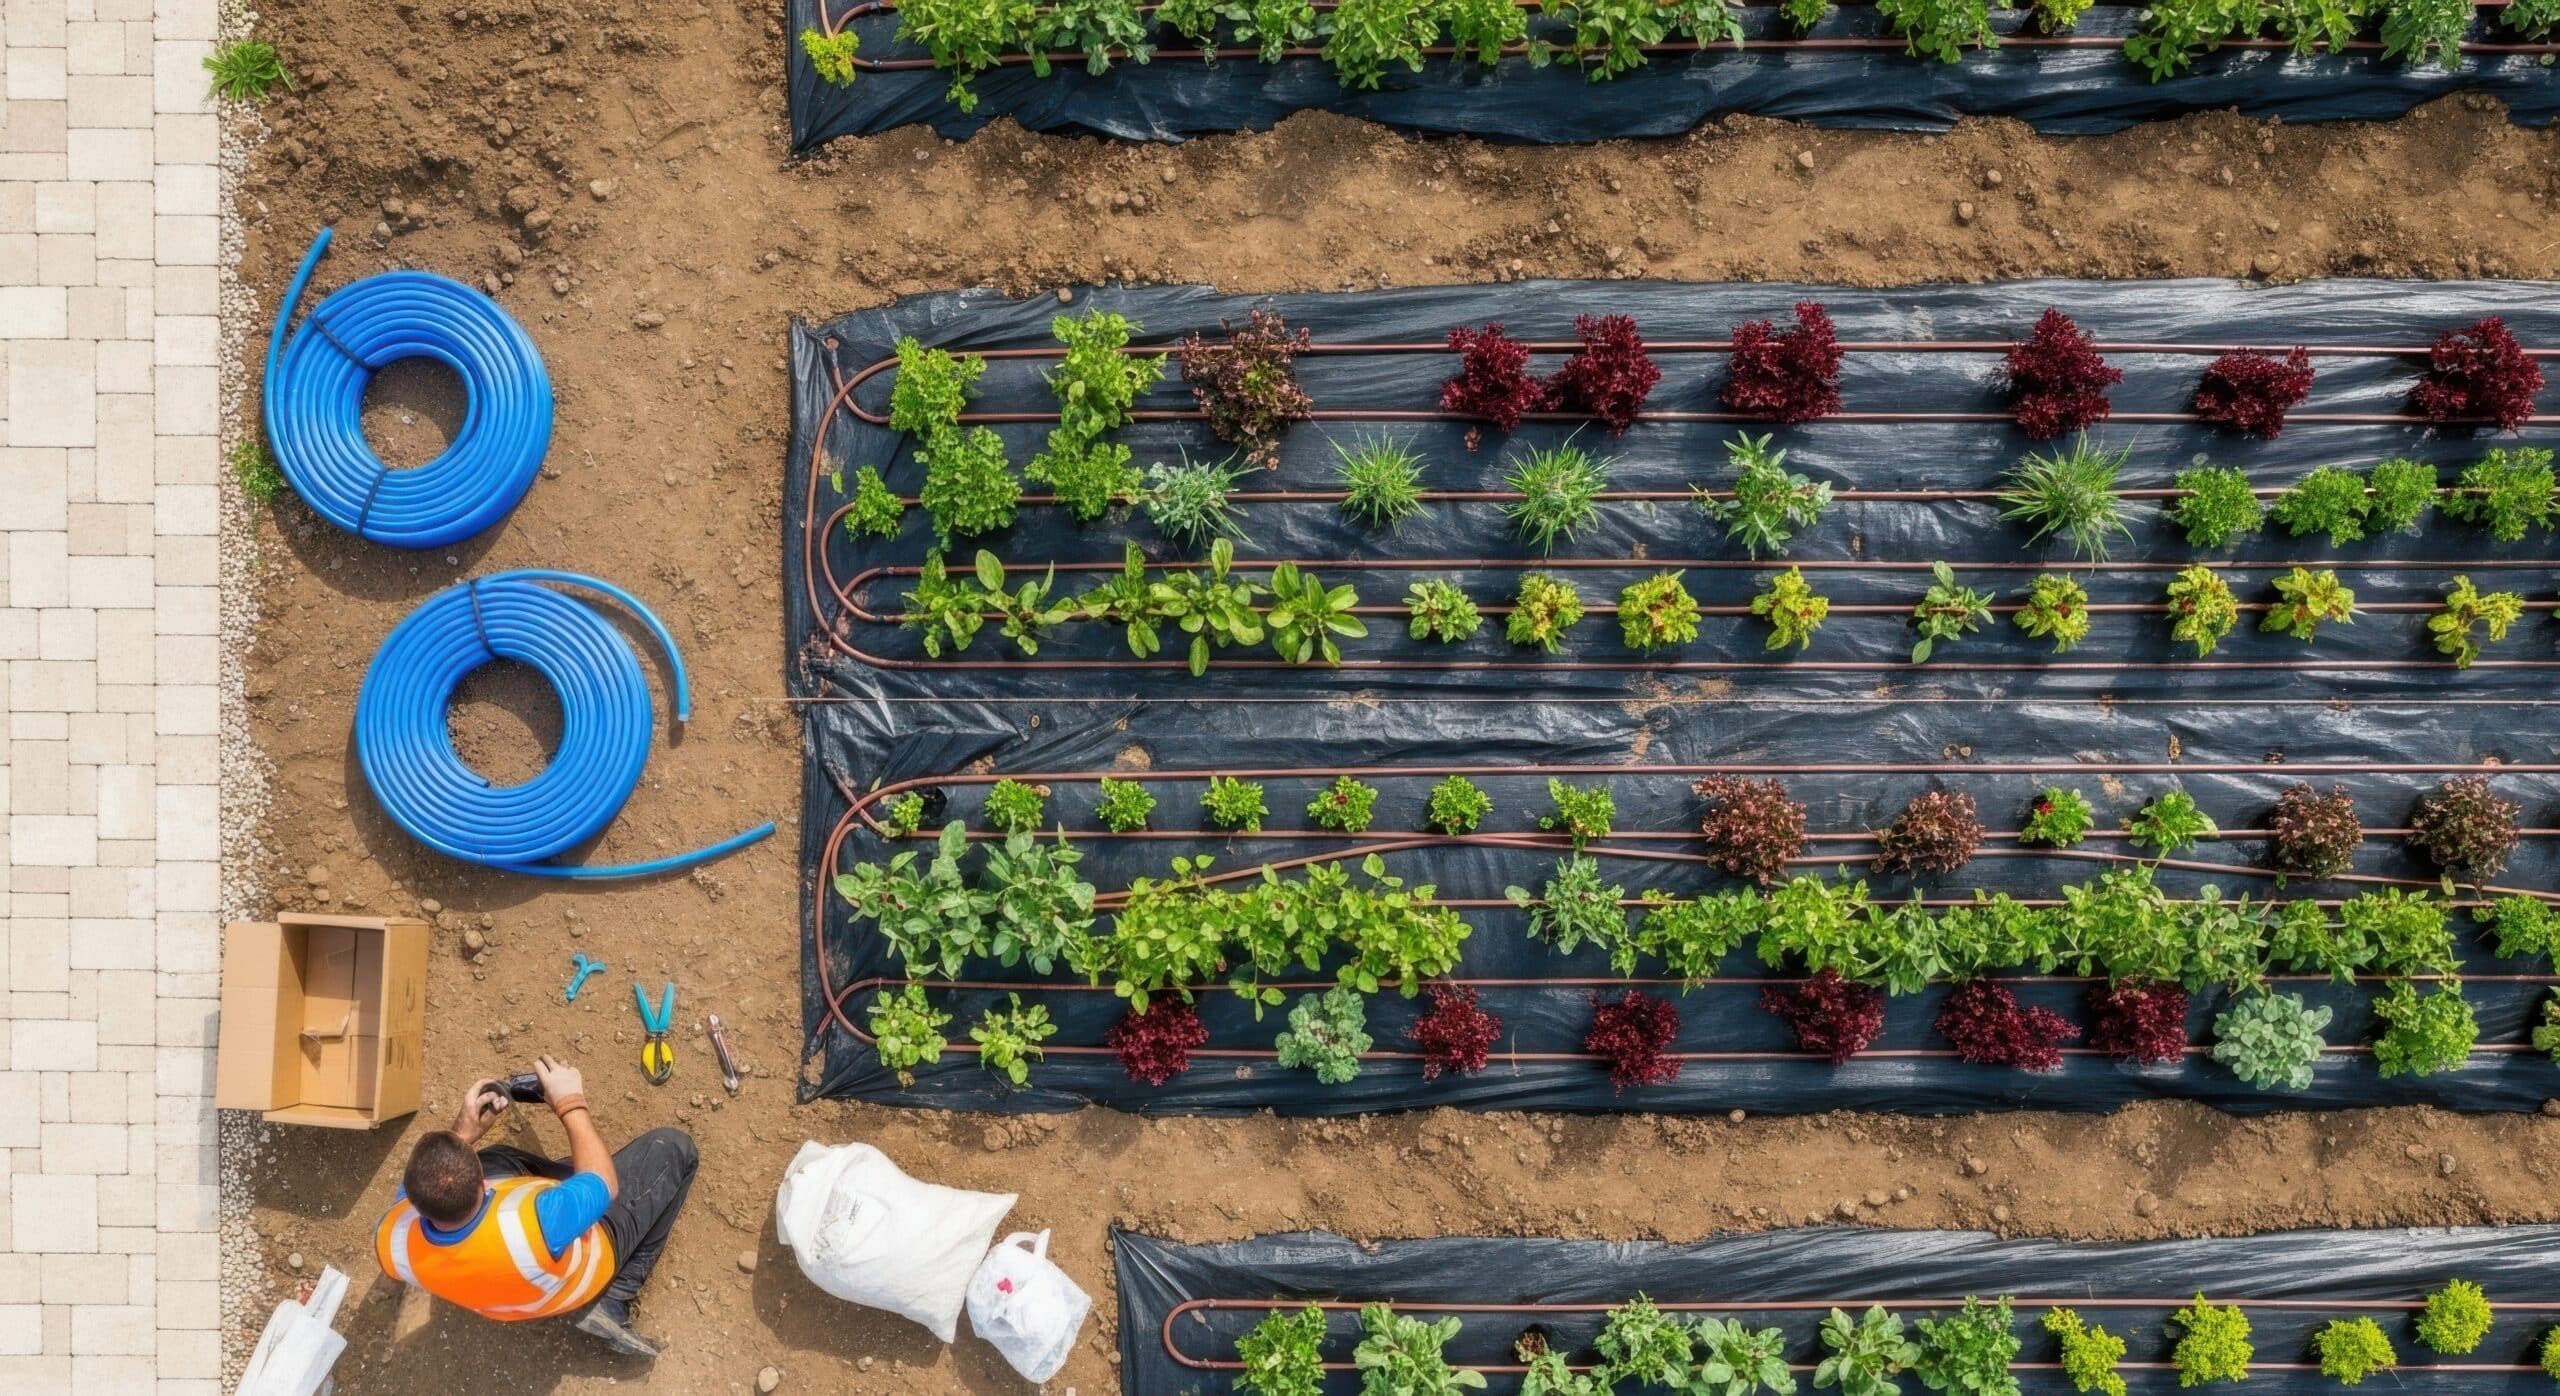
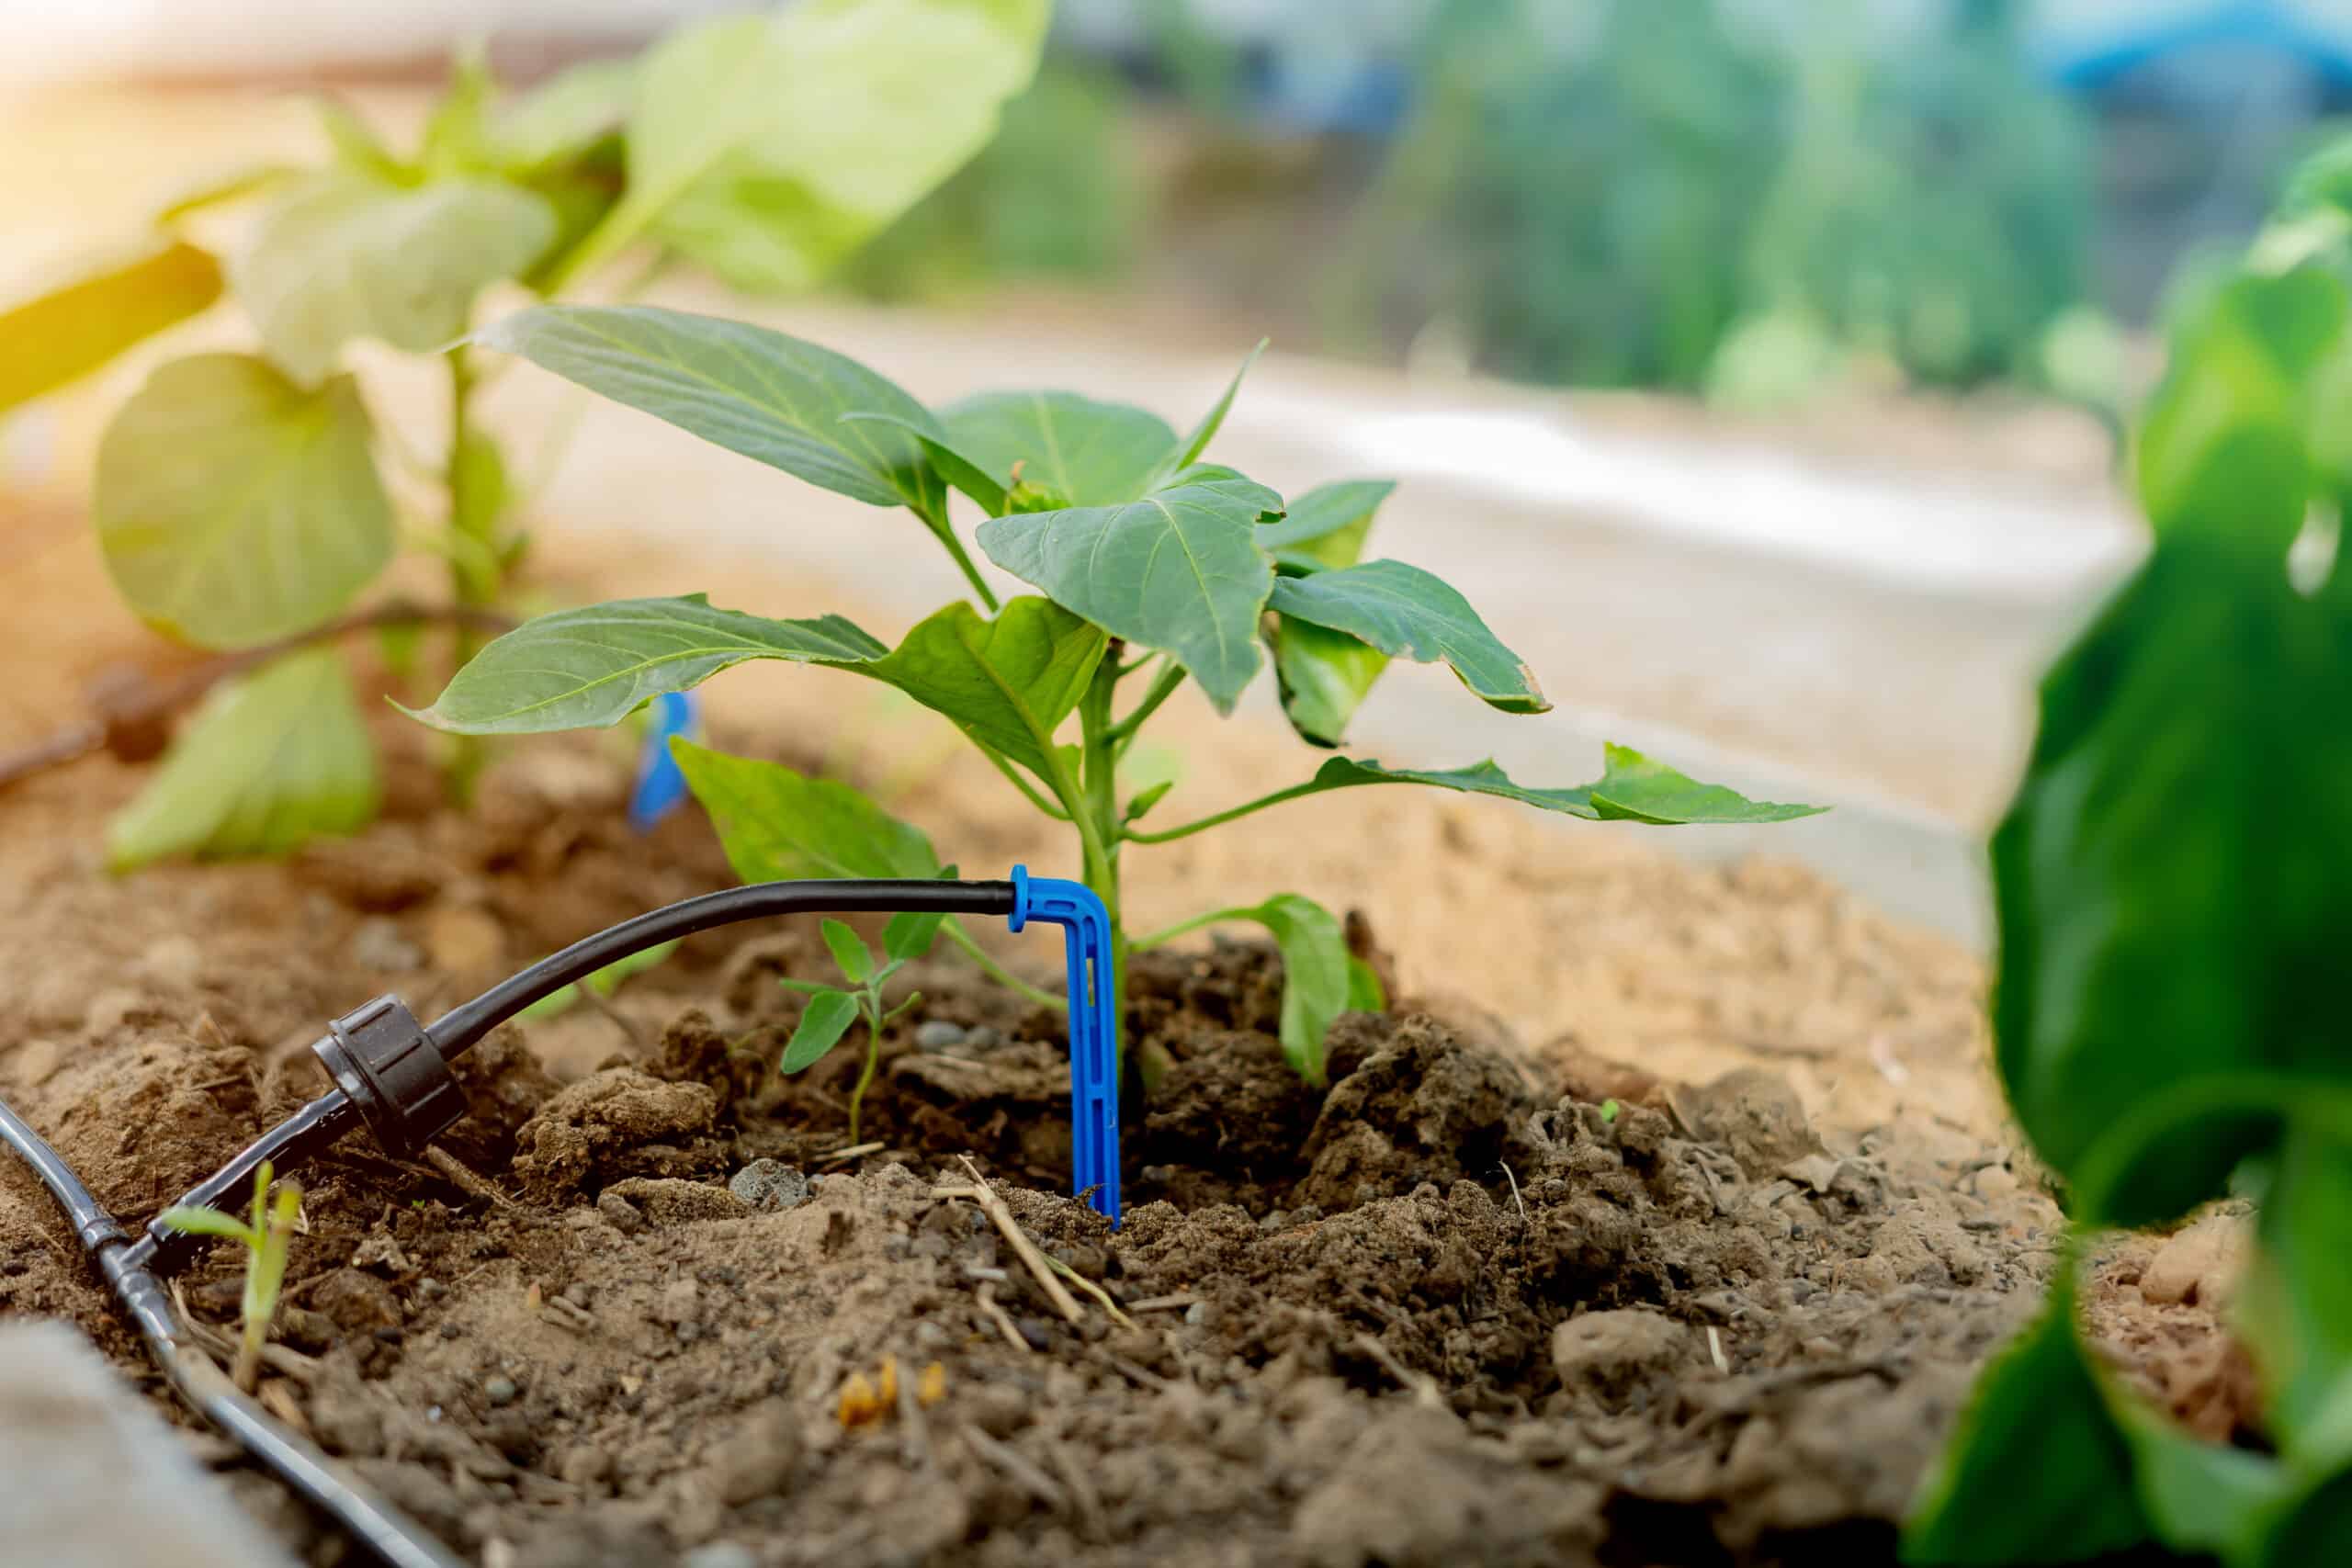
Water enters from your spigot, usually through a backflow preventer and a pressure regulator, then runs through half-inch mainline tubing to wherever you’ve routed it. Along that mainline, quarter-inch “spaghetti” tubing branches off to individual emitters, each one dripping water at a fixed rate, typically 0.5 to 2 gallons per hour, right at a plant’s root zone.
Because the water comes out slowly and at low pressure, it soaks straight down instead of running off or evaporating in the sun. Most extension programs put drip irrigation at 30 to 50 percent more water-efficient than an overhead sprinkler. In my own beds the difference shows up fastest in July: sprinkler-watered plants wilt by 3pm, drip-watered ones don’t.
Bigger yards split the system into zones, each with its own valve, so the front beds can run on a different schedule than a vegetable garden out back. Smaller setups skip zones entirely and run everything off one timer.
The parts that make up a system
Every drip system is built from the same handful of parts, whether it’s a $30 kit or a custom multi-zone setup:
- Backflow preventer. Screws onto the spigot first. Stops garden water from siphoning back into your drinking water.
- Pressure regulator. Drip parts are rated for 15 to 30 PSI; most spigots deliver 40 to 60. Skip this and fittings blow off within days. Full breakdown in pressure regulator for drip irrigation.
- Filter. Catches sediment before it clogs the small emitter openings. A cheap screen filter is fine for municipal water; well water usually needs something finer.
- Mainline tubing. Usually half-inch poly tubing, the backbone that runs from the spigot to each zone. Sizes and what they’re for are covered in drip irrigation tubing sizes.
- Emitters. The business end. Point-source drip emitters, micro-sprayers, or drip tape with emitters built in every 6 to 12 inches. See drip irrigation emitters for flow rates and which type fits which plant.
- Timer. Battery or Wi-Fi, screws onto the spigot before everything else. Without one, drip irrigation is just a hose you have to remember to turn off. Details in timer for drip irrigation.
Types of drip systems
“Drip irrigation” covers a few different setups, and picking the right one up front saves a redo later:
| Type | Best for | Trade-off |
|---|---|---|
| Point-source emitters | Widely spaced plants: shrubs, trees, containers | Slower to install, one emitter per plant |
| Drip tape | Straight rows: vegetable beds, raised beds | Thin walls, doesn’t last as long as rigid tubing |
| Micro-sprayers | Dense plantings, ground cover | Less precise, more evaporation than true drip |
| Soaker hose | Short runs, budget setups, foundation beds | No zone control, harder to fine-tune by plant |
Most home gardens end up mixing two of these: drip tape or point-source emitters in the beds, a soaker hose for a foundation planting or a hedge row. If you’re deciding between a soaker hose and a full drip system for one specific area, I laid out the trade-offs in soaker hose vs drip irrigation.
What it costs
A basic kit for a 10-by-10 raised bed runs $30 to $60. A whole-yard system with multiple zones, a smart timer, and buried mainline usually lands between $200 and $600 in parts if you install it yourself, more if you hire it out. I go through the real numbers, including where people overspend, in drip irrigation system price.
Installing one yourself
This is a weekend project, not a plumbing job. No trenching required for most home setups, no soldering. The order is roughly: map your zones, run mainline, punch holes for emitters, cap the ends, pressure-test, then bury or mulch over the tubing. The full step-by-step is in how to install drip irrigation. If you want to build the cheapest possible version first to see if you like it, DIY drip irrigation system walks through a single-zone build for under $40.
Running and maintaining it
Once it’s in, the ongoing work is small: check run times by season, rinse the filter every month or two, and walk the lines once a season checking for clogged or popped emitters. Run-time charts by soil type and plant are in how long to run drip irrigation. Before the first freeze, drain it, covered in winterizing your drip irrigation system. When something does go wrong, it’s almost always a clog or a split fitting, both quick fixes covered in drip irrigation repair.
Mistakes that shorten a system’s life
Skipping the pressure regulator. The single most common failure. Full city pressure splits fittings and blows emitters off within the first season.
Burying the filter or forgetting it exists. A clogged filter chokes the whole zone slowly, so it looks like a watering problem for weeks before anyone checks the filter.
Sizing one zone too big. Add too many emitters to one line and the far end barely drips while the near end floods. Keep zones under your spigot’s real flow capacity.
Leaving it uncovered. UV breaks down poly tubing over years. An inch of mulch roughly doubles its working life.
Do you actually need one?
If you’re watering fewer than five or six plants, or just one bed, a soaker hose does the job for a fraction of the cost and effort. Drip earns its keep once you’ve got multiple zones, mixed plant types with different water needs, or you want the whole thing running on a schedule without touching a hose. Vegetable gardens, orchards, and foundation plantings on a full-size lot are where it pays for itself fastest, usually inside a season or two of avoided water bills.
FAQ
How long does a drip irrigation system last?
Quality tubing and emitters hold up 7 to 10 years with normal sun exposure. Drip tape is the exception, it’s thinner by design and usually needs replacing every 1 to 3 seasons.
Can I run drip irrigation off a rain barrel?
Only with a pump. Drip emitters need at least 15 PSI to work evenly, and gravity from a barrel rarely gets you past 2 or 3 PSI.
Does drip irrigation work in raised beds?
It’s one of the best matches there is: straight lines, small footprint, easy access. The specific layout is in drip irrigation for raised beds.
How many plants can one drip zone handle?
It’s a flow math question, not a plant-count one. Add up the gallons-per-hour of every emitter on the zone and keep the total under what your spigot and regulator can supply, typically 200 to 270 gallons per hour for a standard hose bib setup.
Start with the parts list above, pick the emitter type that matches your layout, and build one zone before committing to the whole yard. The rest of this site’s Drip Irrigation Systems guides cover every part of it in more depth.