

Water expands when it freezes. That’s the whole reason this chore exists. Any water sitting in your drip lines, fittings, or filter when a hard freeze hits will crack something, and the something it cracks is usually the most expensive small part you own: the pressure regulator, the backflow preventer, or the timer.
The good news is that winterizing a drip system takes about 30 minutes, once a year. Here’s the routine I follow every fall, plus what can safely stay outside.
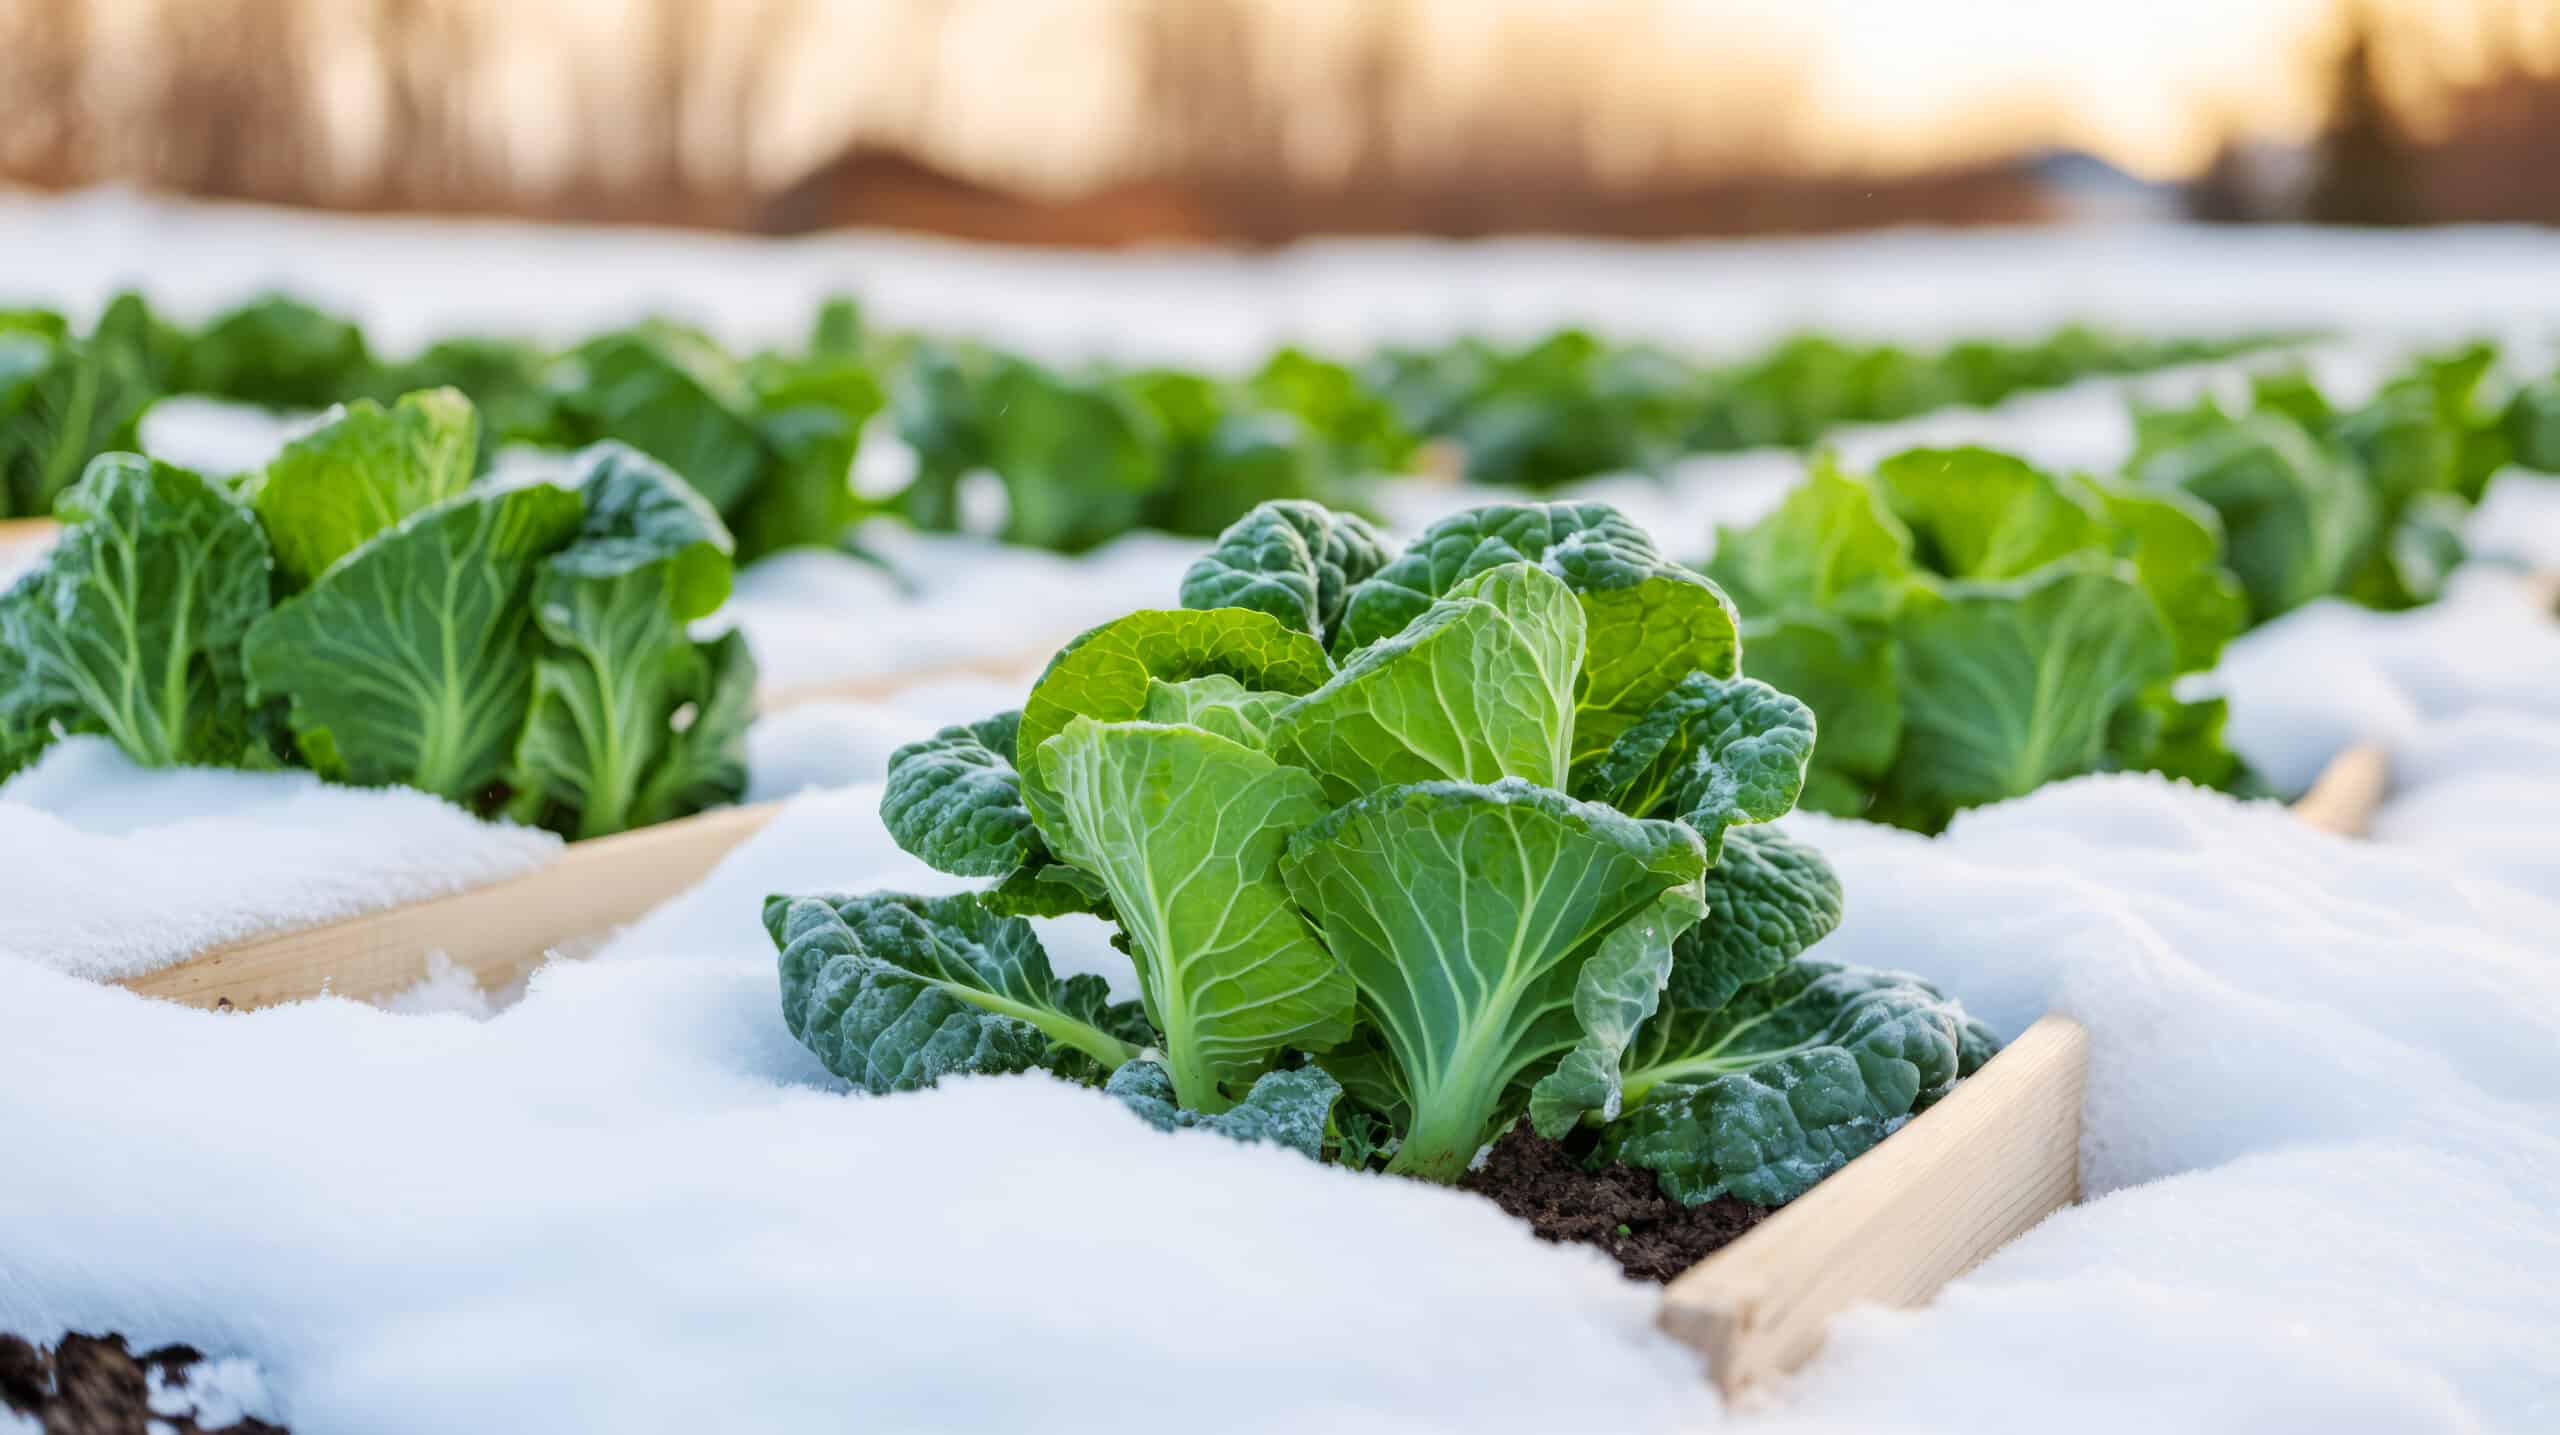
Do you need to winterize at all?
Depends on your winters.
- Hard-freeze climates (roughly USDA zone 6 and colder): yes, every fall, no exceptions. A single night at 25°F can split a regulator housing.
- Middle zones (zone 7, give or take): drain the system and bring the timer indoors. That’s usually enough.
- Mild climates (zones 8 to 10): do a light version after the growing season. Disconnect the spigot assembly, drain the lines, and you’re done.
Soaker hoses count too. Their porous rubber walls hold water everywhere, and they split faster than poly tubing. If you run soaker hoses, they get the same treatment, or better yet, a trip to the garage.
When to do it
Any time after your plants stop needing water and before the first hard freeze. A light frost that nips the tomatoes won’t hurt the system. The danger threshold is a hard freeze: 28°F (-2°C) or below for a few hours.
Check your area’s average first frost date, then watch the 10-day forecast from that point on. The one mistake people make is waiting for the freeze warning. By then you’re draining lines in the dark with numb fingers. Do it on a nice October afternoon instead.
Step 1: Strip the spigot assembly
Everything screwed between the spigot and the mainline comes off and goes indoors:
- Timer. Remove it, take the batteries out, store it inside. Water trapped in the valve freezes, and the LCD doesn’t love freezing either.
- Backflow preventer. Unscrew it and drain it. These crack first and cost the most to replace.
- Filter. Open it, rinse the screen, let it dry, store it.
- Pressure regulator. Same story. Thirty seconds to unscrew, and it lives for years.
Shut the water off at the source, then open the spigot so nothing sits under pressure.
Step 2: Drain the lines
Open every end cap or flush valve on the system and let gravity work. Poly tubing is flexible and forgiving, so the goal isn’t surgical dryness. It’s getting the bulk of the water out.
Walk each line and lift the low spots so water runs toward the open ends. Sloped runs mostly drain themselves. Flat runs need the help. Once the lines stop dripping, put the end caps back on loosely or leave the figure-8 clamps unclamped. You want bugs and dirt out, but condensation still able to escape.
Step 3: The blow-out question
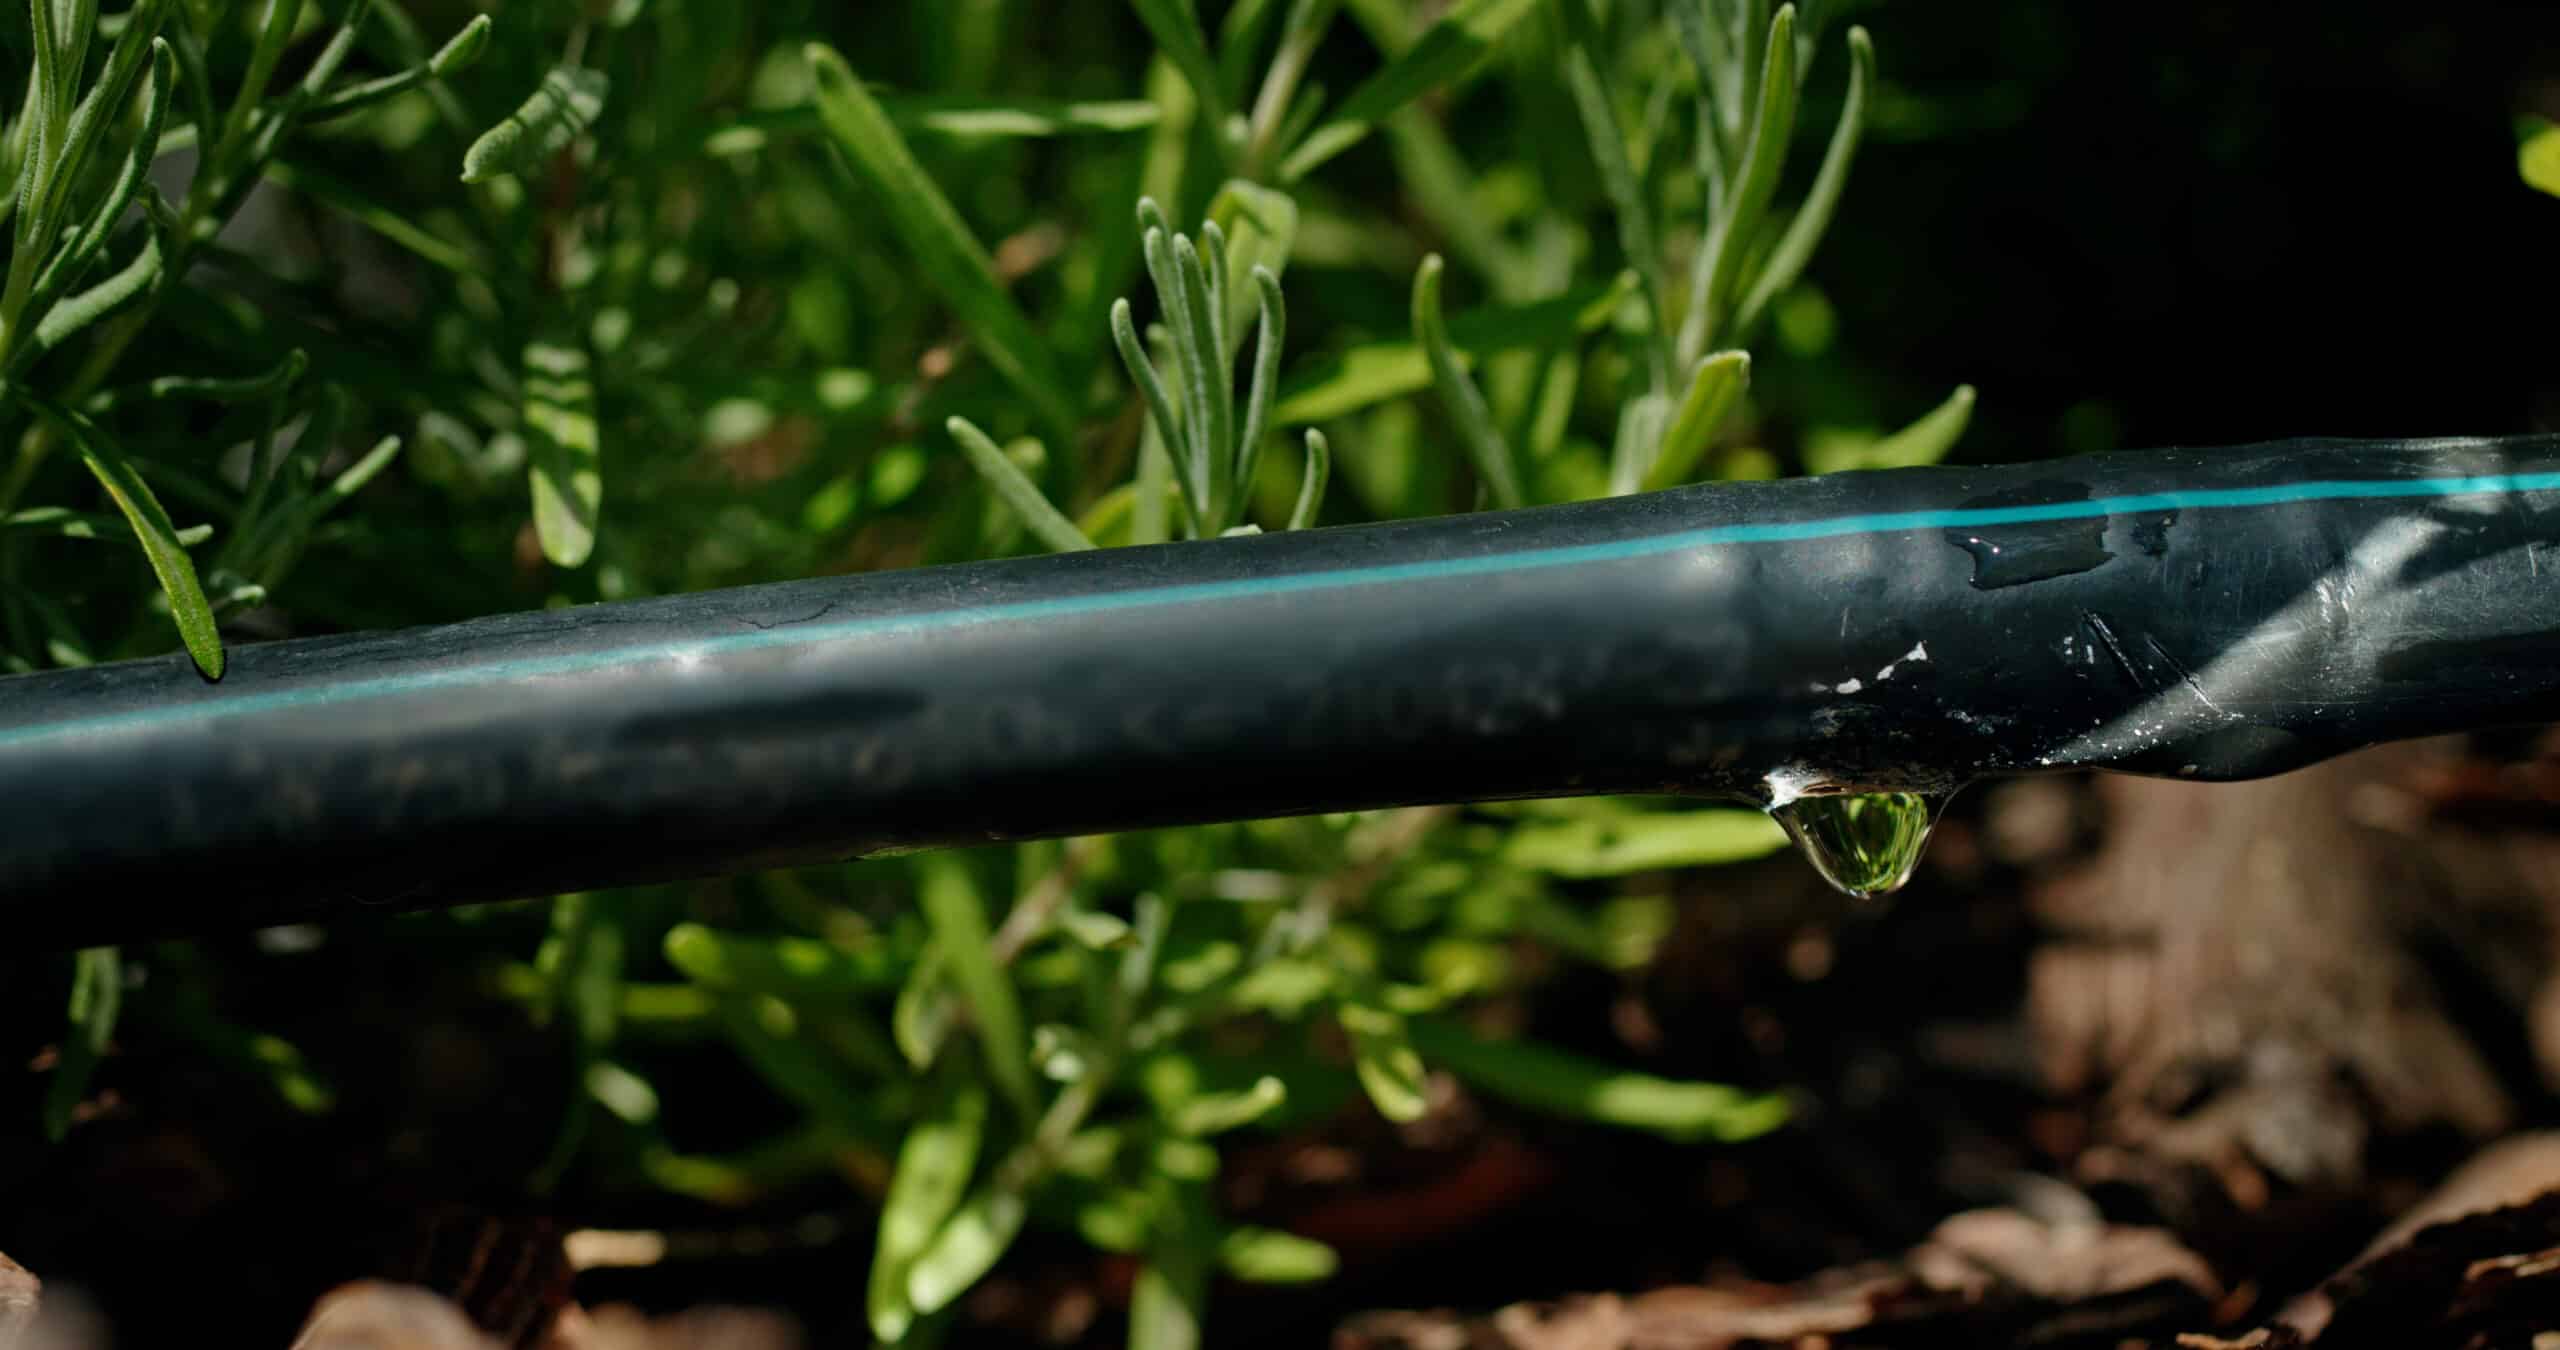
People ask every fall whether they need to rent an air compressor and blow out their drip lines like sprinkler systems. For most home drip setups, the honest answer is no. Emitters and dripline are open pathways, and once the mainline is drained, the droplets that remain have room to expand without breaking anything. Sprinkler systems need blow-outs because of their rigid PVC and closed heads. Drip isn’t built that way.
If you’re in a genuinely brutal climate and want the extra insurance, you can blow the lines out carefully:
- Set the regulator to 25 to 30 PSI, never more. Drip parts are rated for low pressure.
- Use short bursts, one zone at a time, with the end caps open.
- Wear eye protection. A fitting that lets go under air pressure becomes a projectile.
Never connect a compressor set to shop pressure (100+ PSI) to a drip system. You’ll find out which fitting was weakest.
What stays out and what comes in
Comes indoors: timer, pressure regulator, filter, backflow preventer, quick-connect couplers, and soaker hoses if you can manage it. These are the parts with small chambers, moving pieces, or porous walls.
Stays outside: buried or mulched poly tubing, stakes, and most dripline and emitters. Tubing that’s been sitting in full sun all season has already taken UV damage, though. If a run is easy to pull, coiling it and hanging it in the shed will add years to its life. If it’s buried or under mulch, leave it.
Don’t forget the garden hoses and spigots
This is the step that saves real money. Disconnect every garden hose from its spigot, drain it, and store it. A hose left connected all winter traps water inside the spigot body. That water can freeze back into the pipe inside your wall, and when it cracks, it’s a plumber bill, not a garden chore. If your spigots aren’t the frost-free type, add insulated covers after you shut them off.
Spring restart in 10 minutes
Come spring, the restart is quick:
- Screw the spigot assembly back together, fresh battery in the timer.
- Open the end caps and run water for two or three minutes to flush out any debris that moved in over winter.
- Close the caps, pressurize, and walk the lines. Look for geysers from split tubing and dry spots from clogged emitters. Most clogs clear with a soak in vinegar; splits take a coupling and two minutes.
- Set the watering schedule and you’re running.
The full diagnostic routine for geysers and clogs is in drip irrigation repair.
FAQ
Can I leave drip tubing out all winter?
Yes, as long as it’s drained. Poly tubing handles freezing fine when it’s mostly empty. It’s the timer, regulator, filter, and backflow preventer that die over winter, not the tubing.
Do I really need to blow out drip lines with air?
Usually no. Gravity draining gets enough water out of a drip system because emitters are open paths, not sealed chambers. Blow-outs are belt-and-suspenders for very cold zones, and only at 25 to 30 PSI.
What if a light frost already hit before I winterized?
Don’t panic. A light frost around 30 to 31°F rarely damages lines. The damage threshold is a hard freeze at 28°F or below for several hours. Just drain the system as soon as you can.
Do soaker hoses need winterizing too?
Yes, and they’re more fragile than drip tubing. Disconnect, drain, coil loosely, and store them indoors if you can. A soaker hose left full of water through a hard winter often weeps from the wrong places come spring.
Thirty minutes each fall and the system starts every spring like nothing happened. The rest of the off-season jobs live in Maintenance & Repair, and if you’re setting run times for the new season, start with how long to run drip irrigation.