

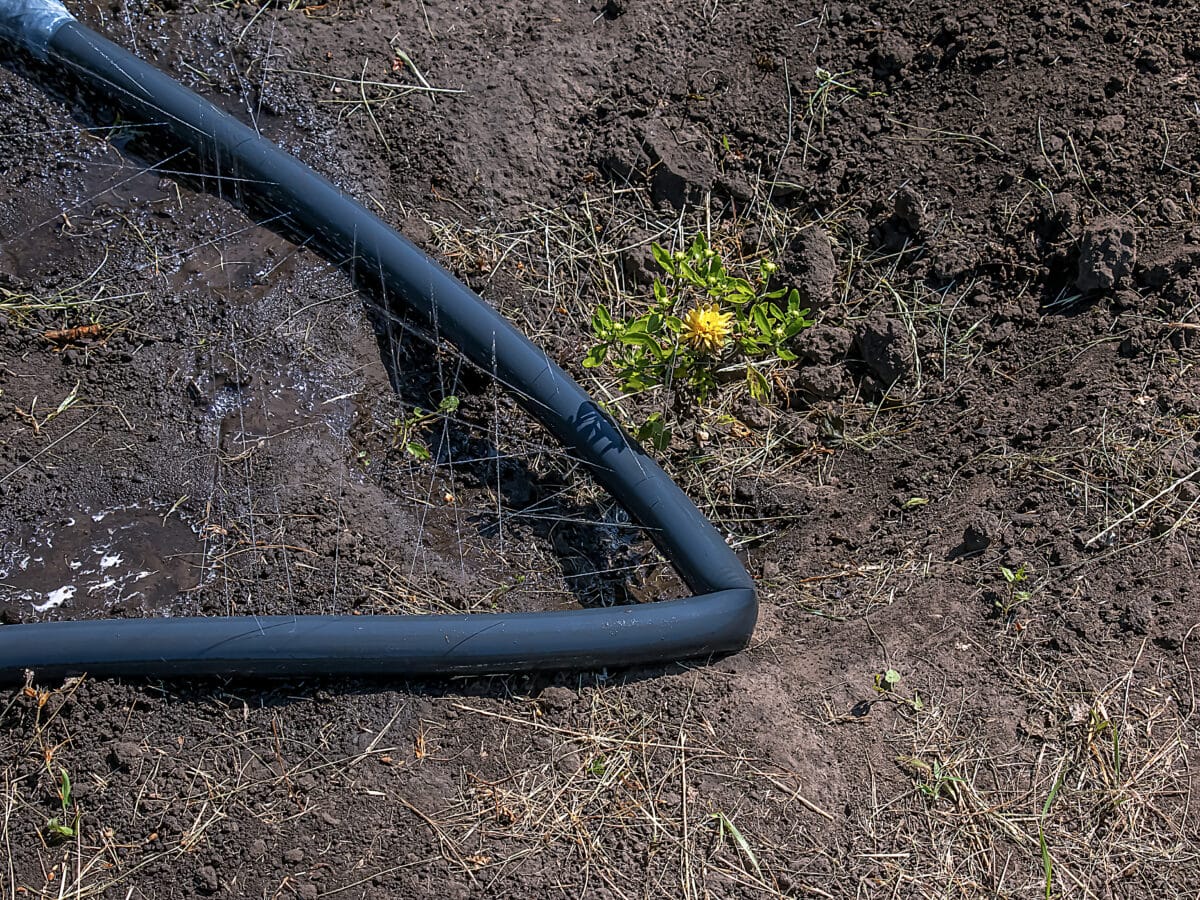
A soaker hose is about the most forgiving piece of irrigation gear you can buy, but it still fails in the same two or three ways when it’s installed wrong: bursting the first week, weeping in a puddle at one end and staying bone dry at the other, or dying of UV rot within a season because nobody bothered with mulch. None of that takes more than a few extra minutes to avoid. Here’s the whole process, spigot to soil, in order.
What you need before you start
Most of this is available at any hardware store or garden center for well under $40 total, and a chunk of it you may already own if you’ve read what a soaker hose actually is and how it compares to drip tubing.
- Soaker hose, sized for the bed or row (25 and 50-foot lengths are the common ones)
- Pressure regulator rated for soaker/drip use, unless your spigot already feeds a regulated line
- Standard (non-porous) garden hose to use as a “leader” across paths, lawn, or any stretch you don’t want dripping
- Hose splitter or Y-connector if the spigot already runs a sprinkler or hose you don’t want to give up
- Landscape staples or stakes to hold loops in place
- Mulch, roughly 2 to 3 inches worth for the bed
- A hose-end timer, optional but worth it; see what to look for in a soaker hose timer if you’re shopping for one
Step 1: Check your water pressure first
This is the step people skip and regret. Soaker hoses are built to weep gently at somewhere around 10 to 25 PSI, and a typical home spigot delivers two to four times that. Run one at full household pressure and it either turns into a mini sprinkler along its whole length or splits outright within days.
If you don’t already know your static pressure, a $10 gauge that threads onto the spigot tells you in seconds. Anything over about 30 PSI means you need a regulator in the line before the hose, not after it. The full case for one, including how to size it, is in soaker hose pressure regulator.
Step 2: Plan the layout before you unroll anything
Two minutes with a garden hose laid loosely along your bed (as a stand-in for the soaker hose) saves a lot of re-cutting later. A few rules of thumb:
- Keep any single run under about 100 feet. Past that, the far end starts to starve as pressure bleeds off along the porous length. If a bed is longer, split it into two shorter runs fed from a splitter instead of one long one.
- Space loops 6 to 12 inches from the base of each plant, not directly against the stem or trunk.
- For rows and hedges, run the hose in a straight line down the row rather than looping individual plants.
- On a slope, expect the downhill end to get more water than the top. If the grade is steep, shorter runs or a pressure-compensating soaker product minimizes the difference.
Step 3: Assemble the spigot connection
Screw the parts together in this order, spigot outward: hose-thread adapter (if needed), pressure regulator, then your leader hose or soaker hose. Hand-tight is the right amount of force; a wrench cracks the plastic threads more often than it seals anything. Branching off an existing drip system instead of the spigot? Tee off the mainline with a short length of solid tubing and connect the soaker section there, same order otherwise.
Step 4: Lay the hose
- Uncoil it in the sun for 15 to 20 minutes before laying it out. Cold, stiff hose fights you and springs back into loops; warm hose lies flat.
- Position it along your planned route, looping beds and running straight along rows, keeping the porous section only where you actually want water and using a solid leader hose for the dry stretches in between.
- Pin it down every 3 to 4 feet with landscape staples so wind and foot traffic don’t shift it out of place.
- Cap or connect the far end. Most soaker hoses either dead-end (fine for a single run) or have a threaded cap; leave it capped unless you’re feeding a second hose from it.
Step 5: Cover it and test
Cover the hose with an inch of soil or 2 to 3 inches of mulch. This single step does three things at once: it cuts evaporation, blocks the UV exposure that shortens a soaker hose’s life, and keeps the whole system out of sight. Skipping it is the single most common reason a $20 hose only lasts one summer instead of three to five.
Turn the water on and walk the full length. You’re checking for three things: steady, even weeping (good), a full-on spray at any point (a puncture, or pressure still too high), and a bone-dry stretch near the far end (run too long, or pressure too low). Fix what needs fixing now, while everything is still exposed and easy to reach.
How long to run it, as a starting point
Once it’s installed, the question that comes up next is how long to leave it on. These numbers are a starting point, not a rulebook, since soil type, hose length, and actual pressure all shift the real answer for your yard.
| Planting | Run time | Frequency |
|---|---|---|
| Vegetable rows | 30 – 45 minutes | 2 – 3 times a week |
| Shrubs and hedges | 45 – 60 minutes | 1 – 2 times a week |
| Perennial flower beds | 30 – 45 minutes | 2 times a week |
| Trees (looped at the drip line) | 60 – 90 minutes | 1 – 2 times a week |
| Foundation perimeter (clay soil) | 45 – 60 minutes | 2 – 3 times a week in dry spells |
Sandy soil drains fast and generally wants shorter, more frequent runs; clay holds moisture and wants the opposite: longer, less frequent soaks. The real test beats any chart: dig down 4 inches with a trowel an hour after watering. If it feels like a wrung-out sponge, the run time is right. Bone dry means run it longer next time; soggy or muddy means back it off.
Installing around specific plantings
The steps above cover any bed, but a couple of situations deserve a quick note. Watering a hedge or a mature tree is more about loop placement than run time; see soaker hose for trees for sizing the loop to the actual root zone rather than the trunk. Protecting a foundation on shrink-swell clay soil uses a different layout again, a continuous loop a foot or two from the slab, covered in foundation watering with a soaker hose.
Still deciding between a soaker hose and a full drip system for a mixed bed? Uniform rows and hedges are where a soaker hose wins outright; beds mixing thirsty and drought-tolerant plants often do better with individual emitters, covered in soaker hose vs drip irrigation.
Common installation mistakes
Running it straight off the spigot with no regulator
This is the number one cause of a soaker hose that bursts or turns into a sprinkler within a week. A regulator is a one-time, roughly $10 fix.
Leaving it uncovered
Direct sun bakes the rubber or poly material and shortens its working life dramatically. Mulch is cheap; a replacement hose every year isn’t.
Running one hose past 100 feet
The far end will always lag behind the near end on a run that long. Split it into two shorter runs from a splitter instead of fighting the physics.
Watering a little every day
Frequent shallow watering trains roots to stay near the surface, which makes plants less drought-tolerant, not more. Fewer, deeper sessions build a tougher root system.
FAQ
Can I install a soaker hose without a pressure regulator?
You can, but it’s a gamble. Gravity-fed sources like a rain barrel already run low enough that a regulator has little to do. A municipal or well-fed spigot is almost always well above the 10 to 25 PSI a soaker hose is built for, and skipping the regulator is the most common reason installs fail early.
How deep should a soaker hose be buried?
An inch of soil or a couple inches of mulch on top is the sweet spot. Buried deeper than that, water may not reach shallow-rooted plants, and you lose the ability to see at a glance whether the system is actually working.
Can I connect two soaker hoses together?
Yes, with a coupling or connector, but treat the combined length the same as one long run: past roughly 100 feet total, expect the far end to underperform. It’s usually better to run two shorter, separate lengths from a splitter than one long chain.
Does a soaker hose need a timer?
It works fine without one, but a hose-end timer is what turns “I should probably water today” into a system that runs itself. It’s a small investment for the consistency it buys, especially through a hot week when a missed day matters most.
That’s the full install, from spigot to mulch. Once it’s running, keep an eye on it through the first few weeks to catch any pressure or spacing issues while they’re still easy to fix, and check the rest of the setup and troubleshooting guides in Soaker Hoses.