

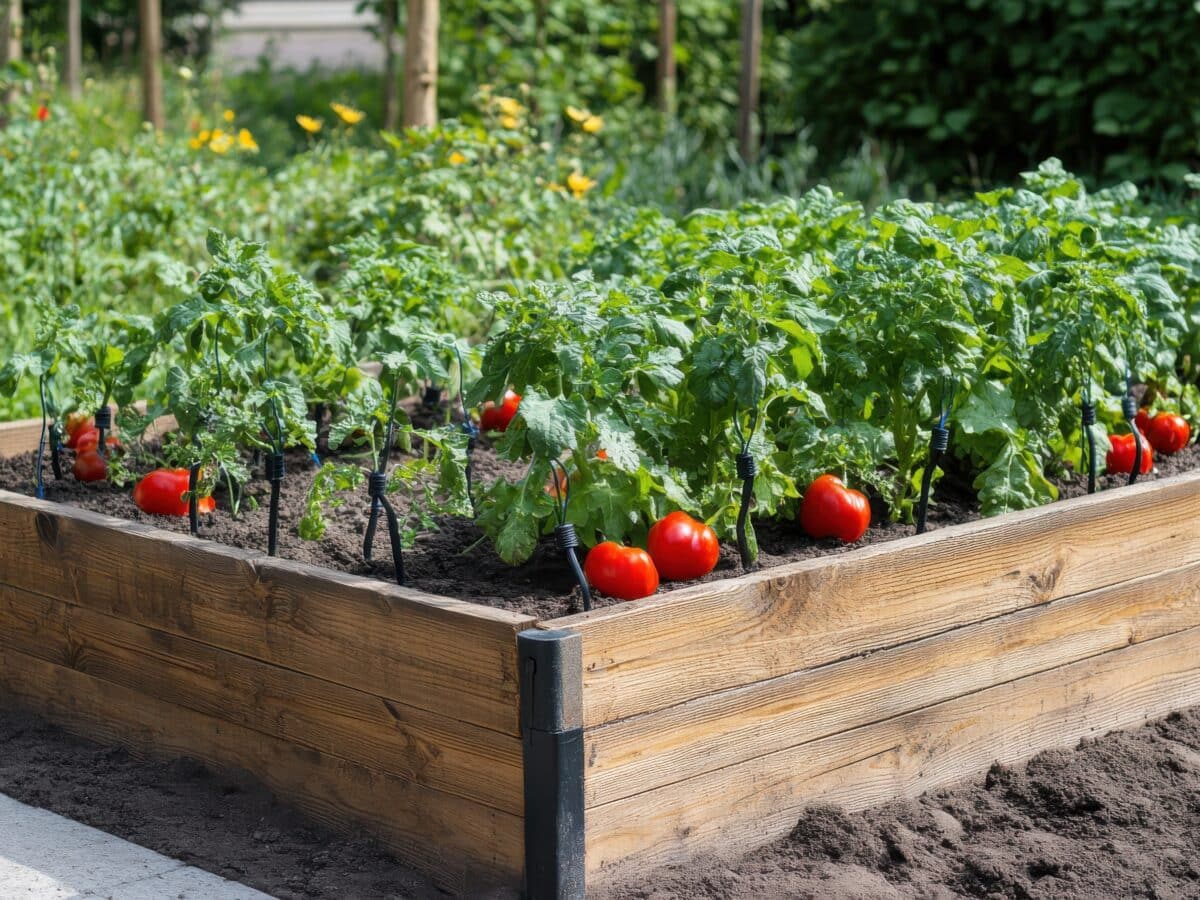
Raised beds dry out faster than in-ground gardens. The soil is elevated, drainage is great by design, and by July a hand-watered bed can need attention twice a day. Drip irrigation fixes that, and a raised bed is honestly the easiest possible place to start with drip: small area, straight lines, everything visible.
Here’s the full setup, from parts list to run times.
What you need
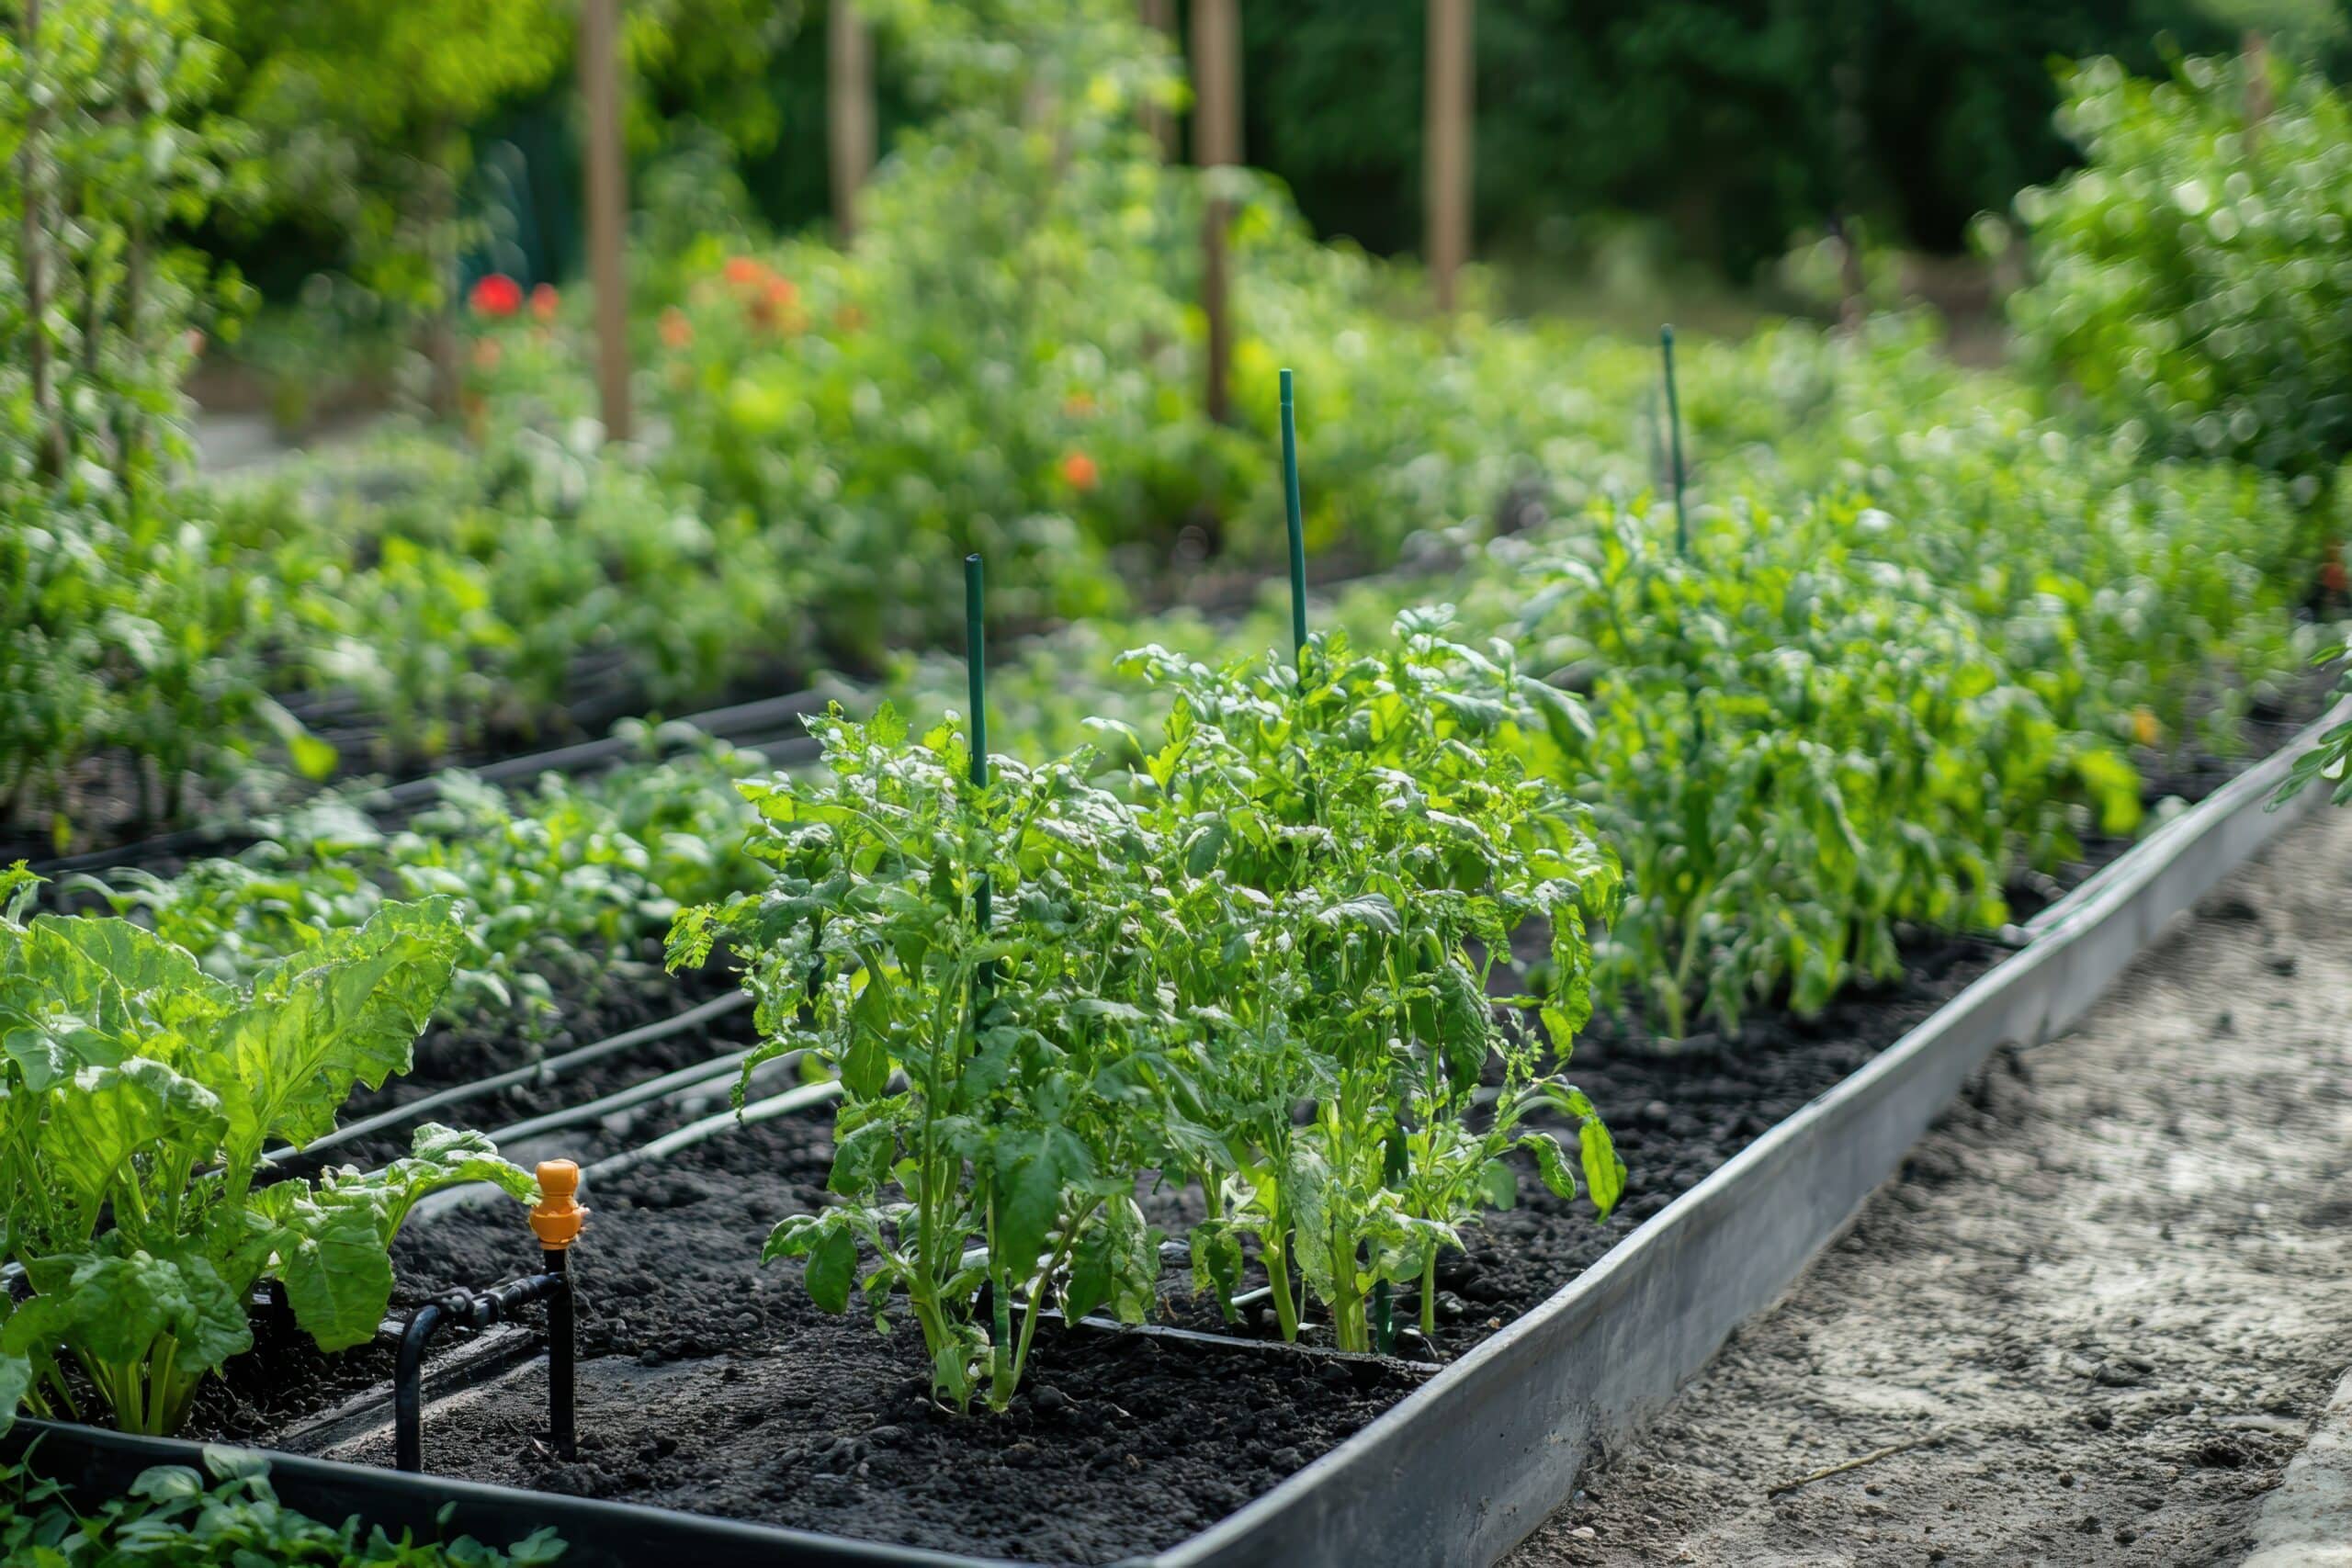
For a typical 4×8 foot bed, the parts list is short and cheap:
- Backflow preventer — keeps garden water from siphoning into your house supply. Required by code in many areas.
- Filter — a simple 150-mesh screen filter keeps emitters from clogging.
- Pressure regulator, 25 PSI — drip parts are rated for low pressure. Skip this and fittings pop. Why regulators matter.
- 1/2-inch mainline tubing — runs from the spigot to the bed and along one end.
- 1/4-inch drip line with built-in emitters (dripline), 0.5 GPH emitters spaced 12 inches apart — the lazy, reliable choice for beds.
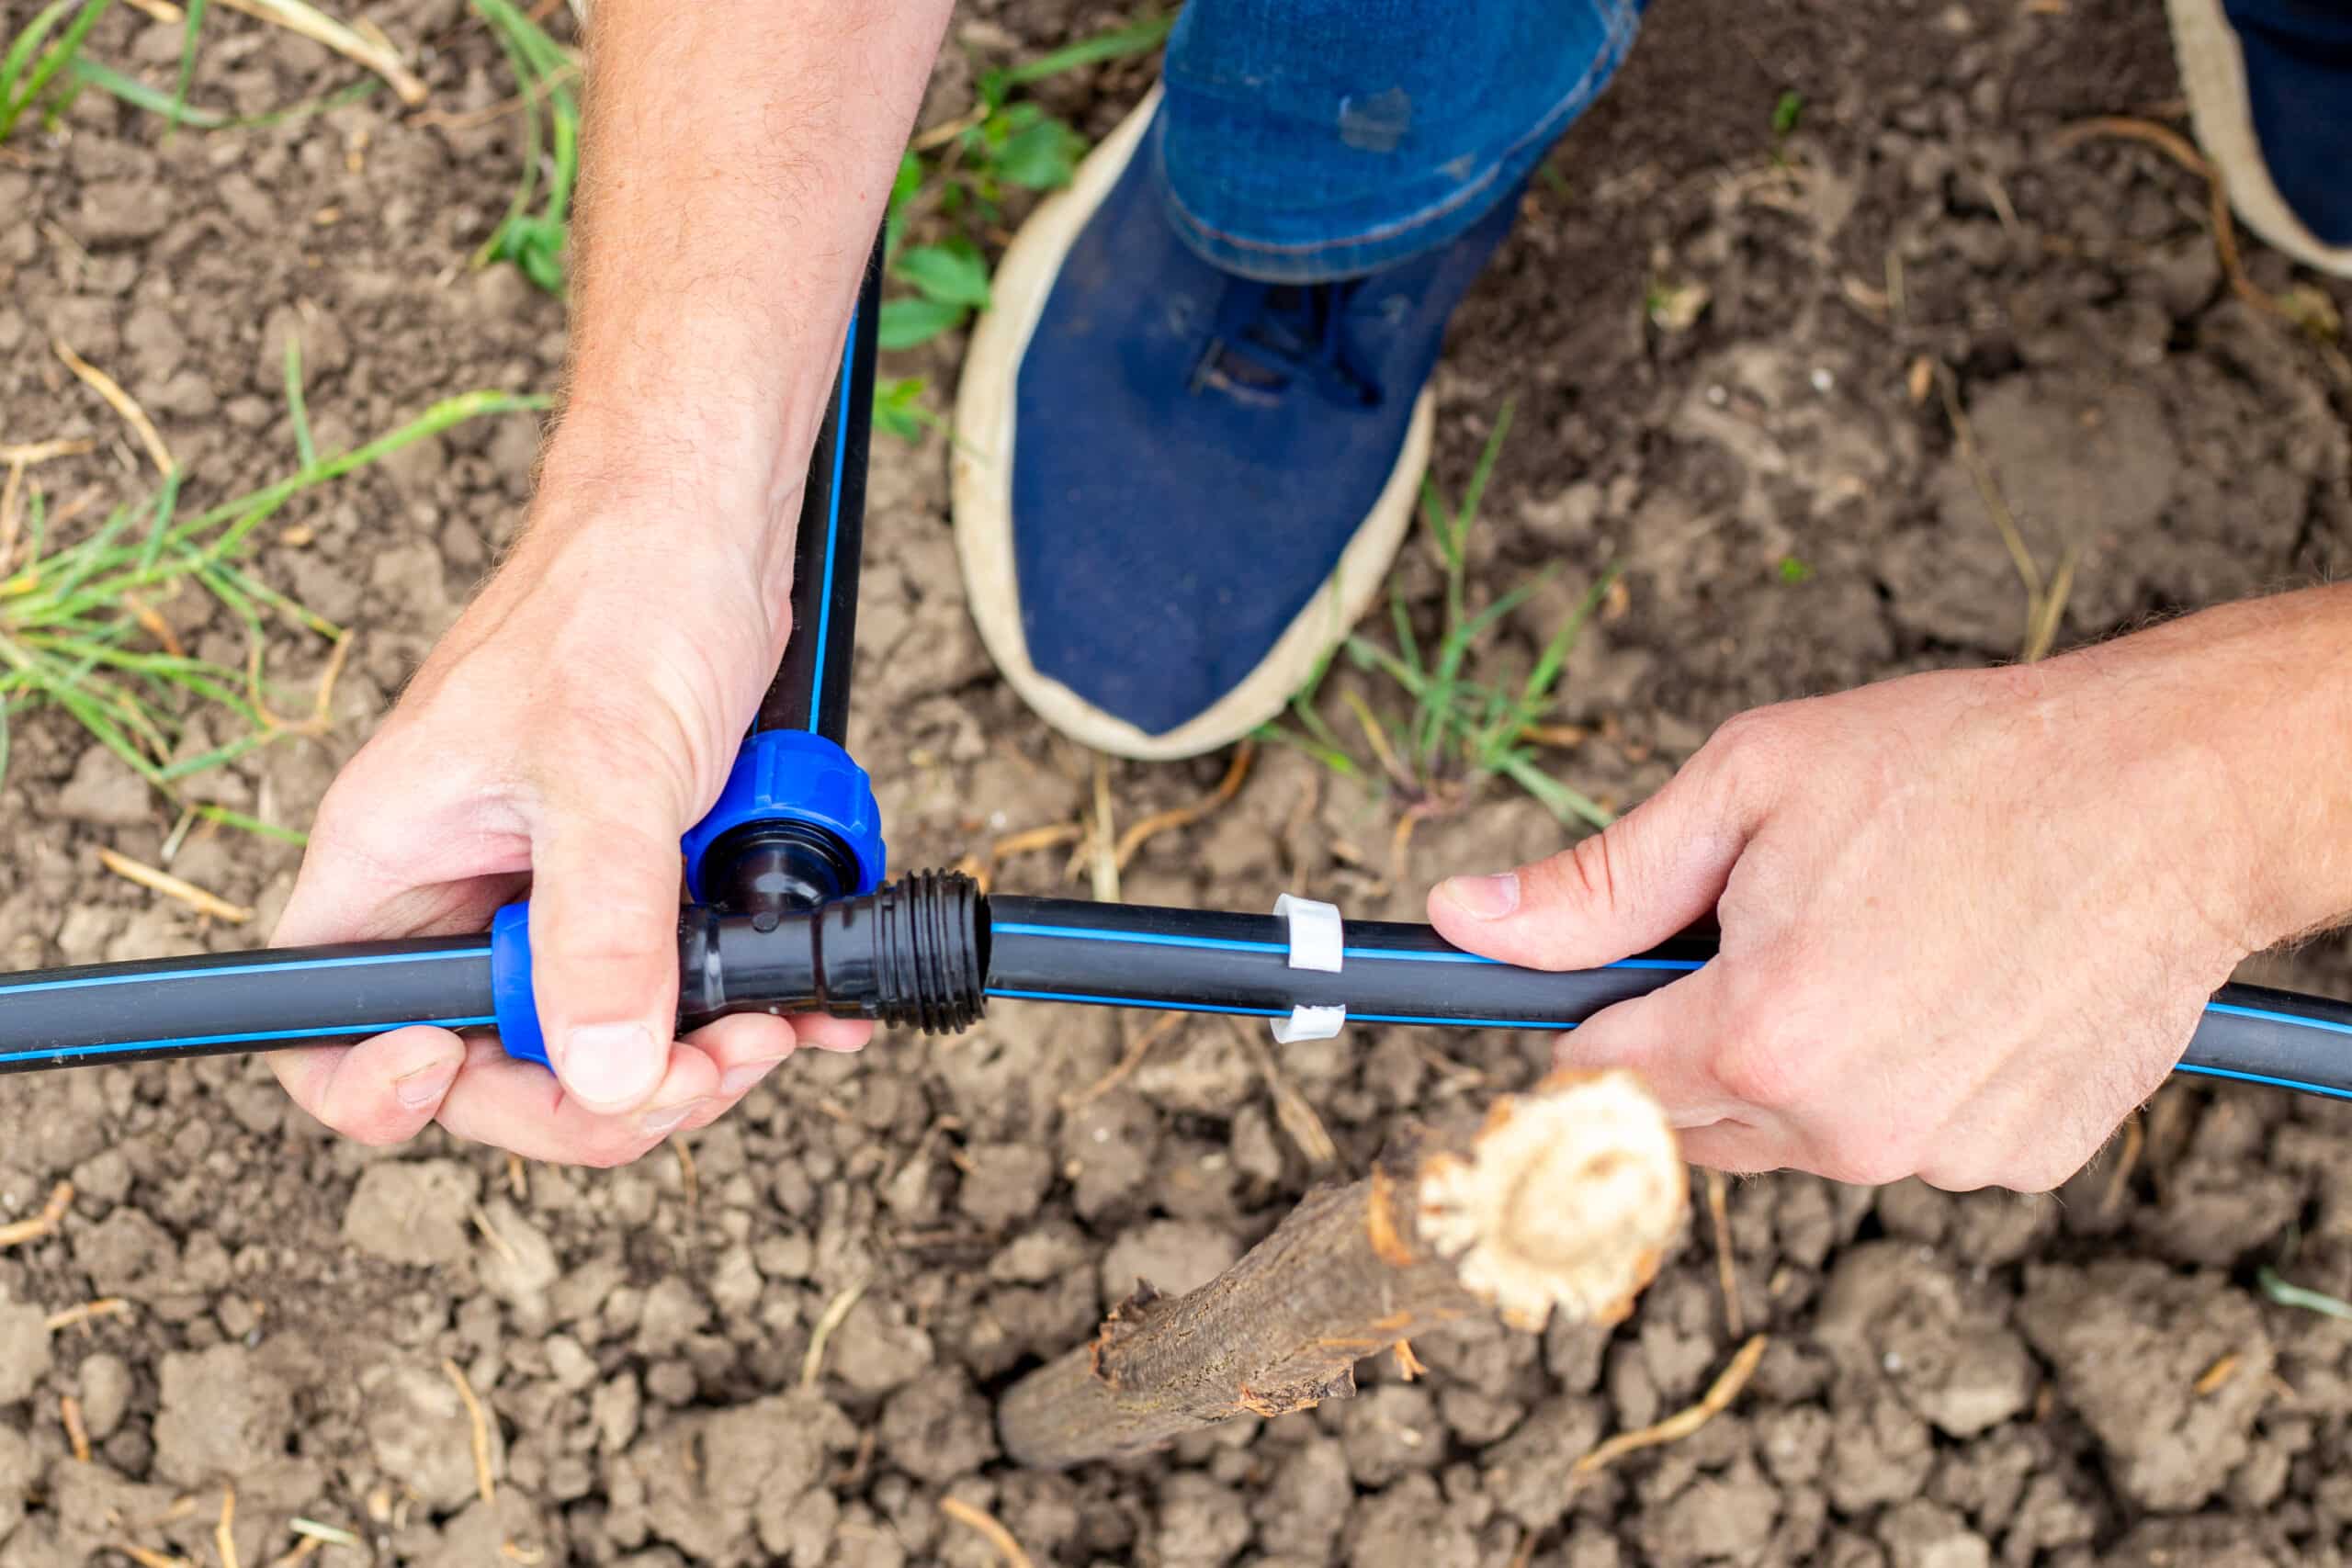
- Fittings — a few tees, elbows, and end caps, plus stakes to pin tubing down.
- Timer (optional but recommended) — turns the whole thing into a set-and-forget system.
Total cost for one bed: roughly $40 to $70 without a timer. A full breakdown is in drip irrigation system price.
Layout: the grid that works
The classic raised-bed layout is a header row of 1/2-inch mainline across one short end of the bed, with parallel runs of 1/4-inch dripline branching off it down the length of the bed.
Spacing the lines 12 inches apart gives you even coverage for mixed vegetables. So a 4-foot-wide bed gets 4 lines. Here’s the rule of thumb I use:
- 12-inch line spacing: salad greens, carrots, beans, mixed beds
- 18-inch spacing: tomatoes, peppers, squash, anything planted far apart
- One line per row: garlic, onions, single-file crops
Each line connects to the header with a small barbed coupling. Punch, push, done. Cap the far ends. If you want to get fancy, add a small shutoff valve per line so you can cut water to a row that’s finished for the season.
Why dripline beats loose emitters in beds
You can build a bed system with bare 1/4-inch tubing and individual button emitters poked in next to each plant. It works, and it makes sense for widely spaced plants in big beds. But for dense plantings, dripline with emitters every 12 inches wins for two reasons: nothing to re-poke when you replant, and the whole soil profile gets wetted, which matters for shallow-rooted crops like lettuce.
If you go the individual-emitter route, the details on flow rates are in drip irrigation emitters: types and flow rates.
How long to run it
With 0.5 GPH emitters on 12-inch spacing, most raised beds in loamy soil do well on this schedule:
| Season | Run time | Frequency |
|---|---|---|
| Spring | 30-45 min | Every 2-3 days |
| Summer | 45-60 min | Daily or every other day |
| Fall | 30 min | Every 3 days |
Raised beds are basically big pots, so check them more often than ground soil. Push a finger 2 inches in. Dry at that depth means water now. The longer method is in how long to run drip irrigation.
Watering by crop
Not everything in the bed drinks the same. Tomatoes want deep, consistent moisture, and inconsistent watering is what causes blossom end rot and splitting. Lettuces want the top layer to stay evenly damp. My compromise: run the system for the thirsty crops, and accept that the lettuce row gets a bit more than it strictly needs. Drip is efficient enough that the waste is small.
Mistakes to avoid
No regulator. The single most common failure. House pressure runs 40 to 80 PSI, drip parts want 25. Something will blow apart, usually at midnight.
Lines too far apart. One line down the middle of a 4-foot bed leaves the edges dry. Water moves down easily and sideways reluctantly, especially in the fluffy soil mixes beds are filled with.
Watering like the ground. Raised beds need more frequent, shorter cycles than in-ground beds, not less.
No mulch. Even in beds, an inch of straw or shredded leaves on top of the lines halves evaporation.
Winter and off-season
In freezing climates, disconnect the timer and the spigot assembly before the first hard freeze, drain the lines, and pull end caps to let them empty. The full routine is in winterizing your drip irrigation system. Tubing itself can usually stay in the bed over winter.
FAQ
Can I run two beds off one kit?
Yes. Split the mainline with a tee and run a branch to each bed. Add a shutoff valve per bed so you can water them independently. Up to about 200 feet of total dripline is fine on one zone.
Soaker hose or drip line for a raised bed?
Soaker hose works and it’s cheaper, but it’s less precise and degrades faster under strong pressure. For a bed you’ll replant for years, dripline is worth the extra few dollars. I compared them in soaker hose vs drip irrigation.
Do I need a timer?
Need? No. Want? Absolutely. A $25 battery timer is the difference between a system and a chore. Setup steps are in timer for drip irrigation.
One afternoon of setup, and the bed waters itself all season. If you’re starting from zero, the DIY drip irrigation system walkthrough covers the spigot-to-bed connection in more detail, and the rest of the build guides live in Installation Guides.