

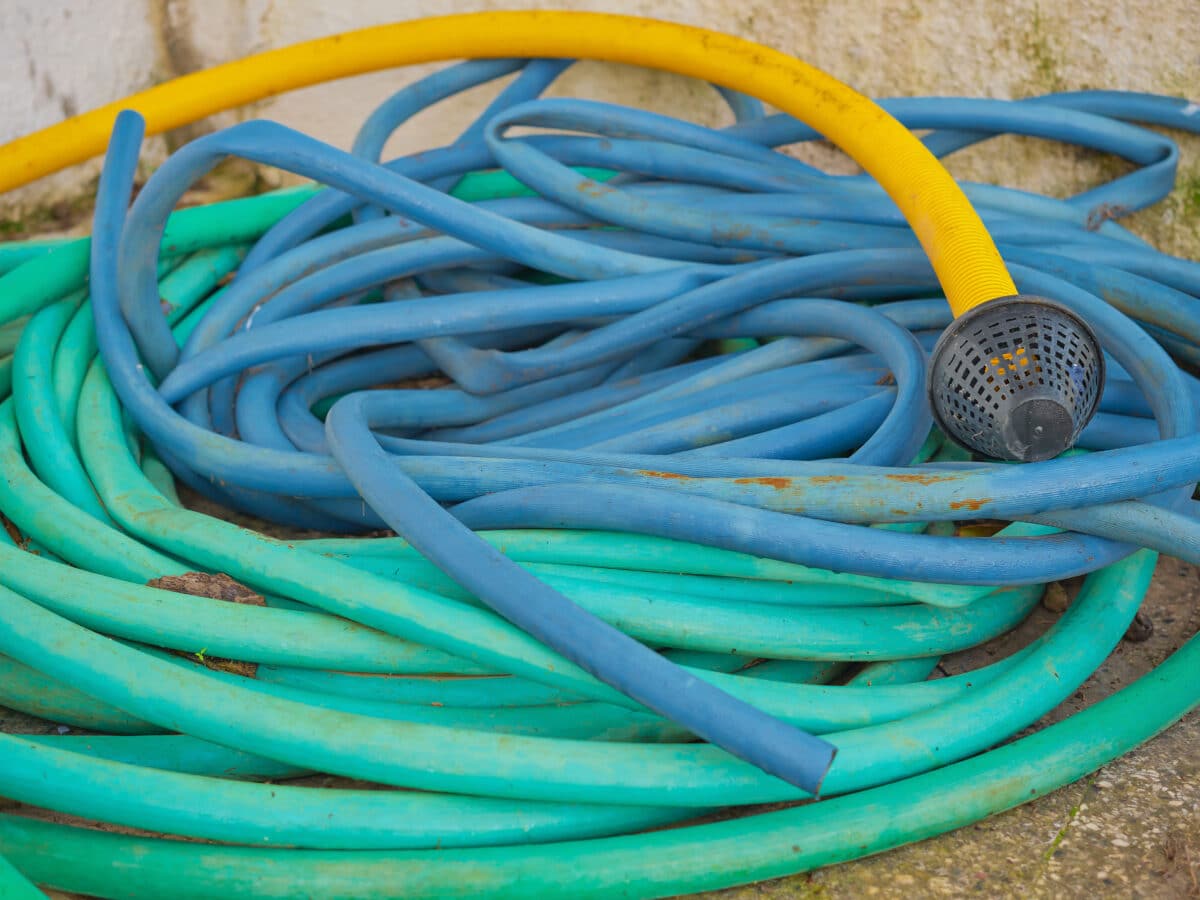
A soaker hose with a split or a puncture isn’t trash. It’s a ten-minute fix with a handful of parts that cost less than a coffee, and I’ve fixed enough of these in my own beds to know most people reach for a new hose way too fast. Before you order one, here’s exactly what belongs in a soaker hose repair kit, how to use each piece, and which kit actually fits the hose you own.
What’s actually in a soaker hose repair kit
Most kits sold as “soaker hose repair kits” are really universal garden hose repair kits, and that matters, because a soaker hose is thinner-walled and softer than a standard hose. The parts that work best are:
- Barbed couplings (1/2-inch is standard). A straight connector you push into both cut ends of the hose to rejoin them after removing a damaged section.
- Clamps or crimp rings. Slide over the hose before you push on the coupling, then tighten to keep the joint from blowing apart under pressure.
- Goof plugs or hole plugs. Small barbed pegs that seal a single clean puncture without cutting the hose at all.
- An end cap or figure-8 clamp. Replaces a cap that’s cracked or gone missing, which is a surprisingly common reason a hose “leaks” at the far end.
- A sharp utility knife or pruning shears. Not usually included, but you’ll need a clean, square cut for any coupling to seal properly.
A basic kit with a few couplings, clamps, and plugs runs somewhere around $8 to $15, and one kit realistically covers several repairs over a couple of seasons.
How to fix a soaker hose leak, step by step
The repair depends on what you’re looking at. Work out which of these two situations you have before you cut anything.
A single clean puncture
- Turn off the water and let the hose drain, or at least depressurize.
- Clean off any dirt around the hole so you can see it clearly.
- Push a goof plug straight into the hole until the barbed head seats flush.
- Turn the water back on at low pressure first and check the plug holds before opening the tap fully.
This is the fastest fix and it works for shovel nicks, thorn punctures, and the odd rodent bite, as long as it’s one hole and not a cluster of them.
A split, a crushed section, or multiple holes close together
- Cut out the damaged section with a clean, square cut on each side. Angled or ragged cuts won’t seal well against a coupling.
- Slide a clamp over each hose end before you do anything else. It’s easy to forget this step and have to start over.
- Push a barbed coupling into one end until it seats against the ridge, then push the other end on.
- Slide the clamps down over the barbs and tighten them, either with a screwdriver for screw clamps or a crimping tool for crimp rings.
- Run water through slowly and check both ends of the coupling for weeping before you bury it under mulch again.
If the hose has more than three or four splits scattered along its length rather than one isolated spot, that’s usually age and UV damage talking, not something a repair kit is meant to solve. Patchy weeping instead of a clean leak point is a different problem entirely, and the causes, from mineral scale to a bad pressure regulator, are covered in soaker hose not working.
Which soaker hose repair kit to buy
Soaker hoses aren’t all the same diameter or wall thickness, so a kit built for one style can be loose or too tight on another.
| Kit type | Best for | Watch out for |
|---|---|---|
| Universal 1/2-inch garden hose repair kit | Round rubber or vinyl soaker hoses, the most common style | Cheapest option; couplings can be a slightly loose fit on thin-walled hoses without a clamp |
| Brand-specific repair kit (matched to your hose) | Flat woven soaker hoses and recycled-rubber hoses with nonstandard dimensions | Costs more, but the fit is reliable and the manufacturer usually lists the exact diameter |
| Drip tubing coupling kit (1/4-inch and 1/2-inch mixed) | Mixed systems running both soaker hose and drip tubing off the same spigot | Not all pieces will fit a soaker hose; check barb size before buying |
If you’re not sure which you have, measure the outside diameter of the hose with a tape measure before ordering. Most residential soaker hoses land around 1/2 inch, but flat woven styles can vary enough that a generic barb won’t seat well.
Repair it, or just replace the run?
A kit is worth using for one or two isolated problems on an otherwise healthy hose. It stops making sense once the hose itself is the problem, not the damage. As a rough guide: if you’ve already patched the same run twice in a season, or the material feels stiff and cracks when you flex it, a third patch is usually money and time spent delaying the inevitable. I learned this the hard way on a hose I patched three times in one July before finally giving up and buying a replacement, which is what I should have done after patch number two. A new 50-foot hose costs less than most people expect, and it saves you from re-doing the same repair in a few weeks. The same logic applies to drip tubing repairs, worth a look at drip irrigation repair if your system mixes soaker hose with drip line.
Preventing the next leak
- Cover the hose with an inch or two of mulch. UV exposure is the main thing that turns rubber and vinyl brittle, and mulch blocks most of it.
- Run a pressure regulator ahead of the hose. Full spigot pressure is the reason fittings blow off and seams split in the first place, and it’s a cheap fix relative to the damage it prevents.
- Don’t overtighten clamps. Crushing the hose wall to stop a tiny weep often just creates a new crack next to the clamp.
- Store the hose drained and indoors over winter. Water trapped inside that freezes is one of the most common causes of a hose that “was fine last fall” and splits in spring.
- Check the layout against your original setup if leaks keep showing up in the same spot; a kink or a wheel running over the same section repeatedly will keep reopening a repair. The full walkthrough is in how to install a soaker hose.
FAQ
Can I use duct tape to fix a soaker hose?
As a same-day, get-through-the-weekend fix, sure, it’ll hold for a day or two above ground. It won’t survive being buried under mulch or exposed to regular watering pressure for long, so treat it as a stopgap until you get an actual coupling or plug on it.
Do all soaker hoses use the same size repair parts?
No. Most round soaker hoses use standard 1/2-inch barbed fittings, but flat woven hoses and some recycled-rubber styles run slightly different diameters. Measure before you buy, or check the packaging on brand-specific kits, which usually list a compatible hose diameter range.
How long does a soaker hose repair actually last?
A clamped coupling on a clean cut should hold for the rest of the hose’s useful life, which is typically two to five seasons depending on sun exposure and pressure management. A goof plug in a single puncture holds about as well as the surrounding hose material does, so if that section is otherwise sound, expect it to last as long as the rest of the run.
What if water is still leaking after I install the repair?
Almost always a loose clamp or a coupling that didn’t seat all the way in. Turn off the water, push the coupling in further until it meets the internal ridge, then re-tighten the clamp. If it still weeps at the joint after that, the cut end may be angled rather than square; trim it flush and try again.
Keep a small kit on hand year-round. It costs less than a single replacement hose, it takes up almost no space in a garage drawer, and it turns what feels like a dead irrigation line into a ten-minute fix. For everything else that can go wrong with a soaker hose setup, the hub guide at soaker hoses: the complete guide covers layout, run times, and buying decisions in one place.