
A drip irrigation system looks complicated coiled up in a box at the hardware store, but it’s really six or seven parts repeated in different combinations. Learn what each part does, and the system stops being a mystery. You’ll know what to buy, what’s optional, and which shortcut causes a flooded bed at two in the morning.
This guide breaks down every component from the spigot to the last emitter, with links to the full guide for anything that needs more depth.
The parts list, in the order water actually travels
Water moves through a drip system in a fixed sequence, and most of that sequence is the same whether it’s watering a raised bed or a hundred feet of shrubs: spigot connector, backflow preventer, filter, pressure regulator, mainline tubing, fittings, distribution tubing or drip tape, emitters, and end caps or stakes. Skip a step or get the order wrong and something downstream usually pays for it, most often the filter clogging or the pressure regulator getting bypassed.
Backflow preventers and filters: the parts beginners skip
A backflow preventer, sometimes called a vacuum breaker, stops water in the tubing from siphoning back into the house’s drinking water if pressure drops unexpectedly. Most hose-bib timers and pressure regulators already have one built in, so check before buying a separate part.
The filter is the one people skip and regret. Even clean-looking tap water carries enough sediment and mineral grit to clog a 0.5 GPH emitter within a season. A basic 150-mesh screen filter costs less than the emitter it protects, and threads on right after the backflow preventer, before the pressure regulator.
Pressure regulators
Most outdoor spigots deliver 40 to 60 PSI. Drip emitters are rated for 25 to 30 PSI, and soaker hoses want even less, often close to 10 PSI. Run either one at full hose pressure and fittings pop, emitters spray instead of drip, and hoses split at the seams within a season.
Drip systems and soaker hoses use different regulators because they’re built for different pressure targets. The drip irrigation pressure regulator guide covers sizing for emitter-based systems, and the soaker hose regulator guide covers the lower-pressure version for hose setups.
Tubing and mainline: sizes at a glance
Three tubing sizes cover almost every home drip system.
| Tubing | Typical use | Notes |
|---|---|---|
| 1/2 inch poly (mainline) | Carries water from the regulator to the growing area | Usually black, buried or laid along a bed edge |
| 1/4 inch poly (distribution) | Branches off the mainline to individual plants | Short runs only, pressure drops fast over distance |
| Drip tape | Row crops and vegetable beds | Flat when empty, round when pressurized, not reusable season to season |
Sizing mistakes are the most common beginner problem here, mainly running too much 1/4 inch tubing off a single point or mixing tape sizes that don’t fit the same fittings. The tubing sizes guide covers the actual measurements, since none of the marketing names are consistent between brands.
Fittings and connectors
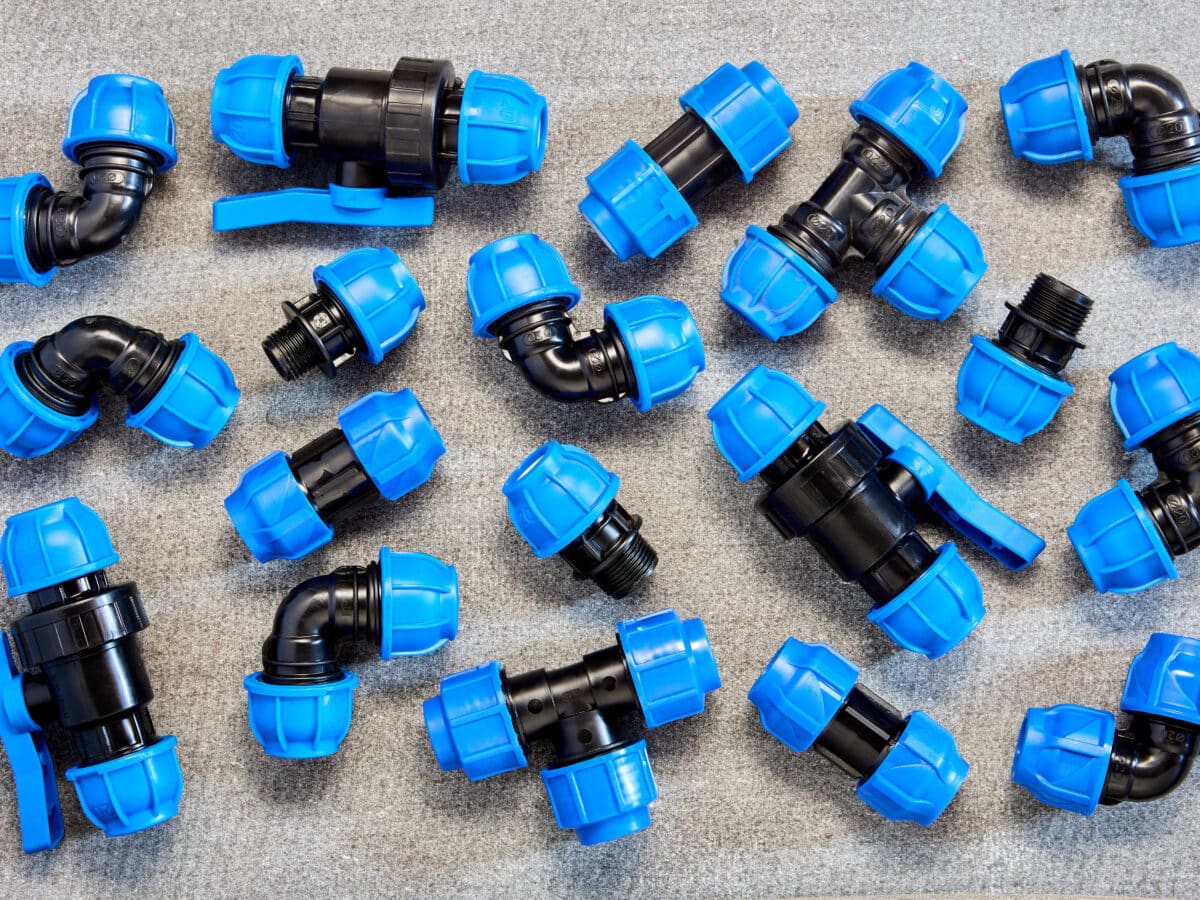
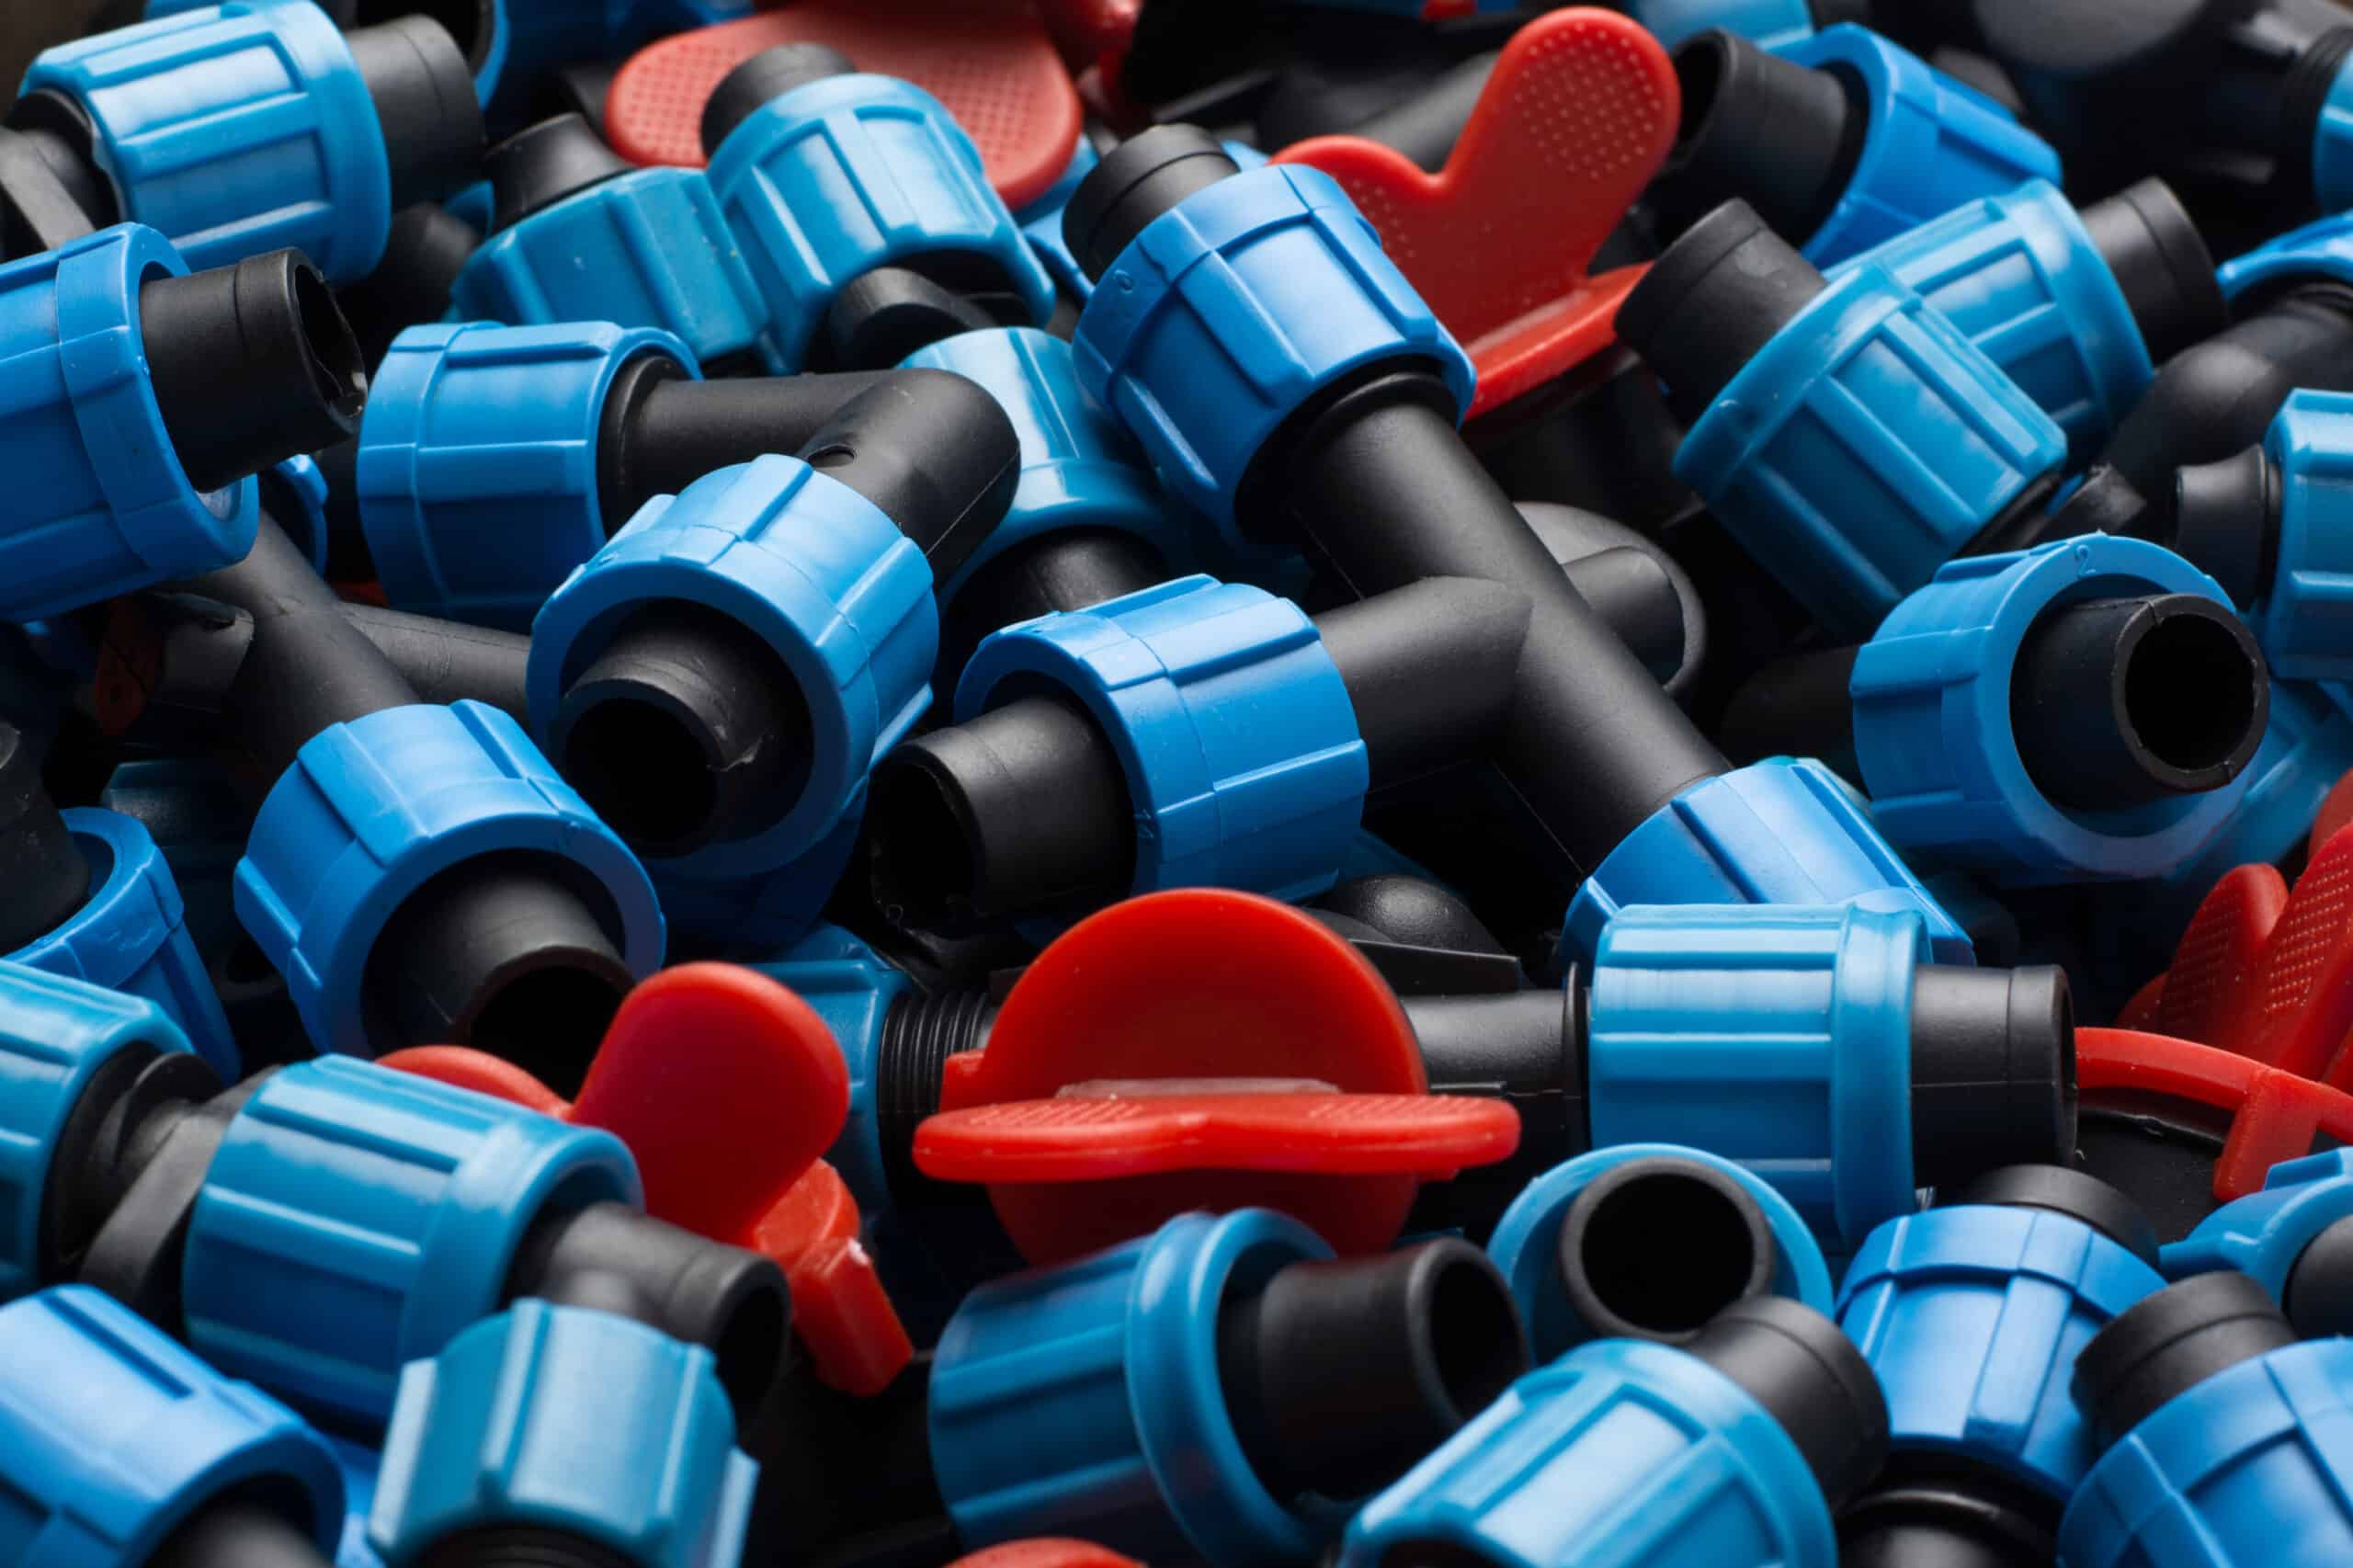
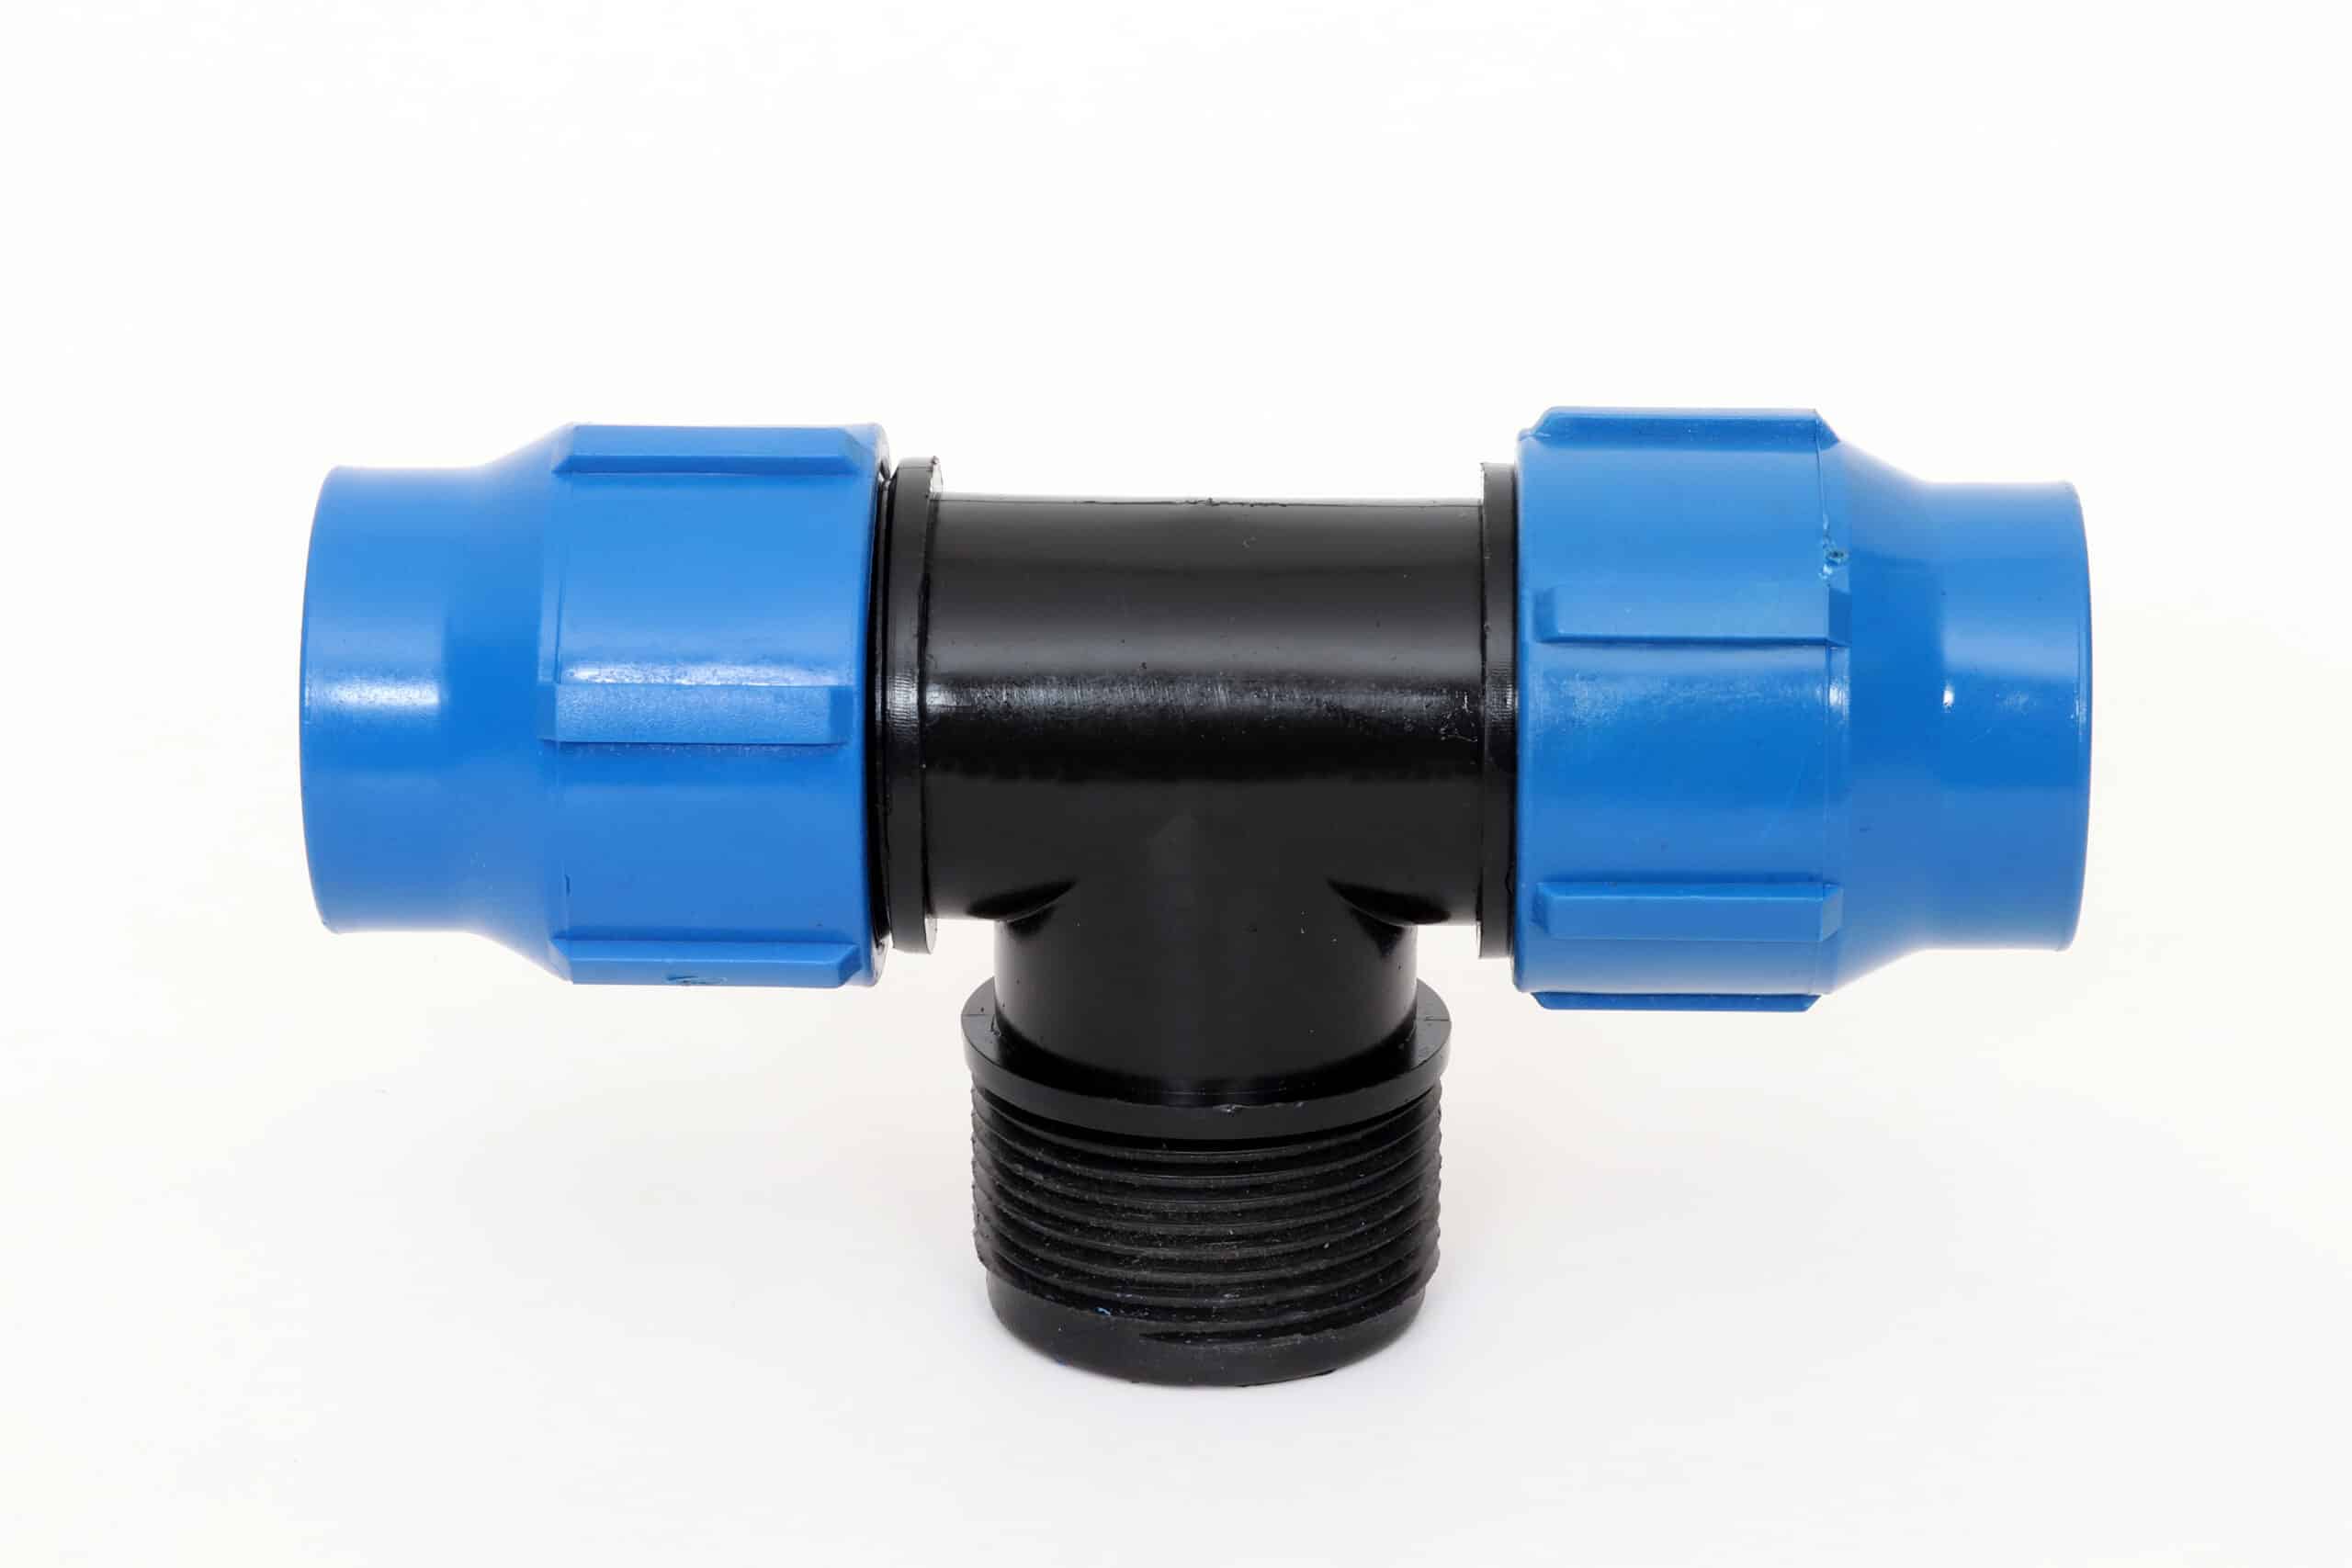
Fittings are the parts that make a straight-line hardware store product bend around an actual garden. Tees split one line into two, elbows turn corners without kinking the tubing, and couplings repair a cut line or extend a run. A hole punch tool, not a knife or screwdriver, is what actually makes clean holes for emitters. A cheap version costs about $8 and pays for itself the first time a knife-punched hole tears instead of sealing around an emitter.
Emitters and drippers
Emitters are where the actual watering happens. Everything upstream just exists to deliver calm, regulated water to these small plastic parts. Button drippers push into 1/4 inch tubing at a fixed or adjustable flow rate. Inline emitters come pre-installed in tubing at even spacing, which is faster to lay for row crops. Micro-sprays cover a wider area at higher flow and work well for dense groundcover. The emitters guide covers flow rates and how to pick between them.
Timers and automation
A drip system without a timer depends on someone remembering to turn it off, which works fine until the week everyone forgets. A basic mechanical or digital hose-bib timer screws on between the spigot and the backflow preventer and handles most home systems. The drip irrigation timer guide covers programming a multi-zone setup, and the soaker hose timer guide covers the simpler single-zone version most soaker hose setups need.
Stakes, end caps, and the small parts that save the season
Emitter stakes hold the tubing and emitter in place so wind and watering don’t walk it away from the root ball: cheap, easy to skip, and the first thing to blame when a plant looks under-watered despite a working system. End caps or figure-8 clamps seal the far end of a line; without one, the system just drains out the last few feet. Goof plugs fix a hole punched in the wrong spot, useful enough that it’s worth buying a small bag before it’s needed rather than after.
A basic parts list and rough budget
| Component | Purpose | Typical cost |
|---|---|---|
| Filter + backflow preventer | Protects emitters from clogging, protects drinking water | $8 to $15 |
| Pressure regulator | Brings spigot pressure down to a safe range | $8 to $15 |
| Mainline tubing (50 ft, 1/2 in) | Carries water to the growing area | $15 to $25 |
| Distribution tubing or drip tape | Branches to individual plants or rows | $10 to $30 |
| Emitters (pack of 25 to 50) | Where the actual watering happens | $8 to $15 |
| Fittings and stakes kit | Tees, elbows, hole punch, stakes, end caps | $10 to $20 |
| Timer | Automates the schedule | $15 to $40 |
That’s roughly $75 to $165 in parts for a single-zone system built from scratch, in the same range as a mid-tier kit. The full pricing guide breaks costs down by bed size and number of zones, and the kit comparison is worth checking before buying parts individually, since a kit sometimes beats piecing one together for a first system.
Common component mistakes
- No filter installed. Shows up months later as a string of emitters that quietly stopped dripping. Covered in the repair guide.
- Wrong regulator for the system. A soaker hose on a 30 PSI drip regulator will split at the seams; a drip system on a soaker hose’s 10 PSI regulator will barely dampen the soil.
- No end cap on the mainline. Water drains out the far end instead of reaching the last few emitters.
- Too many emitters on one line. Every zone has a practical GPH ceiling before pressure drops enough that the far end starves; if the last plant in a row is always dry, that’s usually the cause.
- Mixing tubing sizes that don’t match. Drip tape, 1/4 inch tubing, and 1/2 inch mainline all use different fittings, and forcing one into another usually leaks.
Frequently asked questions
Do I need a filter if I’m on municipal water?
Yes. City water is filtered for drinking, not for the tiny openings in a 0.5 GPH emitter, and even trace sediment or mineral buildup accumulates over a season. A basic screen filter is cheap enough that skipping it isn’t worth the risk to the rest of the system.
Can I connect drip tubing directly to a garden hose?
Not directly. Drip tubing and garden hose threads are different sizing systems, so it needs a hose-thread-to-drip adapter, usually included with a pressure regulator or timer. Everything downstream of that adapter uses the drip system’s own fittings.
How many emitters can I run off one line?
As a rough rule of thumb, keep total emitter flow under about 200 GPH per 1/2 inch mainline run before pressure loss becomes noticeable at the far end. Long runs or uphill sections lower that ceiling. The installation guide covers splitting a garden into multiple zones once a single line gets close to that limit.
What’s the actual difference between drip tape and drip tubing?
Drip tape is thin-walled, collapses flat when empty, and is built for one growing season in row crops. Drip tubing is round, rigid poly built to last for years, and better suited to permanent beds, shrubs, and mixed plantings. The tubing sizes guide covers this in more detail.
Once the parts make sense individually, putting them together is mostly plumbing. The drip irrigation systems guide is the hub for installation, cost, and troubleshooting, and the installation walkthrough covers putting these parts together end to end.