
Installing drip irrigation is a one-afternoon job that pays back every evening after. No digging, no glue, no plumber. If you can screw together a garden hose and poke holes with a $2 punch tool, you can do this. Here’s the whole process in order.
Before you start: the two decisions
Decide your zones. A zone is everything that runs at once on one schedule. Group plants by thirst: vegetables together, shrubs together, drought-tolerant stuff on its own or left out entirely. Most beginners need exactly one zone.
Sketch the layout. Paper, pencil, two minutes. Mark the spigot, the plants, and the path between them. Measure roughly so you buy enough tubing.
The parts, in order of assembly
- Hose-end timer (optional but the best $25 in the system)
- Backflow preventer
- 150-mesh filter
- 25 PSI pressure regulator — non-negotiable, and here’s why
- Tubing adapter to 1/2-inch mainline
- 1/2-inch mainline tubing, elbows, tees, stakes, end caps
- 1/4-inch micro tubing or dripline
- Emitters: 0.5, 1, and 2 GPH button emitters
- Punch tool, goof plugs
Kits bundle most of this and are genuinely good value for a first system; the picks are in best drip irrigation system.
Step 1: Assemble the spigot head
Screw the parts together in this exact order: timer, backflow preventer, filter, regulator, tubing adapter. Hand-tight only. Plastic threads crack under wrenches.
Step 2: Lay the mainline
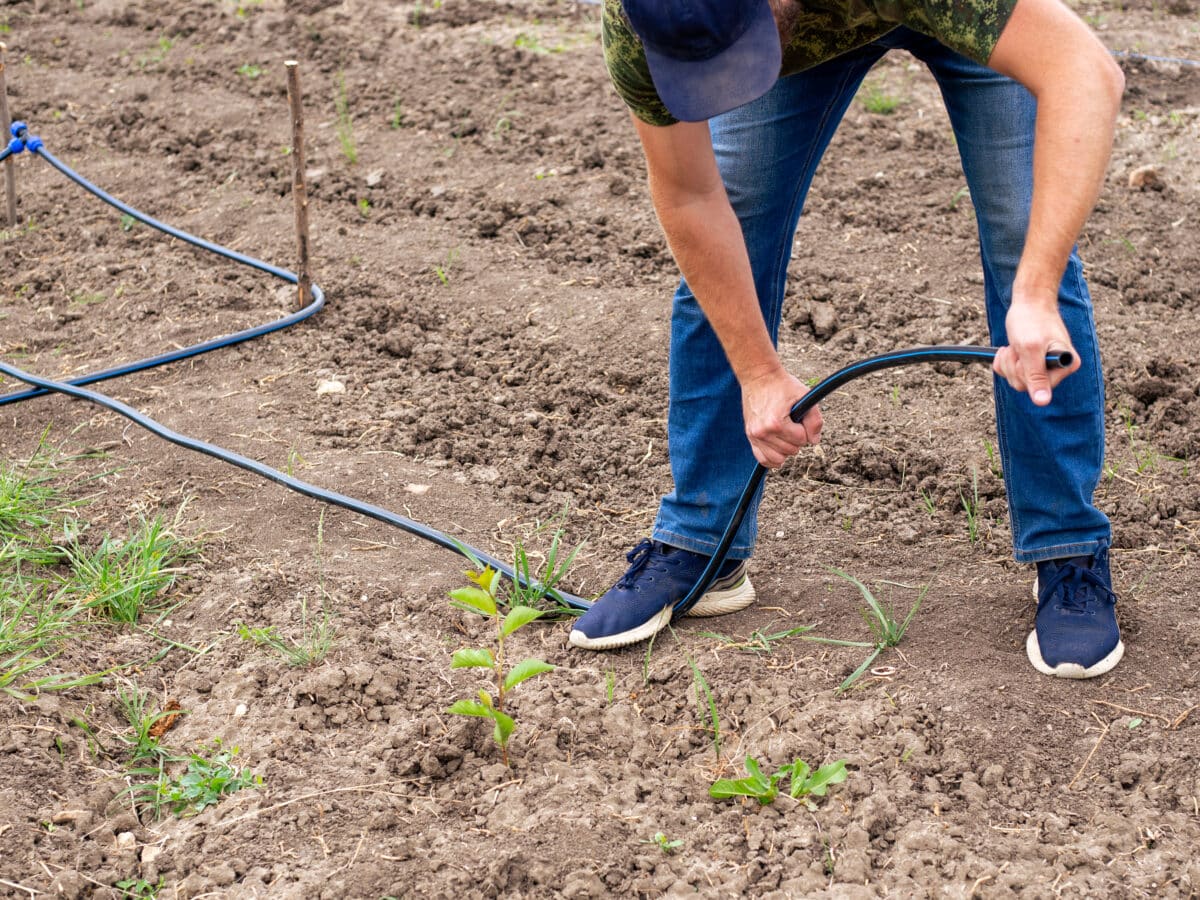
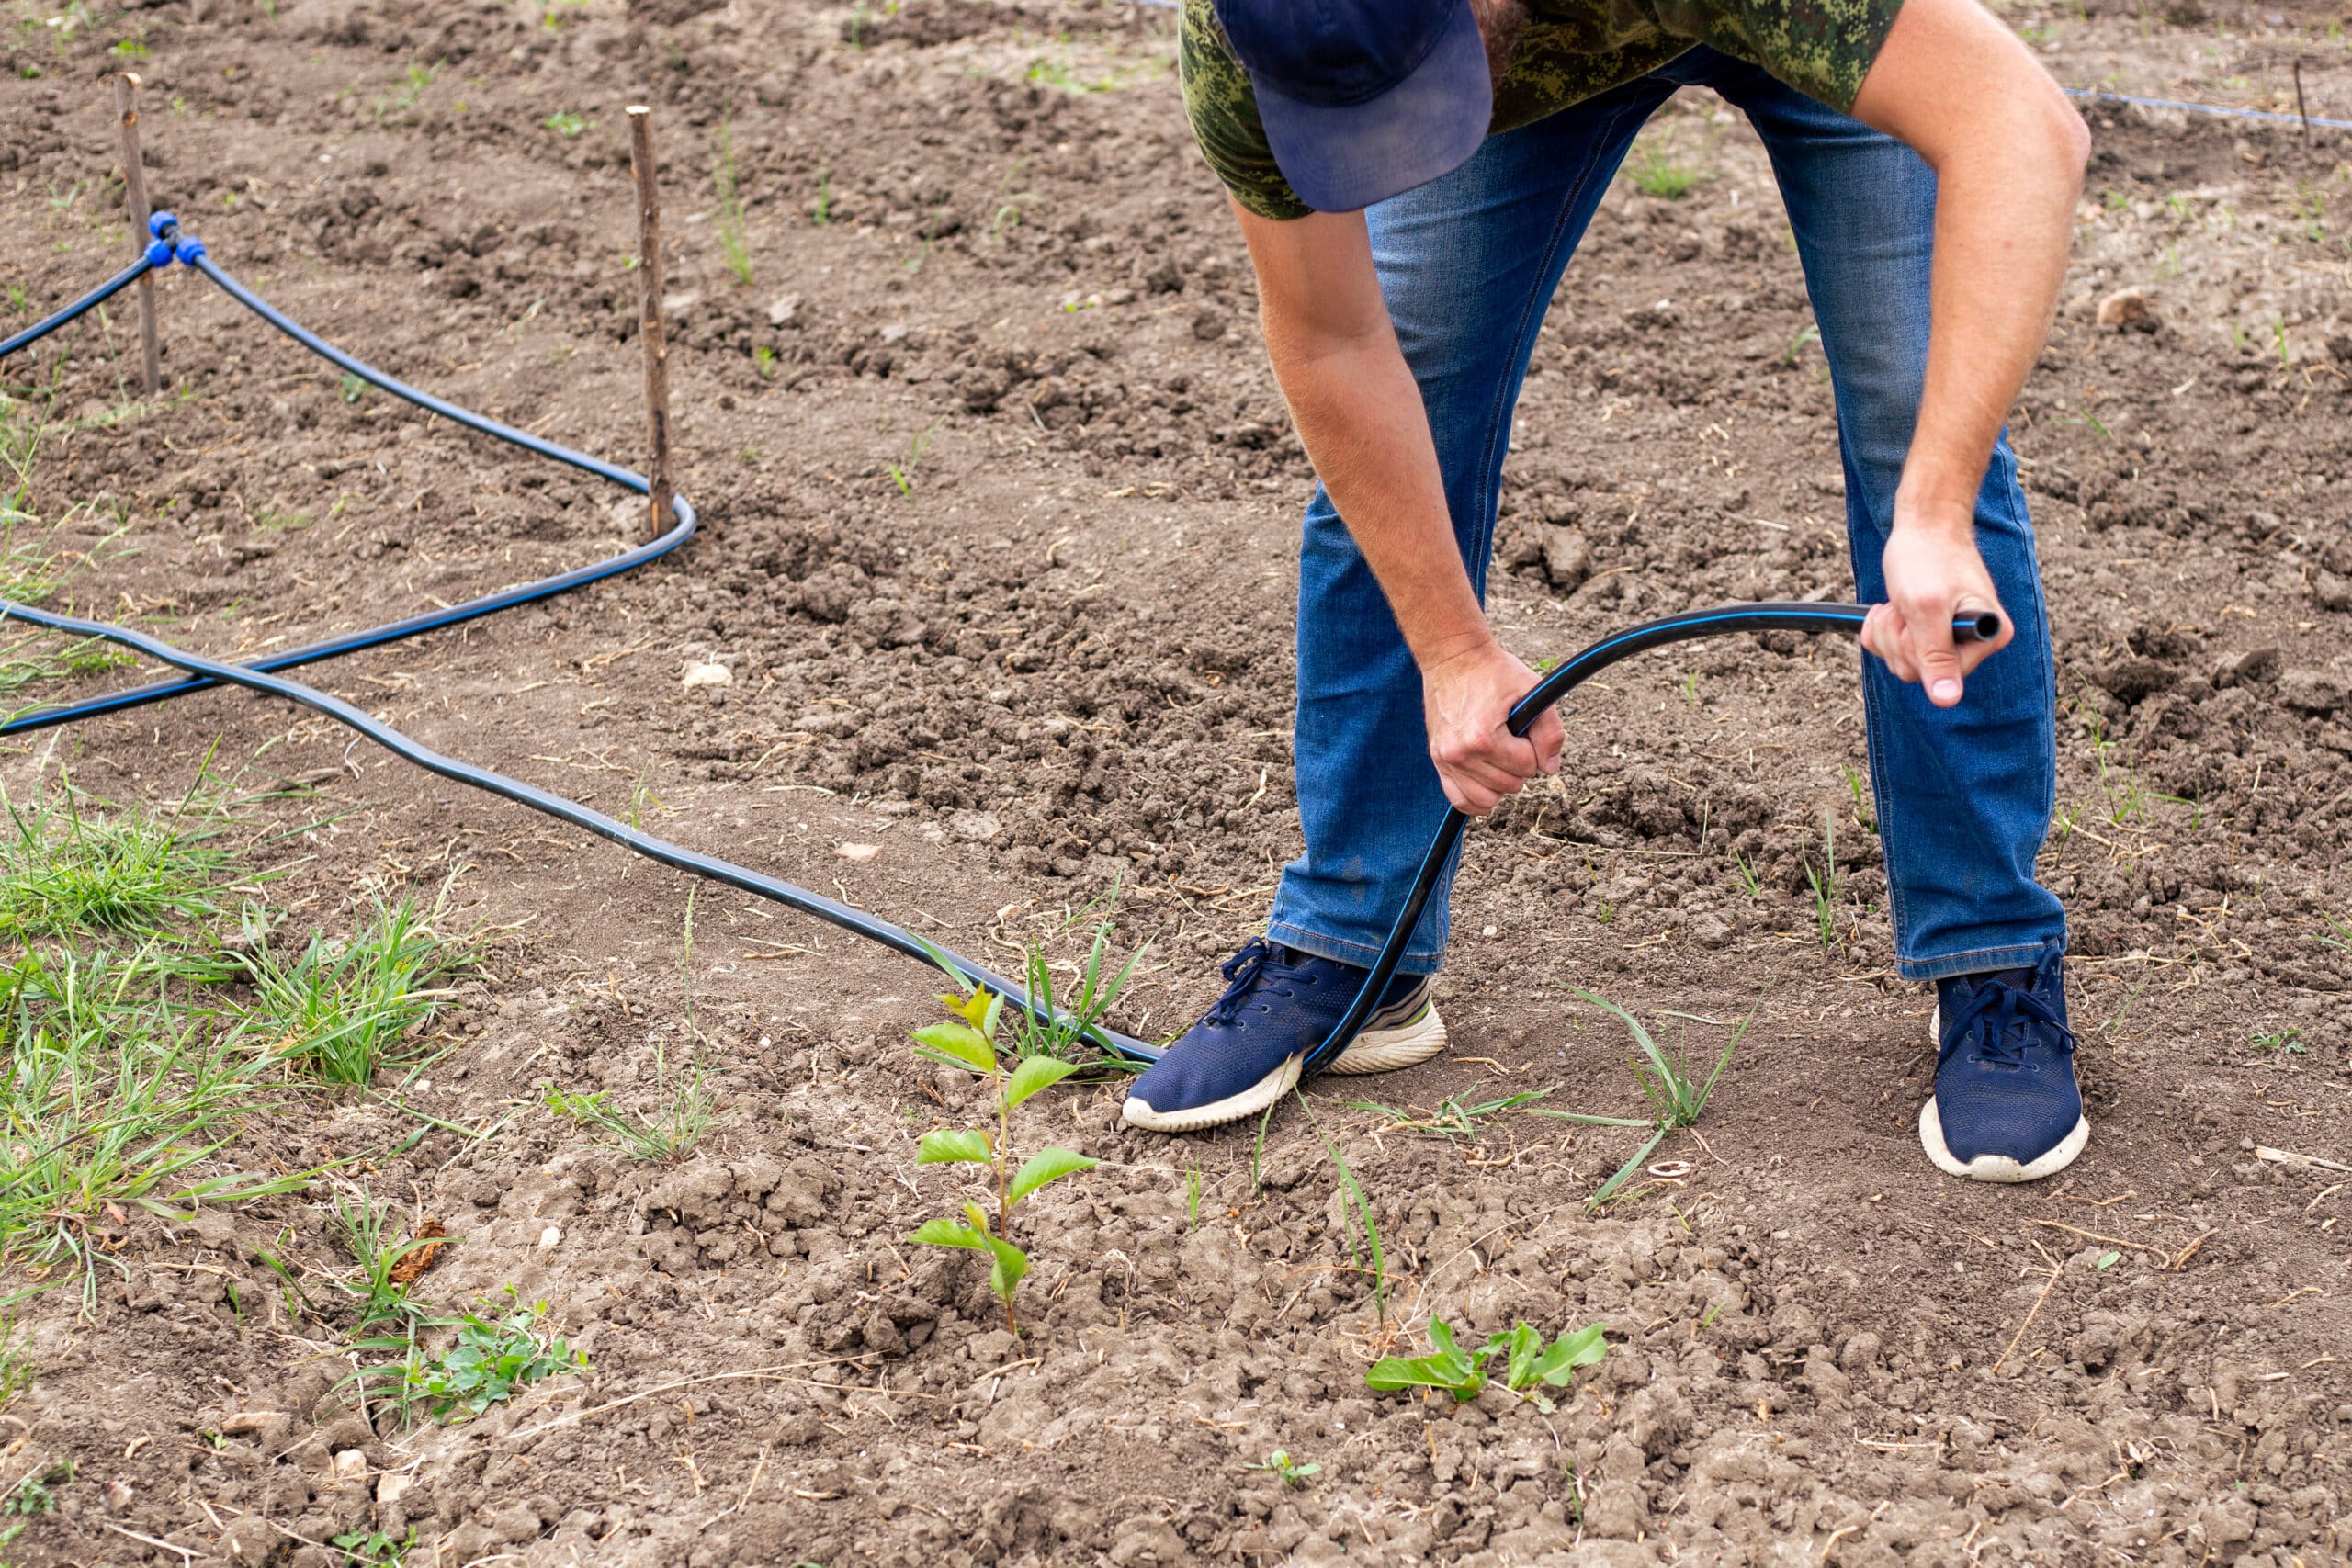
Unroll the 1/2-inch tubing and let it relax in the sun for 20 minutes; warm tubing lies flat instead of coiling back at you. Run it along the bed edges from your sketch. Cut with pruning shears at turns and use elbow fittings rather than kinking it. Stake every 3 to 4 feet.
Keep the mainline under about 200 feet total for one zone. Longer than that, pressure drops at the far end. The numbers behind the limits are in drip irrigation tubing sizes.
Step 3: Connect the emitters
For individual plants: punch a hole in the mainline next to each plant, insert a barbed connector, run 1/4-inch micro tubing to the root zone, and cap it with an emitter on a stake. One 1 GPH emitter for small plants; two 1 GPH or one 2 GPH for tomatoes, roses, and shrubs.
For rows and beds: branch off with 1/4-inch dripline, which has emitters built in every 12 inches. Punch, push in a coupling, lay the line. The raised bed version of this is in drip irrigation for raised beds.
Place emitters at the edge of the plant’s canopy (the drip line), not hugging the stem. Roots live out there; the crown rots if it stays wet.
Step 4: Flush before you cap
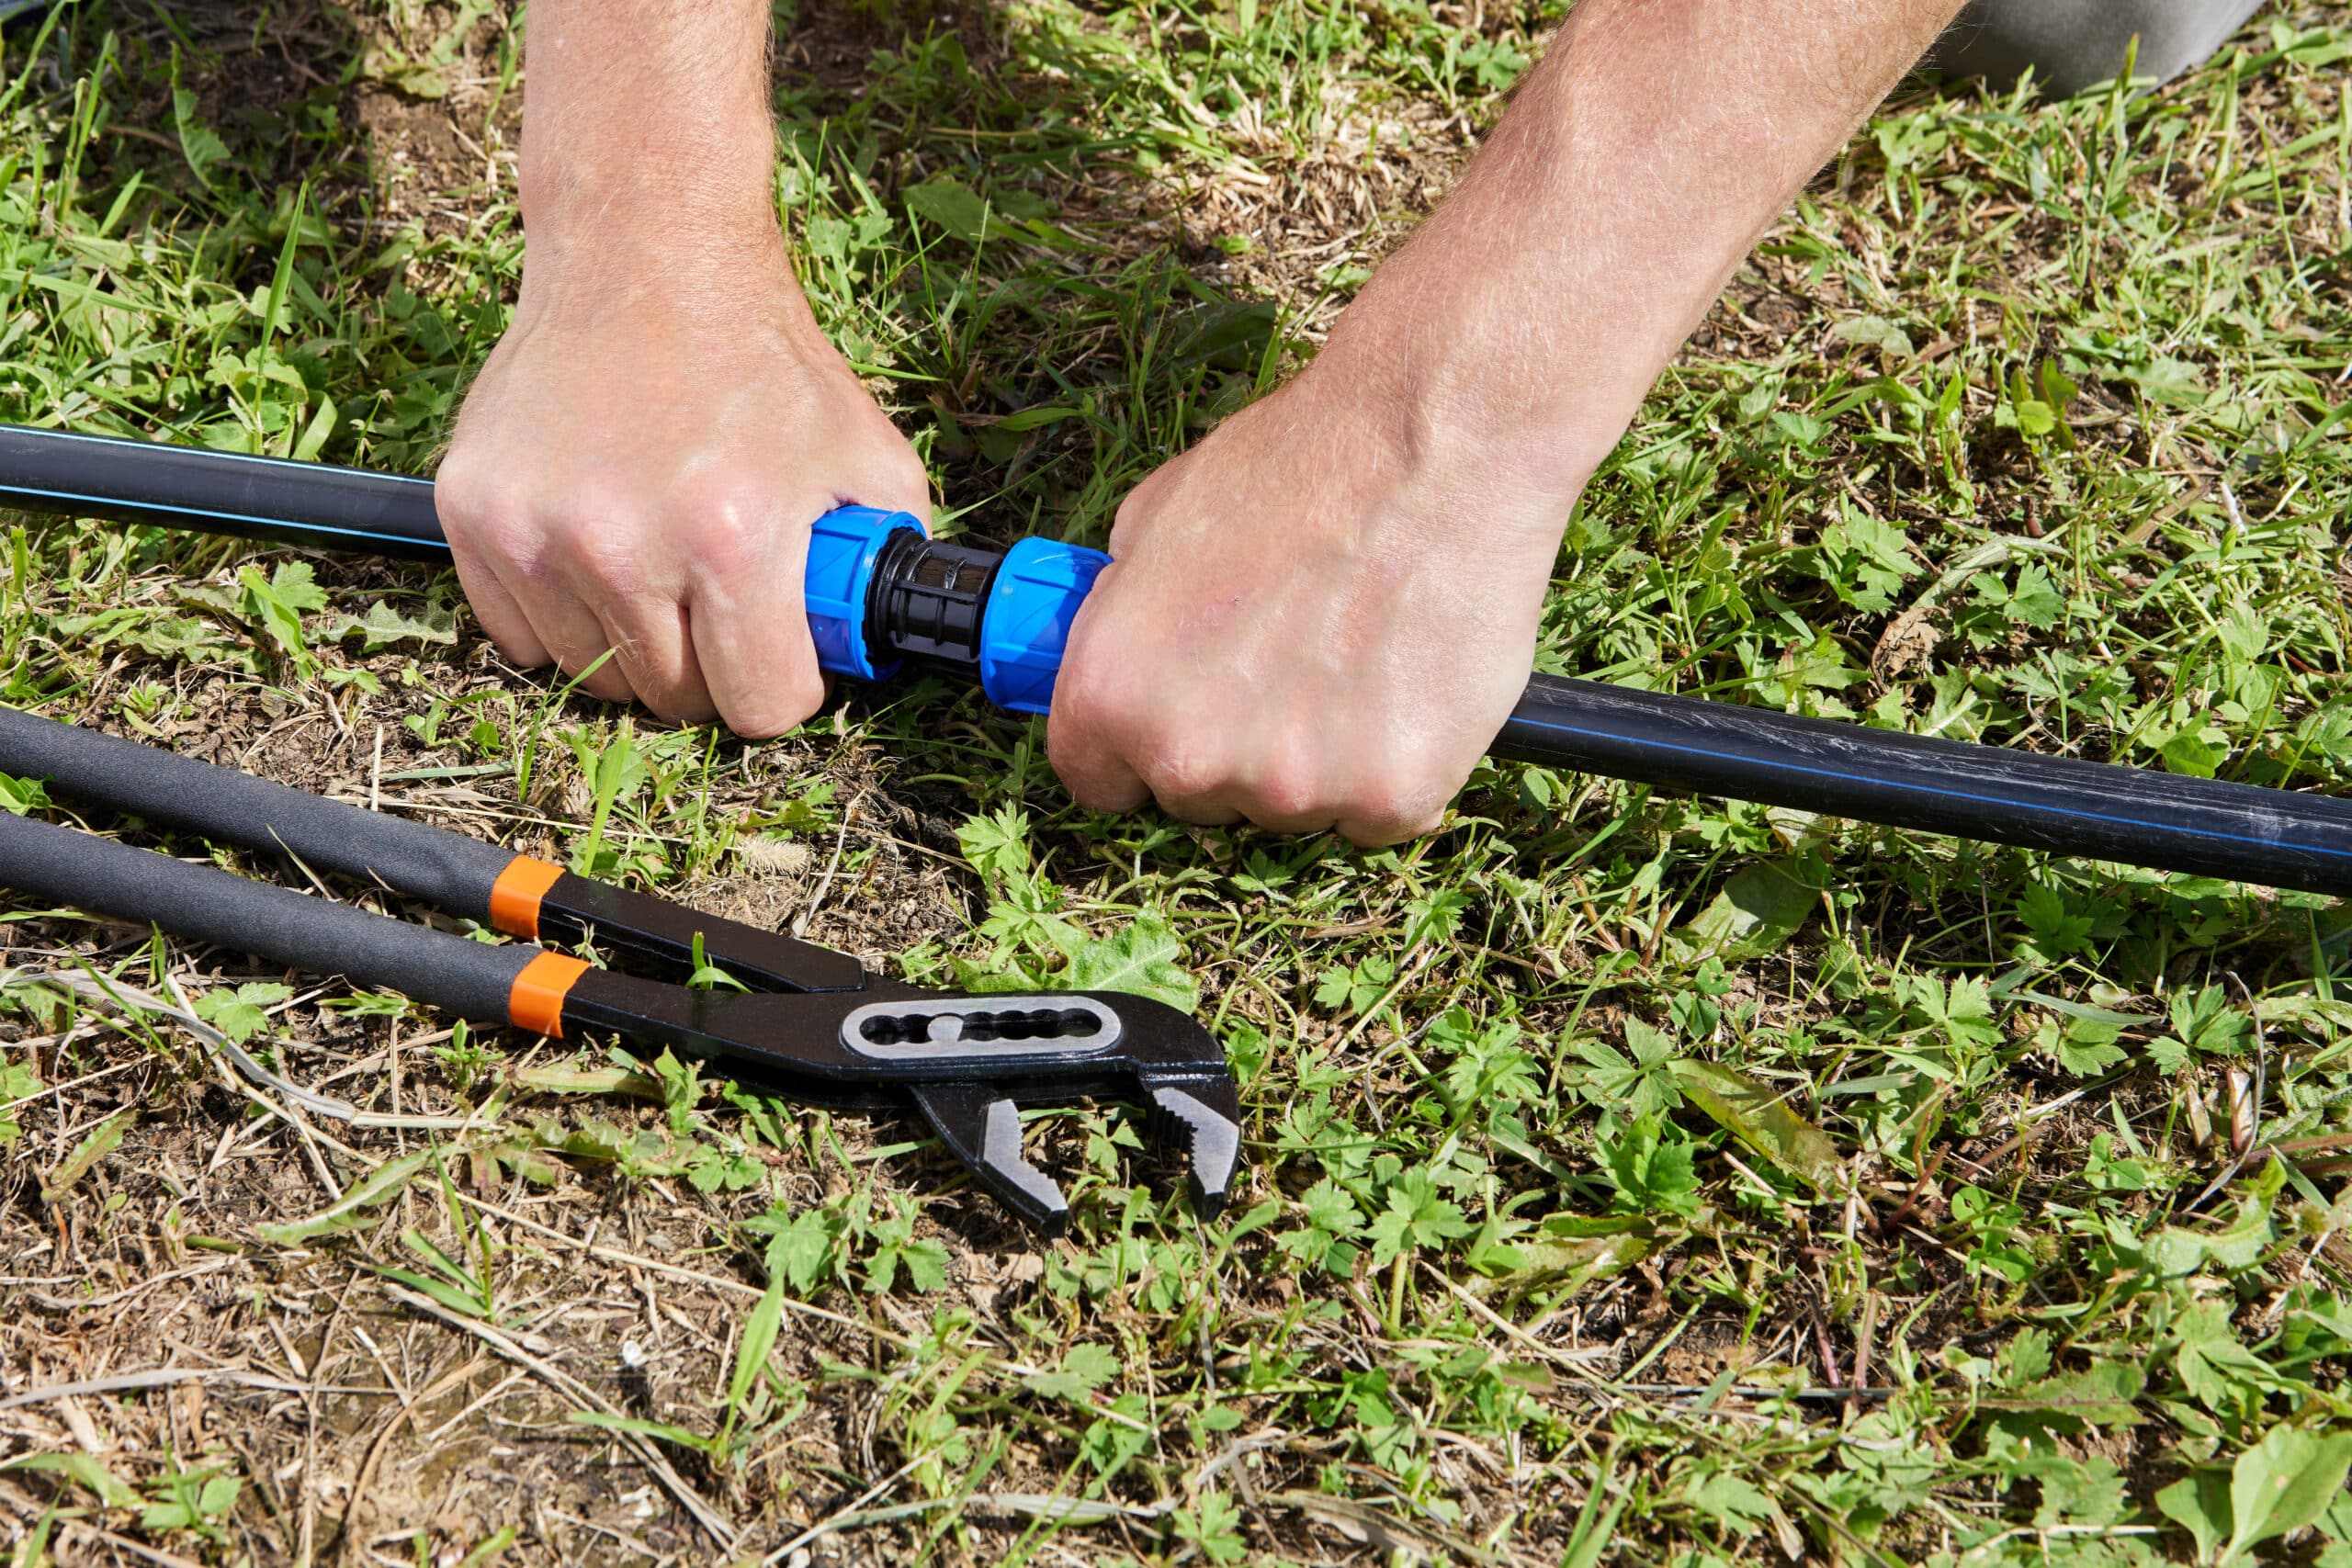
Leave the mainline ends open. Run the water two minutes. Cutting tubing leaves plastic shavings inside, and this flush sends them out the ends instead of into your emitters. Then cap the ends. Every time you cut into the system later for a repair, flush again the same way.
Step 5: Test and tune
Run the system and walk the whole line with your hands in your pockets, looking. You’re checking for:
- Emitters that don’t drip — kinked feeder tube or a barb not fully seated
- Sprays or geysers — a missing emitter or punctured line; plug mistakes with a goof plug
- Weak flow at the far end — mainline too long, or the filter already clogging
- Weeping fittings — push the tubing harder onto the barb, or the pressure regulator is missing or backwards
Ten minutes of fiddling on day one is normal. It is also, mostly, the last fiddling the system will ever ask for.
Step 6: Mulch and schedule
Cover the lines with 2 to 3 inches of mulch. It hides the tubing, blocks the UV that ages plastic, and cuts evaporation enough to shorten your run times.
Starting schedule: 45 minutes every other day for vegetable beds, two deep sessions a week for shrubs, then adjust by the dig test, soil like a wrung sponge 4 inches down. The full logic is in how long to run drip irrigation.
What it costs
A one-zone starter covering a few beds: $60 to $110 with a timer, less with a kit on sale. Running costs are close to nothing: a pair of AA batteries a year and the occasional emitter. The detailed breakdown is in drip irrigation system price.
FAQ
Do I need to bury drip irrigation lines?
No. Surface lines under mulch are the norm for home gardens. Burial is for lawns and commercial beds, and it makes future changes harder.
Can I install drip irrigation on a slope?
Yes, and drip handles slopes better than most systems. Use pressure-compensating emitters so the bottom of the hill doesn’t get three times the water of the top.
How long does a first install take?
Two to four hours for a bed or border, including the learning curve. The second zone goes in at double speed.
What if my water has sediment?
The 150-mesh filter handles normal grit. Well water with heavy sediment may need a larger spin-down filter upstream. Clean the filter monthly at first until you learn your water’s habits.
That’s the install: head assembly, mainline, emitters, flush, test, mulch. When something inevitably clogs or pops in year two, drip irrigation repair has the fixes, and the rest of the build guides live in Installation Guides.