

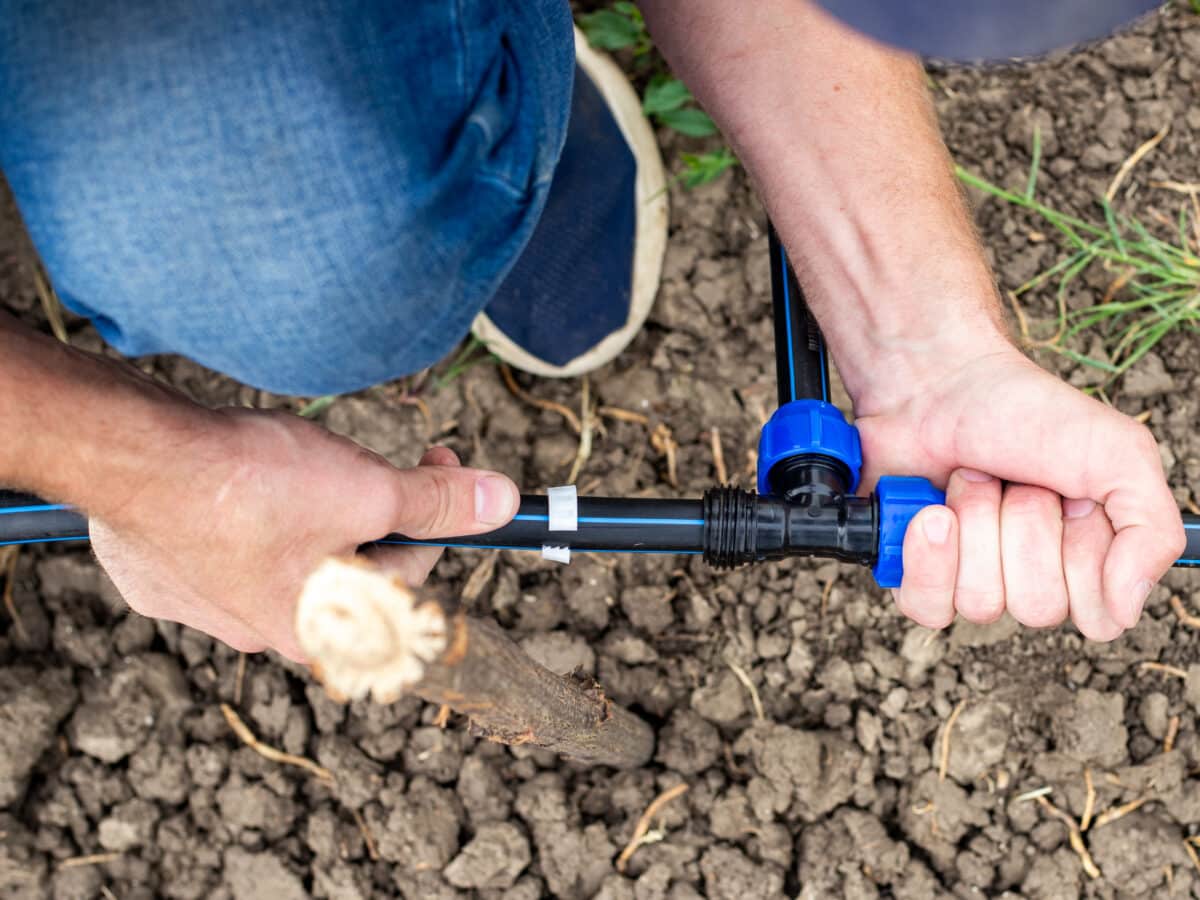
Subsurface drip irrigation buries the tubing instead of laying it on top of the soil. That one change gets rid of the usual surface-drip headaches: tripping over lines, UV cooking the tubing after a summer or two, a trimmer catching an emitter it never saw. What it doesn’t get rid of is the problem it creates instead, since a clogged emitter six inches down doesn’t announce itself the way a dry patch on a surface line does. You just get a bed that’s quietly underwatering while the timer swears everything’s fine. Here’s how to plan and install it so you get the upside without that particular surprise.
What subsurface drip irrigation actually is
Subsurface drip irrigation, usually shortened to SDI, is drip tubing with built-in emitters installed a few inches below grade instead of on the surface. The tubing itself looks a lot like the dripline covered in drip irrigation components and parts, but SDI-rated dripline adds a root-intrusion barrier, typically copper oxide or another chemical treatment baked into the emitter, since roots will grow straight into a buried opening that offers water and isn’t protected against it.
It’s a different product from the surface drip tubing or soaker hose used elsewhere on this site, and swapping in ordinary dripline for a buried install is the fastest way to end up digging the whole run back up in two seasons.
Where it’s worth the extra work at home
Trenching is more work than laying a line on top of the mulch, so it’s worth being honest about where that extra effort actually pays off:
- Vegetable beds and rows that get tilled or replanted every season, where surface tubing is in the way every time a shovel comes out.
- Foundation beds and hedges where a clean, invisible line matters for curb appeal.
- Narrow strips between a walkway and a fence where surface tubing is an obstacle underfoot.
- Areas with high UV exposure or foot traffic that chew through surface tubing in a season or two.
Lawns are their own case: SDI is one of the few drip methods that works for turf at all, but the depth, spacing, and flush-valve setup differ enough from a bed installation that it deserves its own approach. If a lawn is the actual project, lawn drip irrigation: does it work? covers that version specifically. Everything below is aimed at beds, borders, and individual plantings, not turf.
Before you dig: pressure and filtration
Two things need to be right before a single trench gets cut, and both matter more underground than they do on the surface.
Pressure still needs regulating the same way any drip system does, generally down to somewhere in the 15 to 25 PSI range depending on the emitter product, and a pressure regulator at the head of the system is not optional. Running SDI tubing at full household pressure blows out emitters you can’t see failing.
Filtration matters even more here than it does for surface drip. A clogged surface emitter is a five-minute fix once you spot the dry patch. A clogged buried one means digging to find it, which is exactly the kind of afternoon nobody plans for. Go finer on mesh size than a typical surface system needs, and clean it on a tighter schedule than you think you need to. The full case for filtration, including mesh sizing, is in drip irrigation filters: do you need one?, and everything there still applies, just with less room for error.
Installing subsurface drip step by step
Step 1: Sketch the layout first
Trenching is expensive to redo, so the layout planning that normally happens on paper matters even more here. Mark zones by plant water needs, decide on a mainline shape, and check that no single run pushes past the length and flow limits covered in drip irrigation system layout. A mistake caught on paper costs nothing; the same mistake caught after backfilling costs an afternoon of re-digging.
Step 2: Choose SDI-rated tubing and emitters
Look specifically for dripline labeled for subsurface or buried use, with a built-in root-intrusion barrier. Pressure-compensating emitters are worth the small premium underground, since they even out flow across elevation changes you can no longer see or adjust once the trench is closed. The emitter types and flow-rate differences that matter for this choice are broken down in drip irrigation emitters: types and flow rates.
Step 3: Trench to the right depth
Depth depends on what’s being watered, and the table below is a starting point, not a rule, since soil type and root depth shift the real number for any given bed.
| Planting type | Burial depth | Line spacing |
|---|---|---|
| Vegetable beds, annuals | 4 – 6 inches | 12 – 18 inches |
| Shrubs, perennial borders | 6 – 8 inches | 18 – 24 inches |
| Trees (ring around drip line) | 8 – 12 inches | Single or double loop |
| Turf (lawn-specific SDI) | 4 – 6 inches, below the aeration zone | 12 – 18 inches |
Shallower beats deeper for anything with shallow roots. Bury it too deep and water never reaches an annual vegetable’s root zone, even though the system is running exactly as designed and the timer thinks it’s doing its job. When in doubt, dig a small test hole after a week of running and see where the moisture actually sits, then adjust depth on the next section rather than trusting the chart over your own soil.
Step 4: Lay the tubing and add flush points
Lay tubing along the trench, connecting to the mainline the same way a surface system does. Then add the one part a surface system can usually skip: a flush valve at the low end of every zone. Buried lines can’t be inspected by eye, so a flush valve is the only practical way to clear the sediment and biofilm that build up over a season. I’ve seen more than one buried system get blamed for a “bad emitter batch” when the real issue was just nobody had a way to flush it.
Step 5: Backfill, test, and mark it
Before backfilling, run the system and confirm even weeping along the whole trench while it’s still open and easy to fix. Once it checks out, backfill, tamp lightly, and mark the line’s location, a garden marker flag at each end and bend works well, so a future shovel or aerator doesn’t find it the hard way.
Maintenance looks a little different underground
Most of the seasonal maintenance in drip irrigation system maintenance: seasonal checklist still applies, but SDI adds a flush-valve routine on top: open each one for a minute or two at the start and end of the season to clear sediment before it settles into the emitters. If flow drops off and flushing doesn’t fix it, root intrusion or a buried clog is the likely cause, and the diagnostic steps in drip irrigation repair: fix leaks and clogs still apply, just with a shovel involved before the wrench.
Mistakes that cause the most rework
Using surface dripline underground
Without a root-intrusion barrier, roots grow into the emitter opening within a season or two, and the fix is digging the whole run back up.
Skipping the flush valve
It’s the only maintenance access point on a line you can’t see. Leaving it off trades a five-dollar part for an eventual excavation.
Under-filtering
A filter sized for a surface system often isn’t fine enough for buried emitters, where a clog isn’t a quick visual fix.
Burying too deep for the plant
Shallow-rooted annuals and buried lines eight inches down rarely meet in the middle. Match depth to root depth, not to whatever felt like a safe distance from a tiller.
FAQ
Is subsurface drip irrigation worth it for a home vegetable garden?
It can be, mainly if the bed gets tilled or replanted often enough that surface tubing is a constant hassle. For a bed that stays put season to season, surface dripline is simpler to install and far easier to inspect, so SDI’s advantage narrows considerably.
How deep should subsurface drip lines be buried?
Somewhere around 4 to 6 inches for vegetable beds and annuals, deeper for shrubs and trees, is a reasonable starting point. Verify against your specific tubing manufacturer’s spec sheet and adjust for how deep the plants’ active roots actually sit.
Can I convert an existing surface drip system to subsurface?
Not by simply burying the existing tubing. Standard dripline lacks the root-intrusion protection SDI-rated tubing has, so a conversion means swapping in the correct tubing, not just trenching around what’s already there.
Does subsurface drip irrigation need a different filter than surface drip?
Not a different filter necessarily, but a finer mesh and a tighter cleaning schedule are worth it, since a clogged buried emitter takes far more effort to find and fix than a surface one.
Subsurface drip asks for more planning up front, mainly around tubing choice, depth, and a flush valve at the low end of each zone, in exchange for a system that disappears into the bed and stays out of the way of tillers, mowers, and foot traffic. Get those few details right before backfilling, and it’s a low-maintenance setup for years.