

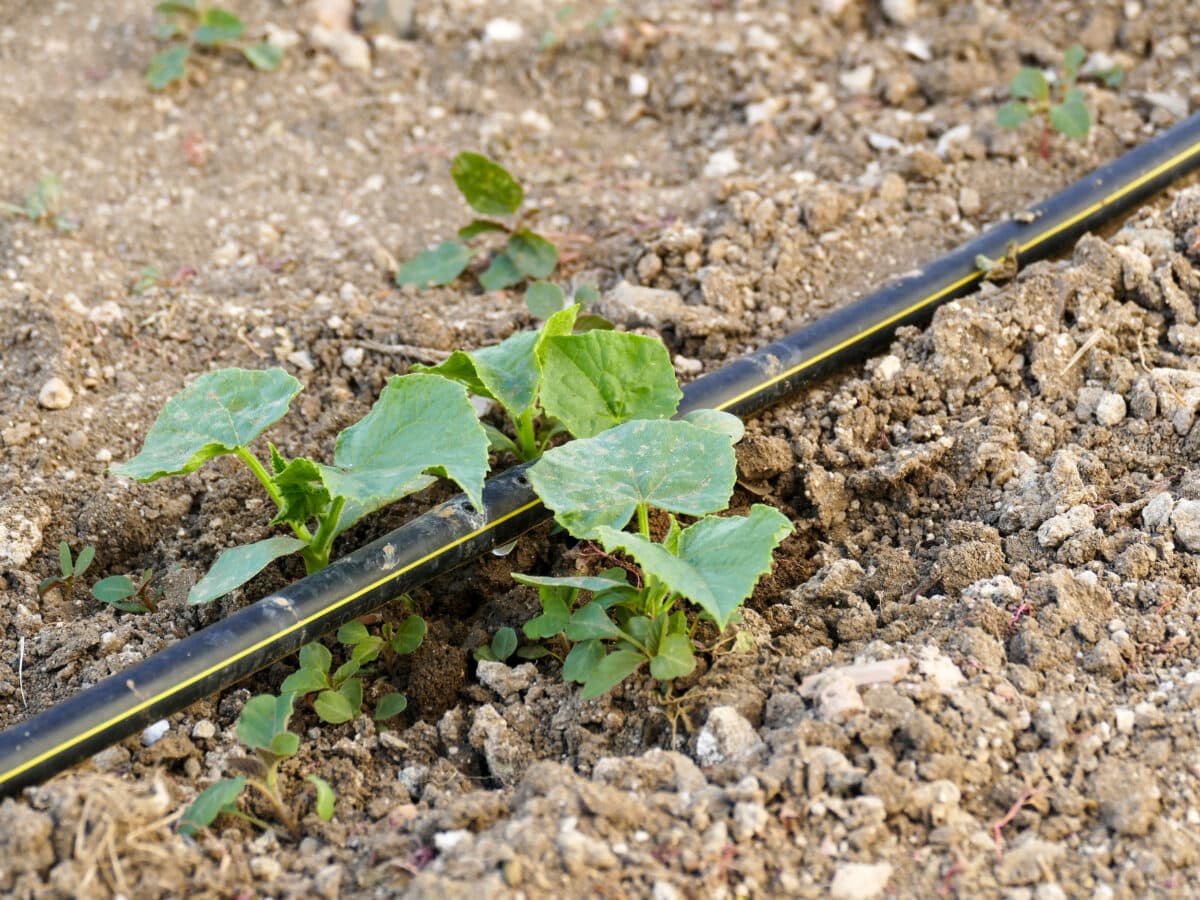
Most drip irrigation problems don’t start with a bad emitter. They start with a layout that was never sketched, just built on the fly, one length of tubing at a time. The result is usually predictable: the last few feet of a run go dry, one zone waters everything at wildly different rates, or a $60 kit gets returned because “it didn’t reach.” A few minutes of planning before you buy anything fixes almost all of it.
Here’s how to actually lay out a drip system: how to break your yard into zones, which mainline shape fits your garden, how far a single run can stretch before pressure drops off, and the sketching process that turns a messy bed into a system that just works.
Start with a sketch, not a shopping list
Buying parts before you know the shape of your system is how people end up with three bags of fittings they didn’t need and not enough of the one they did. Grab paper and a pencil, or a phone photo with arrows drawn on top, and mark three things: the water source (spigot or rain barrel), every plant or bed that needs water, and the rough distance between them. You don’t need exact measurements yet, just enough to see the shape of the problem.
Once that sketch exists, the rest of the layout is really three decisions.
Decision 1: How many zones do you actually need
A zone is everything that runs on one schedule at the same time. The mistake beginners make is treating the whole yard as one zone because it’s simpler to install. It’s also wrong for half the plants in it, and you won’t find out until one group is drowning and the other’s crisping at the edges.
Group by thirst, not by location. Vegetables and containers usually want frequent, shorter watering. Established shrubs and trees want less frequent, deeper watering. Put those on separate zones, even if the tubing runs are only ten feet apart, and each group finally gets a schedule that fits it instead of a compromise. Most home gardens do fine with one to three zones; a small bed or border can often get away with just one.
Decision 2: Where the mainline runs
The mainline is the ½-inch backbone that carries water from the pressure-regulated head assembly out into the garden. Everything else, the ¼-inch distribution tubing and the emitters, branches off it. Where you route that backbone determines how clean the rest of the layout turns out.
Three shapes cover almost every home yard:
| Layout pattern | Best for | How it works |
|---|---|---|
| Header row | Raised beds, straight vegetable rows | One mainline run along a short edge, with parallel distribution lines or dripline branching off it down the bed |
| Loop | Borders, hedges, foundation beds | Mainline forms a ring around the planting area so pressure reaches both ends evenly, useful on longer runs |
| Spider (point-source) | Mixed beds, scattered shrubs, containers | Mainline runs a single path, with ¼-inch feeder tubes branching out individually to each plant |
Raised beds almost always want a header row, since the layout for one is basically a grid of parallel lines; the full walk-through is in drip irrigation for raised beds. Mixed borders and scattered shrubs usually work better as a spider layout, since plants aren’t in tidy rows to begin with.
Decision 3: Dripline or individual emitters
Dripline, ¼-inch tubing with emitters built in at fixed spacing (commonly every 12 inches), is the low-effort choice for anything planted in a row or a dense bed: lay it, stake it, done. Individual button emitters on feeder tubing make more sense for widely spaced plants, containers, or a mixed border where every plant needs a different flow rate. Most yards end up using both: dripline for the vegetable bed, individual emitters for the shrubs along the fence. The parts themselves are covered in drip irrigation components and parts explained.
The numbers that keep pressure even
A layout can look right on paper and still starve the far end of the line if it ignores two limits. These are starting points, not hard laws, since actual pressure loss depends on your spigot’s PSI, elevation changes, and tubing diameter, but they hold for a typical home setup on 25 to 30 PSI regulated pressure.
| Limit | Rough guideline | Why it matters |
|---|---|---|
| Mainline length per zone | Keep under roughly 200 feet | Longer runs lose enough pressure that the far end drips noticeably less than the near end |
| Total emitter flow per zone | Keep under roughly 200 GPH on a ½-inch mainline | Past that, the line can’t deliver enough volume to every emitter at once |
| ¼-inch feeder tube length | Keep under about 20 to 30 feet from the mainline tap | Thin tubing loses pressure fast over distance, even before it reaches the emitter |
| Elevation change | Add a pressure-compensating emitter type if the run climbs or drops more than a few feet | Gravity adds or subtracts pressure that flat-ground math doesn’t account for |
Run the numbers before you cut tubing, not after. I’ve redone a mainline twice because I skipped this step and only noticed the far end limping along after everything was staked down. If your sketch has a zone pushing past these limits, that’s your cue to split it into two zones rather than one overloaded one. Tubing diameters and what each size is rated for are broken down in drip irrigation tubing sizes, and every layout still needs a properly sized pressure regulator at the head, since none of these limits hold at full household pressure.
Sketching the final layout in four steps
- Mark the water source and measure the real distance to the farthest plant you need to reach. This tells you roughly how much mainline to buy, plus a little extra for slack and mistakes.
- Draw zone boundaries around plant groups with similar water needs, using the grouping logic from decision 1.
- Pick a mainline shape per zone from the header row, loop, or spider patterns above, based on how the plants are arranged.
- Mark tap points along the mainline where distribution tubing or dripline will branch off, spacing them to match your planting layout.
Once the sketch is done, the actual build, connecting the head assembly, running the mainline, and placing emitters, is mostly mechanical. That process, start to finish, is covered in how to install drip irrigation: a beginner’s walkthrough, and the very first connection at the spigot is its own guide, since the order those fittings thread on in matters more than people expect: how to connect drip irrigation to a garden hose.
Layout mistakes worth avoiding
- One giant zone for the whole yard. Different plants get the same schedule whether they want it or not, and long mainline runs starve at the far end.
- No slack in the sketch. Beds get replanted, shrubs get added. A layout with a little extra tubing and a spare tap point or two survives a few seasons of changes; a tight one doesn’t.
- Ignoring elevation. A sloped yard needs pressure-compensating emitters or the bottom of the hill gets flooded while the top stays dry.
- Ordering parts before sketching. A pre-built kit is a great starting point, but buying one before knowing your zone count and mainline length usually means a second trip to the store. Kit options and what’s actually worth paying for are compared in best drip irrigation system: kits compared.
FAQ
How many zones does a typical home garden need?
Most home setups need somewhere between one and three: a common split is vegetables and containers on one zone, shrubs and beds on another. A small single bed can often run as one zone with no issue.
Can I connect two different layout shapes on the same zone?
Yes. A header row feeding a raised bed and a spider branch running to a few nearby shrubs can share one zone and one mainline, as long as the combined length and emitter flow stay within the guidelines above.
Do I need a separate layout for drip tubing versus a soaker hose?
The zone and mainline planning is the same either way, but soaker hoses run at lower pressure and have their own length limits, generally shorter maximum runs than rigid drip tubing. The differences are covered in soaker hose vs drip irrigation.
What if my planned mainline run is longer than 200 feet?
Split it into two zones fed from the same head assembly with a valve manifold, rather than running one long line. It costs a bit more up front and solves the pressure problem completely.
A good layout is mostly just an honest sketch: where the water starts, where it needs to end up, and which shape gets it there without starving the last few feet. Get that right on paper, and the actual install goes almost exactly the way it’s supposed to.